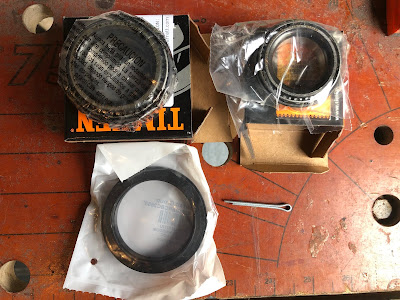
The first task was to press some new bushes into the newly powder-coated pendulum bracket. The replacement bushes were ordered from SNG Barratt as follows:
 |
| More bits courtesy of SNG Barratt |
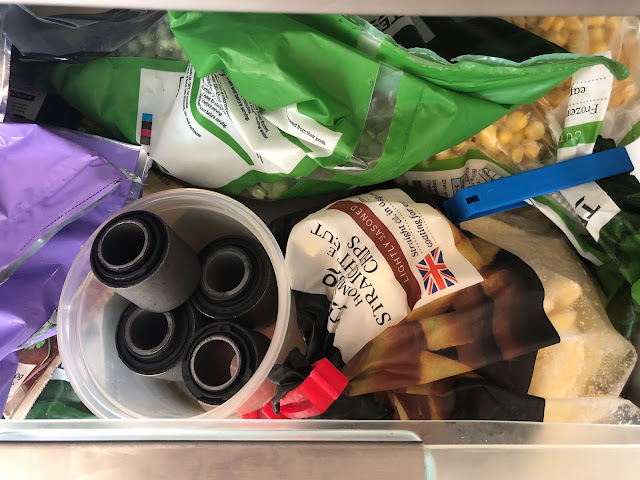
To (hopefully) make the installation a little easier I left the pendulum bracket out in the sun for an hour or two to warm up nicely and put the new bushes in the freezer for a few hours.
 |
| Bushes and chips for tea? |
I lightly greased the bush housings in the pendulum with copper grease and then pressed the new (cold) bushes into place using my 12T press and a suitably sized impact socket as a drift. Note that one side of the bush housings on the pendulum has a bevelled edge which helps hold the new bush in position and guides it into the housing when starting to press it in.
 |
| Greased bore - note bevelled edge to ease bush insertion... |
 |
| Pressing bushes into place |
 |
| All bushes replaced |
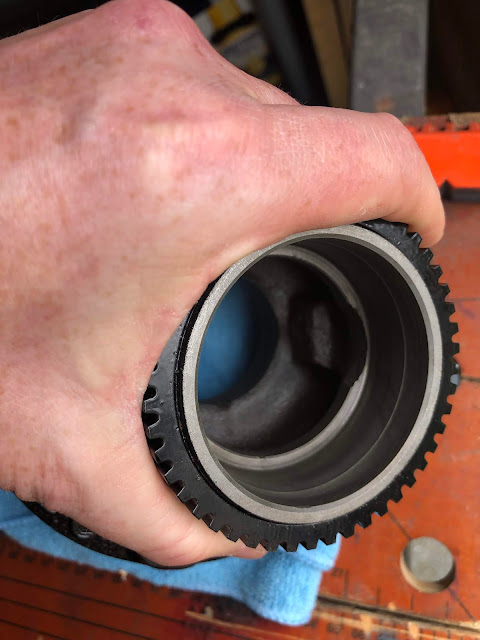
Next, it was time to unbox the rear differential unit. The diff is a Salisbury Power Lock (limited-slip) unit with a 3.58 final ratio. This was fully refurbished by Simply Performance when I purchased the donor axles and has sat in a large box occupying a large space on my garage floor ever since. The unit is also bloody heavy and I needed some help from Sam to lift it out of the box and onto the cup of my 3T trolley jack.
 |
| Shiny refurbished differential unit |
The pendulum bracket is then fitted over the nose of the differential with the side marked "Jaguar" facing towards the front of the car. The upper bushes of the bracket slide onto the shafts at the front of the diff; these had a generous application of copper grease prior to installation.
 |
| Pendulum Bracket in place |
The rear upper differential bolts are M12 by 70 bolts which are supplied by AK, with M12 washers to sit under the bolt head and 35mm by 14mm washers which are used as spacers between the diff and the chassis. I assume the 35mm diameter washers are supposed to fit into the recesses on the top of the diff unit but mine did not seem to sit properly and allow the M12 to pass through so I ended up having to flat off the bottom of the washers on the bench grinder.
 |
| Rear Diff Bolts and Spacer Washers - Photo courtesy of AK Sportscars Build Manual |
 |
| "Modified" Spacer Washers |
With some careful (skilful?) control of the jack, I managed to raise the differential unit up and slide it forward into position relatively easily (just remember to rotate the input yoke on the diff so that it passes through the aperture in the chassis first).
Then it was just a case of securing all the fasteners (M10x1.25 nuts on the diff nose studs, M16 Nylocs with 1.25" by 5/8" washers on the front diff studs and M12 Nylocs and M12 washers on the rear diff bolts) to hold the diff in place and allow removal of the jack.
 |
| Differential installed! |
I haven't fully torqued up any of the fasteners at this stage, mainly as I haven't worked out which are the correct settings from the Jaguar XJ40 Haynes Manual yet. However, from reading Richard's blog and the trouble he had getting the differential tie bar into place, I figured leaving the diff fasteners not fully tightened might allow some play to get the diff tie bars fitted.
Watch this space!


