Showing posts with label Gearbox. Show all posts

Sunday 10 March 2024

Couple of Minor Jobs - Part 2

I have finished off a load of small jobs that are not really worthy of a post all of their own.

The first was to add an earth strap between the engine and the chassis.  Just to be on the safe side I bought a 50mm2 earth cable (which should cope with 345 Amps), with a 10mm lug on each end from PCS Cables.  This was bolted into a convenient hole in the engine block at the nearside front.  I drilled and tapped a hole in the top of the chassis rail and ground off a bit of the powder coat to ensure a good contact.

Engine Earth Strap 

I also put the final hose finisher on the crankcase breather hose.  The hose finisher that I originally bought is still hiding in the garage somewhere, probably hanging out with a 10mm socket, and laughing at me.

Breather hoses completed!

I have given the front of the radiator a couple of coats of Eastwood Radiator paint in satin black.  The bare aluminium finish was not quite in keeping with the "stealth" look that I have in mind for the finished car.  I should have done this before I installed the radiator onto the chassis, but I managed to mask up most of the front with newspaper and a couple of old blankets to protect everything from any over-spray.

Radiator masked up prior to painting...

...and after painting and masking removed

I have also added oil to the rear differential and the gearbox as it is far easier to do this while access is good rather than leaving (or forgetting) until the body is on.

I bought 2 litres of Castrol Transmax oil which is specially formulated for limited slip differentials and used a funnel and a length of clear PVC tube to fill the differential with oil.  I managed to get almost all of the 2 litres into the differential before the oil started leaking back out of the filler oil.

Differential oil

Funnel and PVC pipe filling arrangement

For the gearbox, I bought 3 litres of Motul Dexron III oil which is the recommended fluid for the Tremec T56 transmission.  I used the same funnel/pipe setup to fill the transmission and again managed to get almost all of the 3 litres in before the oil started weeping out of the filler hole.

Transmission fluid

Filler hole for T56 transmission

I also have finally got around to welding up the various threaded bungs I have added to the chassis for the fuel tank, gearbox and exhaust mounts.  I treated myself to a day welding lesson at The Machine Shop to try and get the hang of TIG welding. I'm still not "stacking dimes" but at least I managed to master the art of getting a bit more heat and penetration into the welds.  As the body will sit on most of the locations of these bungs, I ground them down flush to the chassis rails and then treated them to a couple of coats of POR15 rust preventative paint.

Powdercoat ground off around area to be welded

A dodgy stack of dimes...

...after grinding welds down...

...and after two coats of POR15


Saturday 25 March 2023

Engine & Gearbox Installation - Part 5 - Propshaft

The final major part of installing the engine and gearbox was to install the propshaft to connect the gearbox to the differential.

Most other builders have used Bailey Morris in St Neots, Cambridgeshire, to manufacture their custom units, and for once I decided to follow the herd.

I downloaded the order form from the Bailey Morris website, completed as many details as I could and emailed the form back with some photos to request a quote.  The guys at Bailey Morris had a couple of further questions for me and asked me to double-check the PCD measurement for the differential flange as clearly the original details I gave them were not something they were expecting (they were correct and when I measured it again I got a completely different answer - but one that did match the expectations of the experts!).

That done, they gave me a quote which I accepted, and all I had to do then was send my transmission yoke off to Bailey Morris so that they could attach it to one end of the propshaft.  I had a confirmation email that my yoke had arrived on Monday and I was amazed to have a new propshaft delivered to my door on the Friday of the same week!

Candidate for the world's shortest propshaft?

While I knew the propshaft was going to be short, when I unboxed it, it was even shorter than I imagined!  It looked like something that would be more at home between the Rover V8 and the Jag IRS of the Mighty Mouse Fiat 500 that was a regular at Santa Pod in the late 80s early 90s...

Of course installation of the propshaft, as with everything on this build, was anything but easy.

Before installation, I greased up the UJs with a lithium-based grease, as per Bailey Morris's instructions, until grease was squeezing out of all the seals on the UJ spiders.

I then slid the transmission yoke fully into the gearbox and tried to get the other end over the locating pin that was protruding from the centre of my differential input flange.  The guys at Bailey Morris did suggest I might have to just cut the end of this pin down slightly to get the prop in.  However, all seemed good, and I could get just get the flange on the propshaft over the end of the pin. But no further, unfortunately...

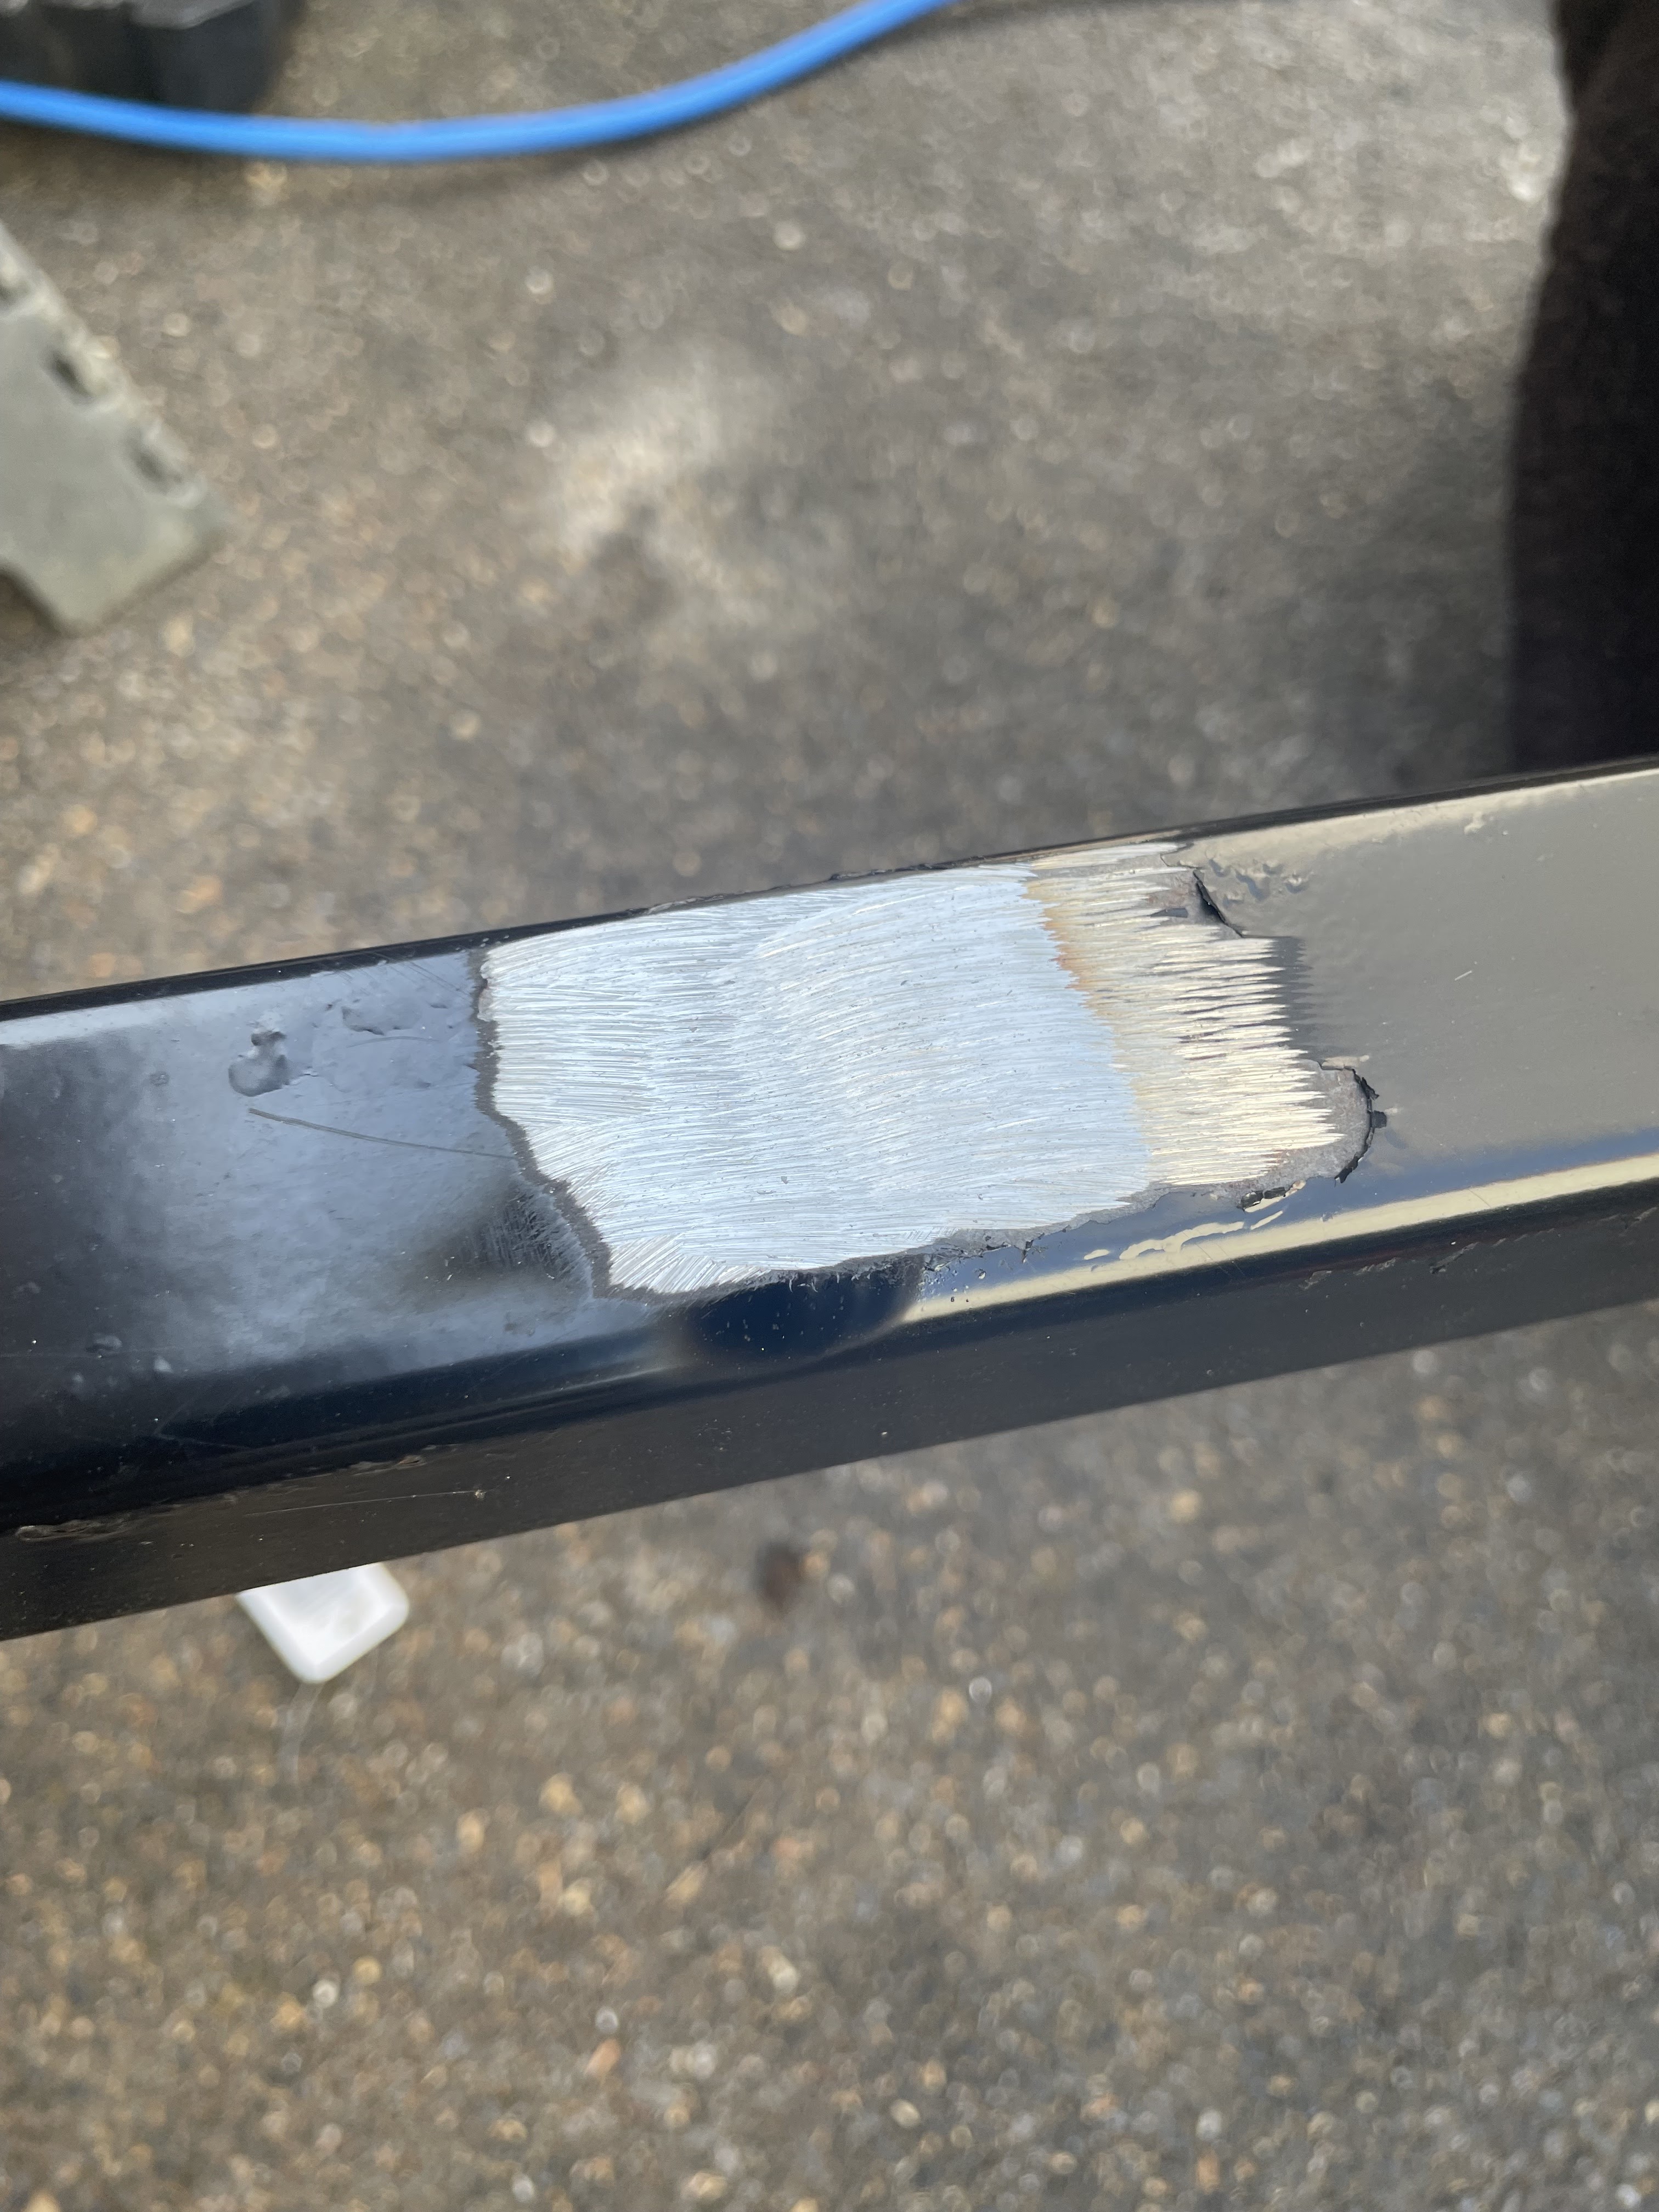
20mm diameter locating pin on differential input flange

So, not for the last time, I removed the propshaft and proceeded to sand all the paint off the locating pin with some emery paper.  This allowed the pin to seat slightly further into the flange when I reassembled the unit, but I still couldn't get the flange to slide very far onto the pin.

I had to resort to some gentle fettling of the hole in the propshaft flange with a grinding stone in my die grinder to just try and open the hole up fractionally to allow the pin to slide fully home.  This took a few attempts as I didn't want to open it up too much and make the fit too loose, but finally, I managed to get the flange to fully seat onto the pin and the differential input flange.

Propshaft in place

Then it was just a simple matter of getting the fixing bolts in place...

No matter to what position I turned the flange, I could find no orientation at which I could get an M12x35mm bolt into any of the holes (and the bolts were too long to insert from the differential side).

So I removed the prop shaft again; this allowed me to get one bolt in place (with some wiggling) but due to the position of the UJ there was no way I could get bolts into the other two holes from the prop shaft side.

I decided to order some M12 cap head bolts, hoping that the smaller head dimensions would allow for wriggle room to allow me to get the bolts in.  I made the mistake of reinstalling the prop shaft so when the bolts arrived I discovered that I still couldn't get the bolts in with the prop shaft in situ.

So out it came again and with some gentle persuasion from a soft-faced mallet, I managed to get the bolts into all three holes on the flange.  Then hopefully, for the final time, I reinstalled the prop shaft, lining up the bolts with the holes on the differential flange.  For once I had thought ahead and realising that I wasn't going to be able to install a bolt longer than 35mm in length and that the length of exposed thread was going to be quite short, I had ordered some thin Nyloc nuts at the same time as the cap head bolts.  For extra security I used some high strength threadlock on these nuts as well and, as I was unable to get a torque wrench onto the bolt heads, I tightened them up until my face went purple.

Bolts finally installed...

I rotated the propshaft a couple of times to make sure that the bolt heads didn't foul any of the parts of the UJ; it was close but there was clear air, so all good!


Monday 20 February 2023

Engine & Gearbox Installation - Part 4 - It's in! (Eventually)

Finally, the day arrived when I was ready to install the engine into the chassis.

Everything was perfect, the sun was shining, the engine was suspended from my new engine crane, I had protected the tubular bracing on the chassis with some foam padding, my son had got out of bed to help out, and I had even remembered to alter the orientation of the thermostat housing on the front of the engine prior to installation.

The thermostat housing pointing the wrong way...

...and now the right way!

Unfortunately, things did not all go quite as planned.

From reading other build blogs, I was aware that, due to the tubular bracing on the AK Gen III chassis, the engine installation is made easier by getting the rear of the chassis as high as possible relative to the front.

To achieve the necessary attitude, all we would have to do was remove the axle stands supporting the front of the chassis.  However, when we tried to manoeuvre the engine crane into position, the legs of the engine crane would not fit underneath the front wishbones.  There was a short interlude, while we jacked the front of the car back up and supported it on axle stands adjusted to keep the front as low as possible while allowing the engine crane legs to pass under the suspension.  We then repeated that operation to avoid the engine crane legs hitting the axle stands...

Once the path was clear for the crane, actually getting the engine into place was quite easy.  The task was made much easier by using a load-leveller to be able to tilt the gearbox downwards.  It was then a case of inching the crane forward and slowly lowering the engine while raising the gearbox to get it into the chassis between all the bracing.

Almost there...

This was definitely a two-person task, especially as the gearbox was a very tight fit between the brake and fuel lines running along the inner chassis rails; there are a lot of lumps and bumps on the T56 gearbox that kept wanting to get caught up on the lines and a second person guiding the gearbox out of harm's way was essential.

Once we had the front pulley over the top suspension cross-member, we could get the engine down and level and sat onto the four engine bobbins that I had placed onto the chassis engine mounts prior to installing (these were just installed loose at this time).

We then supported the end of the gearbox on a trolley jack, removed the engine crane and lifting chains and had a well-earned cup of tea.

...and it's in!

After the tea break, the day took a slight turn for the worse.

Firstly I noticed that, despite our best endeavours, during installation one of the lugs on the gearbox had caught on and crushed one of the fuel lines; as a precaution, while raising and lowering the gearbox to install the gearbox mount, I removed the fuel and brake lines to avoid any further mishaps.  One piece of good luck was that the location of all my brake and fuel mounting clips all managed to miss clashing with the various sticky-out bits of the gearbox!

The next issue was that I could not get the tail shaft of the gearbox to sit centrally within the chassis due to one of the aforementioned lugs on the gearbox hitting part of the chassis bracing.  This needed me to break out the die grinder and a carbide bit and gently remove the offending lug.

Tailshaft not sitting centrally within chassis rails...

...due to this lug clashing with tubular bracing.

After some "light" fettling with the die grinder...

...offending lug is no more!

This now allowed me to get the gearbox aligned properly within the chassis and so the next task was to bolt the cross-member to the gearbox mount so that the holes in the chassis rail could be marked and drilled.

Except that the holes in my gearbox mount didn't match the holes in the cross-member.  When I ordered my chassis from AK my original plan had been to use a Tremec TKO600 gearbox and clearly that was what the cross-member I had was for.  For some reason, I had assumed the T56 cross-member would be the same, but on checking with AK, Jon advised that the mount was indeed different.  No problem, AK despatched me a new mount and I had that in my hands within the week.

New T56 cross-member (top) compared to TKO version (bottom)

Great - except that didn't fit either.  Firstly the holes still did not quite align with the holes in the gearbox mount.  Although they were only just out; so I reworked the holes slightly with a file to widen them out a bit until I could get the bolts into the gearbox mount.  But then I discovered that the cross-member was too wide!  Where it actually locates on the chassis is where the floorplans start to drop down below the level of the chassis rails and so the cross-member hit the floorplans and wouldn't sit tight up against the rails.  Also, I couldn't just cut down the new AK cross-member as the location of the cut would pass right through the holes for mounting to the chassis, so if I was to drill new holes there would not be much metal left between holes and the end of the cross-member.  

So I decided to order a length of 50mm wide steel bar stock and make my own cross-member.  I measured and drilled the holes for the mount first, these were 11mm in diameter to suit the bolts supplied with the gearbox mount.  I could then fix the bar to the gearbox and raise the gearbox until the bar was flat against the floor pans to mark where to cut it so that it would sit between the pans and against the chassis rails.  I also decided to only use a single 10mm bolt to fix each side of the cross-member but to install a threaded boss into the chassis rail (as per my fuel tank fixing) to provide a greater length of threaded connection.

Home fabricated mount (top) - spot the difference in length!

Threaded boss made from 20mm diameter bar

Cross-member installed and bolted into place

I will need to remove the mount again at some point in the future a) to powder coat or paint it and b) to facilitate reinstallation of the fuel lines.  But the engine and gearbox are finally in and this feels like a really big step forward in terms of progress on the build!

Saturday 7 January 2023

Engine & Gearbox Installation - Part 3 - Avoiding Disaster

Before bolting the gearbox up to the engine I had a couple of modifications to make to the GM hydraulic throwout bearing.  

The first was to replace the factory inlet fitting with one that would allow me to connect up a -4 flexible braided clutch line.  This was a simple task of drifting out the roll pin securing the fitting, removing the original fitting and replacing it with a new one from Summit Performance.  To complete the job, I secured the new fitting with a new 4mm roll pin.

GM Hydraulic Throwout Bearing with original fittings

New -4AN inlet fitting (top) vs original inlet fitting 

New fitting installed and secured in place

Next up was to replace the factory bleed fitting with a HEL flexible braided remote bleed line.  The original attachment was unbolted very easily and it was a simple matter of screwing in the new remote bleed line with a copper washer and tightening it down firmly.  Now I can bleed my clutch without a) any special tools and b) without having to faff around under the car; the end of the remote bleed line will be fixed somewhere suitable in the engine bay.

Remote bleed line installed

I ordered a braided clutch line from Merlin Motorsports which they made up to a length of 500mm and installed the fittings for me free of charge. I installed this onto the new -4AN inlet.

Braided -4 clutch line installed

The throwout bearing could then be bolted to the front of the gearbox, over the input shaft and with the two M6 securing bolts torqued to 35ft-lbs / 47.5Nm.

Throwout bearing installed on the gearbox

Just as I was preparing to fix the bellhousing to the engine, life decided to throw me another curveball.  In between the various tasks I had been keeping the engine hanging off the engine crane, but lowering it down to the floor in between jobs.  I didn't put the whole weight onto the floor, it was 'just' resting on some thick cardboard packing to protect the sump but most of the weight was still being taken by the crane.  In the event of any failure of the engine crane, I figured it was better to be closer to the ground than hanging in mid-air.

And then that failure occurred!

The engine crane I had borrowed was a mechanical rather than a hydraulic unit.  Raising or lowering the jib was achieved by hand turning a nut on the end of a long threaded rod which passed through a fixed threaded anchor block.

As I was merrily turning away at the nut with a ratchet to raise the engine up to install the bellhousing, I realised that while the nut was happily turning around, the thread in the anchor block was not moving at all.  In other words, I was perilously close to shearing the nut off the end of the threaded bar and dropping the engine fully onto the floor.

Coming close to disaster...

There then followed a short interlude while I endured the unexpected expense of buying a new 2T engine hoist from Halfords, waiting for delivery and then having to assemble said crane.  

With some help from my son, we managed to get some additional thick pieces of cardboard packing under the front and back of the engine, such that it was fully resting on the packing.  This gave enough slack to be able to unbolt the shackle holding the lifting chains to the original crane, whip it out of the way and swing the new crane quickly into place and attach engine chains to the new crane.  Hopefully, the only damage that I can see was caused when I rocked the engine slightly to one side to help hook it onto the new crane and dented the bottom of the oil filter.

With disaster averted I could now get on and install the aluminium bellhousing to the engine.  This needed tapping gently into place over the two locating pins on either side of the rear of the engine and then bolting up, tightening the bolts in an alternating sequence up to 35ft-lbs / 47.5Nm.  The fixing kit from Roadcraft came with M10 bolts for fixing the gearbox and bellhousing but also included two rogue M10 Cap Head bolts.  There are two positions on the bellhousing where the casting is such that clearance is very limited to get a 17mm socket over the end of a normal M10 Hex Head bolt so I assumed that was where the cap head bolts were to be used and these were tightened using an 8mm Allen-drive socket.

Bellhousing installed

Then it was just a simple (?!?!) of joining the gearbox to the engine...

As with most things on this build, this was not as simple as it should have been.  I placed the gearbox on a wheeled wooden dolly and adjusted the height of the engine so that the gearbox input shaft was level with the centre of the clutch alignment tool.  I pulled out the alignment tool and then moved the dolly forward to engage the input shaft into the clutch plates.  This took a bit of jiggling to get the splines on the input shaft to align with the clutch plates.  With a bit more jiggling I could then get the transmission to within about an inch of the bellhousing but couldn't get it to close up that last bit.

Almost there...

Over the course of the next 6 hours of wrestling with a 60kg lump of metal, I taught myself some new swear words as I repeatedly removed and tried re-engaging the gearbox into the clutch but still couldn't quite get it to fully join. I even persuaded my son to help out, but the gearbox continued to defy us!

Eventually, I decided that, because of the twin-plate clutch, the alignment needed to be absolutely spot on to allow the gearbox input shaft to engage in the pilot bushing.  So I pulled off the bellhousing, removed the clutch pressure plate and realigned the clutch plates.  This time I retightened the pressure plate bolts a couple of turns at a time in an alternating pattern to try and keep the clutch disks centred before torquing down to the final specification.  This did result in the alignment tool sliding in and out of the plates more freely than previously.

The next morning I renewed the battle, and after only a couple more rounds of wrestling, finally managed to get the gearbox to mate up with the engine!  I could then install the bolts to hold the transmission to the bellhousing and tightened them up to 35ft-lbs / 47.5Nm.  There was a small bracket on the gearbox breather hose, which I made sure to remember to secure with one of the transmission bolts.

Success at last!

Bracket holding breather hose

The rear transmission mount fixed in place

The last job before actually installing the engine and gearbox into the chassis was to reinstall the starter motor.  I had removed this to wrap it in some gold heat reflective tape from Funk Motorsport.  This should protect the starter motor from the heat from the exhaust headers and avoid any electrical issues due to heat soak

Starter wrapped in heat reflective tape


Thursday 29 December 2022

Engine & Gearbox Installation - Part 2 - Flywheel and Clutch

With the engine removed from its stand and hanging from an engine hoist, the next job was to install the flywheel and clutch.

Due to the engine sitting for some time, some light surface rust had appeared on the rear crankshaft flange.  I cleaned this up using a Scotch-Brite pad and gave the flywheel mounting flange a good clean with some brake cleaner, including the recess where the pilot bearing will be installed.

The directions for the ARP flywheel fixing bolts that came with my transmission installation kit specified the use of the included ARP lube under the head of the bolts with some Loctite 242 on the threads.

Loctite 242 (or Loctite 'Blue') is a medium-strength thread-locking compound.  There is an 'improved' product available, Loctite 243 (obviously), which has an improved oil tolerance and so doesn't require bolts to be scrupulously clean to be effective.  

Installation of the flywheel was straightforward; I applied a smear of the ARP lube under the bolt heads and on the top half of the thread plus a drop or two of Loctite 243 on the end of the thread.  I held the flywheel up against the crank mounting flange, screwed all the bolts in hand tight and then torqued them up in stages and in an alternating pattern to 85ft-lbs / 115Nm.

(The ARP flywheel bolts have a 12-point head.  While I could tighten the bolts up reasonably tight with a normal 14mm socket, when trying to torque them up to the final specification, the 14mm socket did slip on the bolt heads.  So rather annoyingly I had to order some 12-point sockets, which meant that I had to remove all the bolts and clean them up while waiting for the new sockets to arrive; had I left them in place, the thread lock would have cured and then when torquing the bolts that would likely have broken the bond rendering the thread locker useless).

Flywheel installed at 2nd attempt

I then tapped the pilot bearing into the recess in the crankshaft, using a socket as a suitable drift, until the front face was just flush with the front of the recess.  The pilot bearing is a roller-type bearing and was already greased.  I didn't add any extra grease to avoid excess lubricant being flung around in the vicinity of the clutch plates.

Pilot Bearing in place

I then gave the flywheel a good wipe down with brake cleaner and several paper towels to remove any traces of oil that were on the flywheel from the supplier (and my greasy mitts!) to protect it from rusting.  Once I had done that, I did it again, just to be sure!

The clutch installation was reasonably straightforward despite my opting for the twin-disc clutch setup.  I offered up the first clutch disc to the flywheel using the normal plastic clutch alignment tool that seems to come with all clutches.  I then needed to secure the adaptor which holds the floater plate for the twin-disc set up to the flywheel.  I put a couple of drops of blue Loctite on the securing bolts and torqued them to 25ft-lbs / 34Nm as per the instructions.  At this point, the bottom clutch disc can still spin freely between the flywheel and the floater plate.

Clutch discs have idiot-proof markings!

First (bottom) disc in place

Adaptor ring and floater plate installed

I then installed the second (top) clutch disc again paying heed to the orientation markings handily written on the disc.  This requires the removal of the clutch alignment tool so that it can be inserted through the top disc and then reinserted through the bottom disc.  So of course when it is removed the bottom disc drops and it was a bit fiddly to try and lift it back up and realign the plate so that the nose of the clutch alignment tool could slide fully into the pilot bearing and hold both plates in the correct place.  With that done I could place the pressure plate onto the mounting studs on the adaptor plate, taking care that the original assembly marks lined up, and secure the pressure plate with the mounting washers, spring washers and nuts.  The instructions are very clear not to use Loctite on these mounting nuts, so I didn't, and I followed instructions for torquing down the pressure plate nuts in an alternating pattern to 25ft-lbs / 34Nm and then 35ft-lbs / 47.5Nm.

Just to note as soon as the nuts on the pressure plate are tightened up even hand-tight, both clutch plates become fixed and will no longer move.  If the clutch alignment tool is not perfectly centralised and aligned, and the pressure plate nuts tightened then the plates might be slightly out of alignment which makes removal of the alignment tool incredibly difficult (but which also suggests that getting the gearbox input shaft back through the plates will be equally difficult).  I went through the process of tightening each of the pressure plate nuts by hand, around half a turn at a time, in an alternating pattern, while constantly moving the alignment tool in and out slightly to ensure that once the bolts were nipped down sufficiently and the plates fixed, that I could still slide the alignment tool in and out smoothly.

Pressure plate installed - looks too good to cover up!

The next step will be to join the gearbox and bellhousing to the engine.

Saturday 5 November 2022

Engine & Gearbox Installation - Part 1

My engine has been sitting in the corner of the garage on an engine stand and acting as a giant dust magnet since I collected it back in 2020.  Exciting times are ahead as I have reached the stage where I can seriously contemplate being able to install the engine and gearbox into the chassis.

There were a couple of bits that I was able to do before having to remove the engine from the stand to allow the gearbox to be fitted up.

First was to install a thermostatic take-off plate for the oil cooler.  I purchased a Derale LS Engine Oil Cooler Adaptor from Summit Racing.  This is a thermostatically controlled adaptor which allows the oil to bypass the oil cooler until the oil temperature reaches 180 degrees Fahrenheit.  It also includes two 1/8" NPT ports which can be used for oil temperature and pressure sensors for dashboard instruments.

Oil Cooler Adaptor 

The adaptor is installed by removing the cover on the side of the LS engine block above the oil filter.  There are two oil galleries behind this and the cover simply provides continuity of flow between the two.  

Location of the original cover plate above the oil filter

The cover simply provides a channel to connect the two oil galleries


As I do not have my dash instruments yet and therefore do not know the necessary senders required I sealed the two NPT ports in the adaptor with plugs which come supplied with the adaptor.  I used PTFE tape on the plugs just in case I end up running the engine without having installed the sensors.  

The adaptor also requires two AN adaptors to be installed to which the oil cooler lines can be connected.  The two ports on the top of the adaptor are -10 ORB fittings.  This, as I discovered, means that they are a -10 AN thread (7/8" UNF) while ORB stands for O-Ring Boss, meaning they need to be installed with an O-Ring seal.

I purchased two -12 AN to -10 ORB adaptors from Torques Products Ltd.  I lubricated the O-rings with some engine oil prior to installation and tightened both adaptors into the top ports.  

-12 AN to -10 ORB Adaptor

The adaptor plate itself also comes with two O-rings that need to be installed into grooves on the rear of the adaptor (I didn't lubricate these) before the adaptor plate is bolted into place with two M6 bolts which were torqued to 120inch lbf.  Note the inch rather than foot torque specification!! This equates to a mere 10ft lbf / 13.6 Nm so I could dig out my smaller torque wrench for this job!

O-rings installed on the rear of the adaptor

Oil Cooler Adaptor bolted in place

I also took the opportunity while the engine was on the stand to install the starter motor.  This will allow me to check the clearances between the starter pinion gear and the flywheel before the bellhousing is installed and makes that task pretty much impossible.

I was supplied a standard GM starter motor with my engine but I elected to actually install a Proform high-torque gear reduction starter motor.  This type of starter has a lower electrical power demand but still produces enough torque to spin over higher-compression engines.  The Proform starter also can be "clocked" in three different rotational positions to allow more clearance of the solenoid from exhaust pipes or other components if necessary.

Standard starter (top) vs High Torque starter

The three bolt positions on right allow starter body to be rotated relative to mounting plate

Installation of the starter was straightforward being held in place by just two bolts.  I haven't torqued these up to final specification at present just in case starter needs to be removed to add shims to get the correct clearances to the flywheel.

Starter motor in place

The last job before lifting the engine off the stand was to bolt on the engine mounting plates.  These were fixed in place with 4No. M10x25 bolts and M10 washers each side.  For added peace of mind I put a drop of Loctite 271 on each of the bolts before installation.

Engine mounting plate in place

With those jobs done its time to get the engine crane out and lift the engine off the stand to allow flywheel and clutch to be installed.