I have gone a slightly different route, it seems, from most of the other AK LS builds out there at the moment. The majority of builders appear to have used the standard GM LS headers (either LS3 or LS7), I suspect for no reason other than they were supplied with their engines. Not that that is an issue, both the LS3 and LS7 stock headers are pretty well matched to the engine and perfectly adequate for most street-driven applications.
However, my engine was supplied without any exhaust headers. Now I could have probably tracked some factory GM items (although when I initially looked there were not that many around) but I kind of like the look of proper tubular headers in the engine bay and, despite the cost, I knew that really I was always going to go down the route of buying the AK stainless steel headers and side exhaust system.
AK can supply headers in two diameters 1 5/8" or 1 7/8"; the former is typically for LS3 builds and the latter for LS7. I had a chat with Jon about which size to go for. His view was that the smaller diameter headers would be a better option; typically larger diameter pipes are good for higher horsepower and high revs, while a smaller diameter is better for low-end torque and a better option for "normal" driving. Looking online, I found that most LS aftermarket tubular headers are 1 3/4" in diameter so I went with the smaller AK option. Which turned out to be quite handy as Jon had a complete set of 1 5/8" headers and side pipes on the shelf from a customer who no longer wanted them! And so a week later they were in the boot of my car and on their way back to my garage.
 |
| AK Stainless Steel Tubular Header |
 |
| Set of Exhaust Gaskets from LSX Performance - complete with instructions! |
 |
Comparison of Exhaust Port D shape/size in relation to Header tube size
|
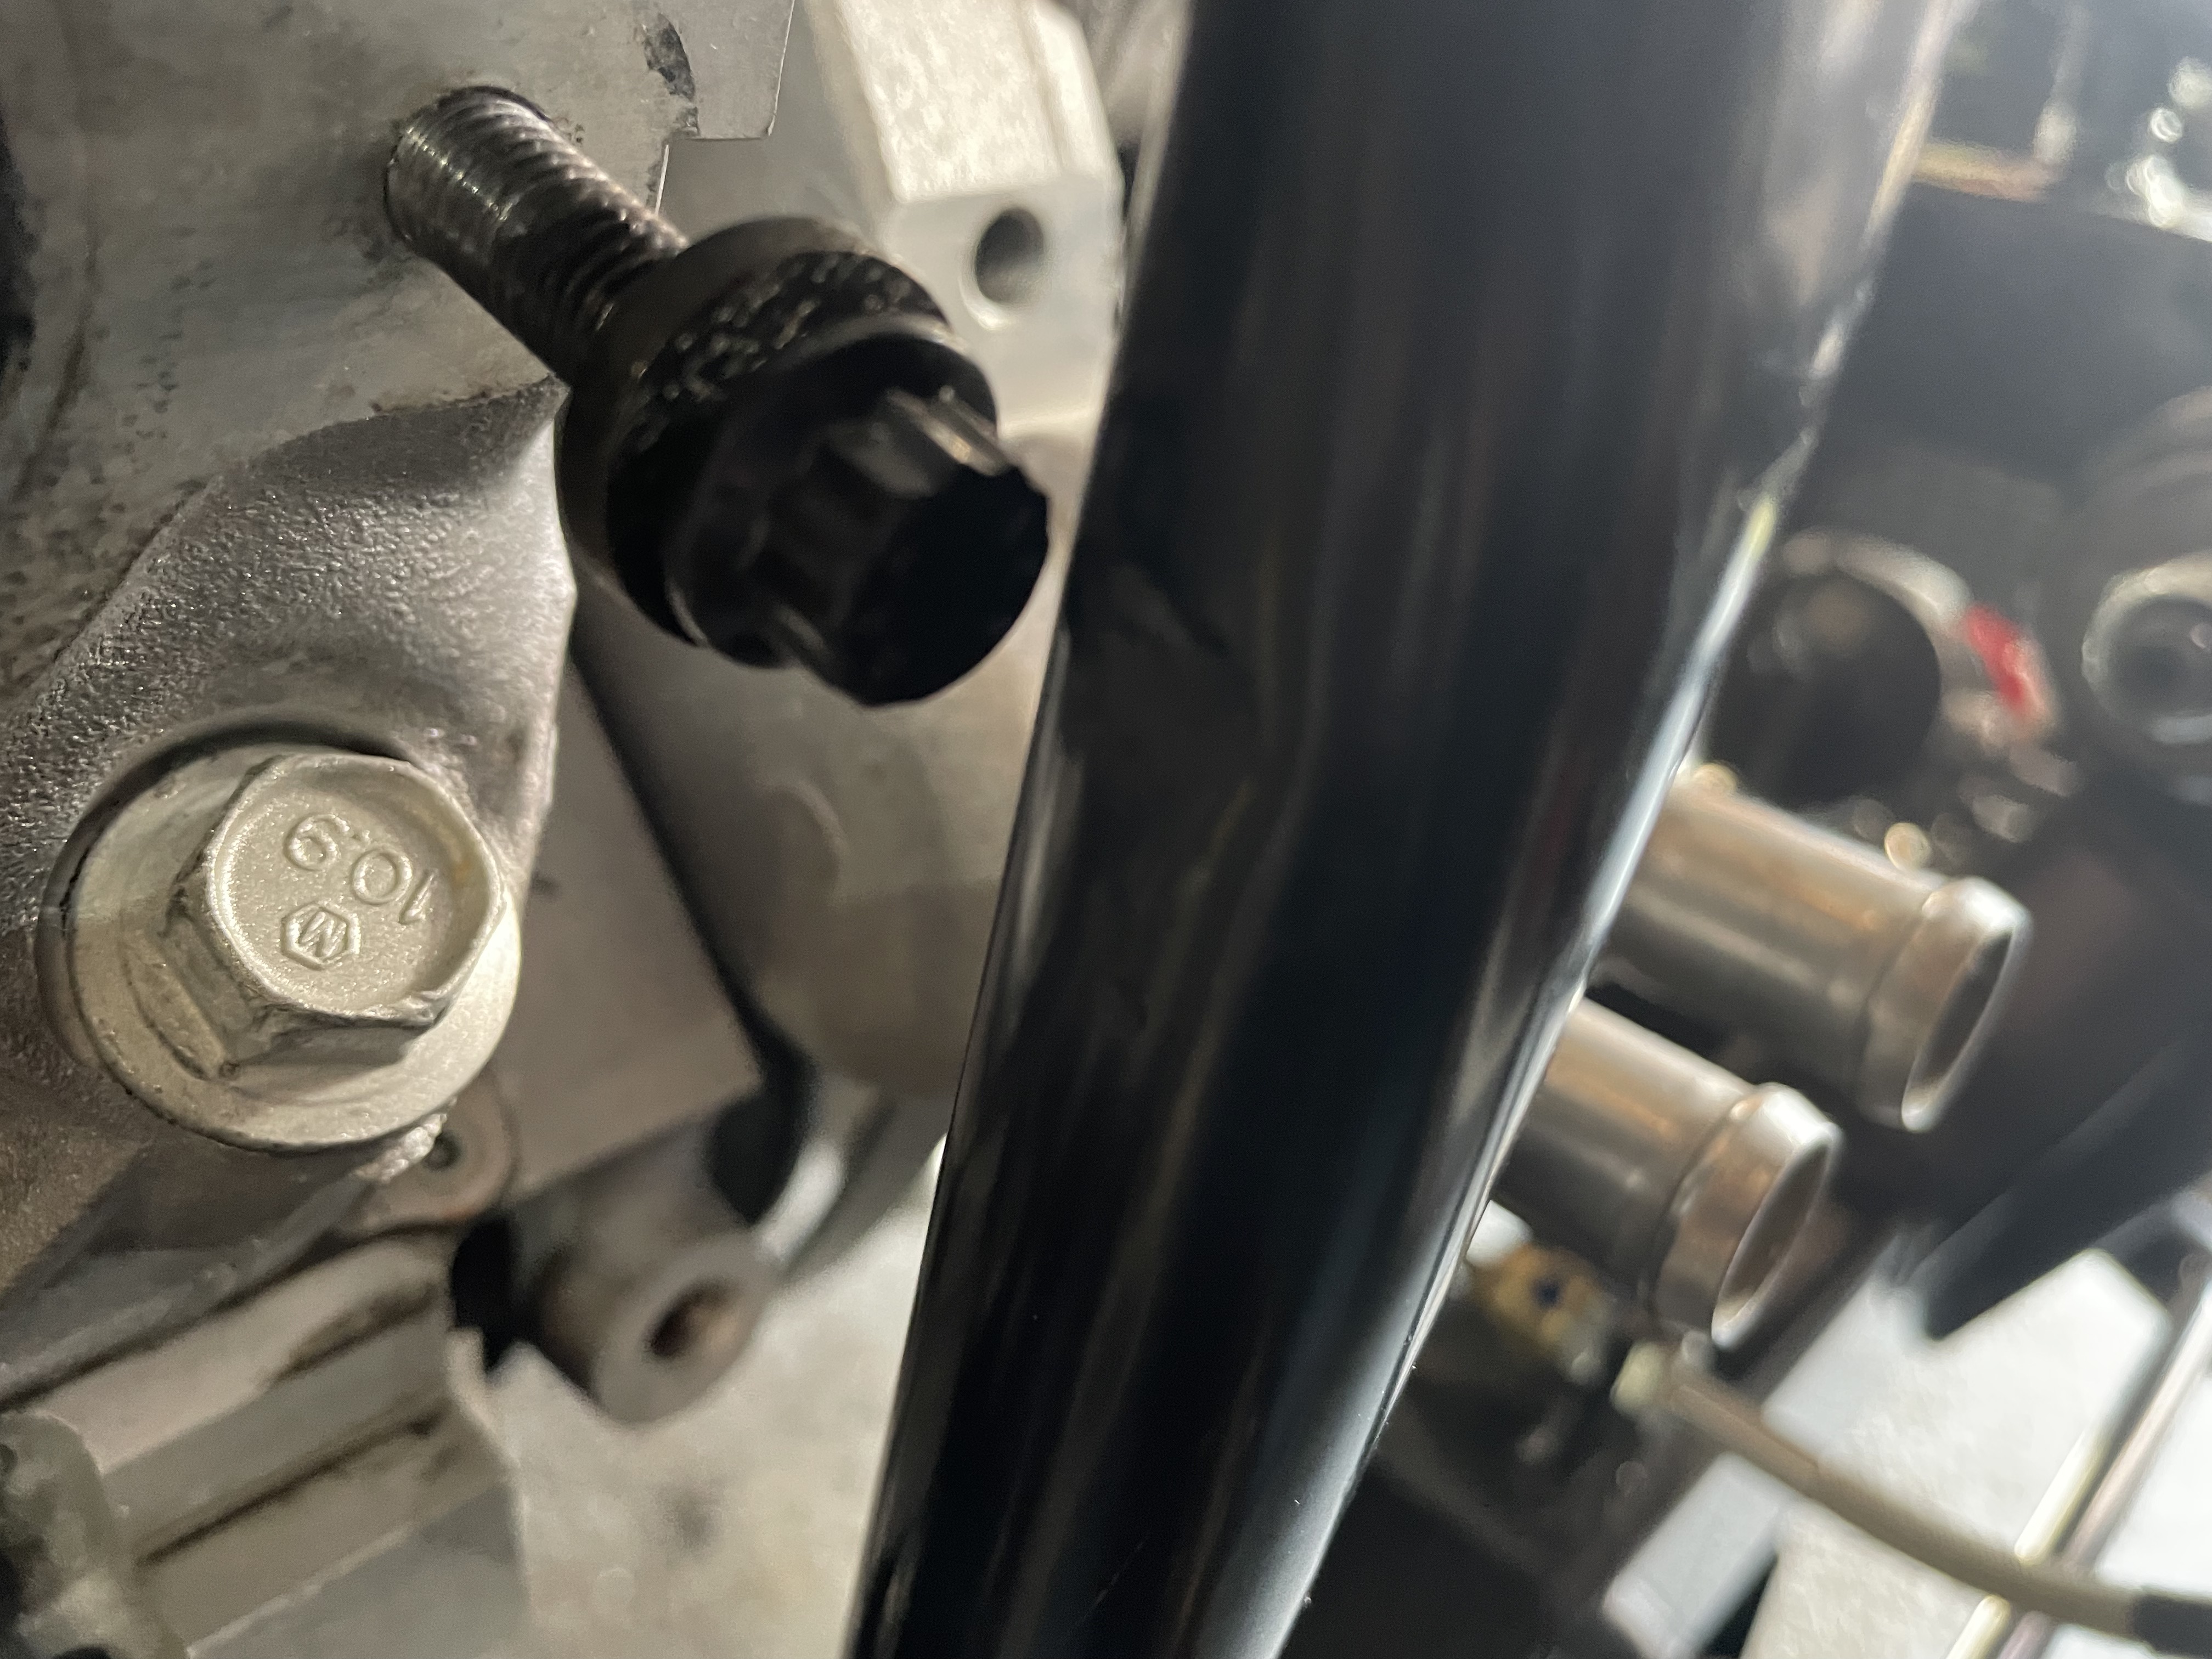
Initially, I installed the headers onto the engine without the gaskets and just with a couple of bolts to hold them in place. I can see that with the additional Gen III chassis bracing getting the front header bolt in place and tightened up on both sides will be fun. |
| Shiny tubes!! |
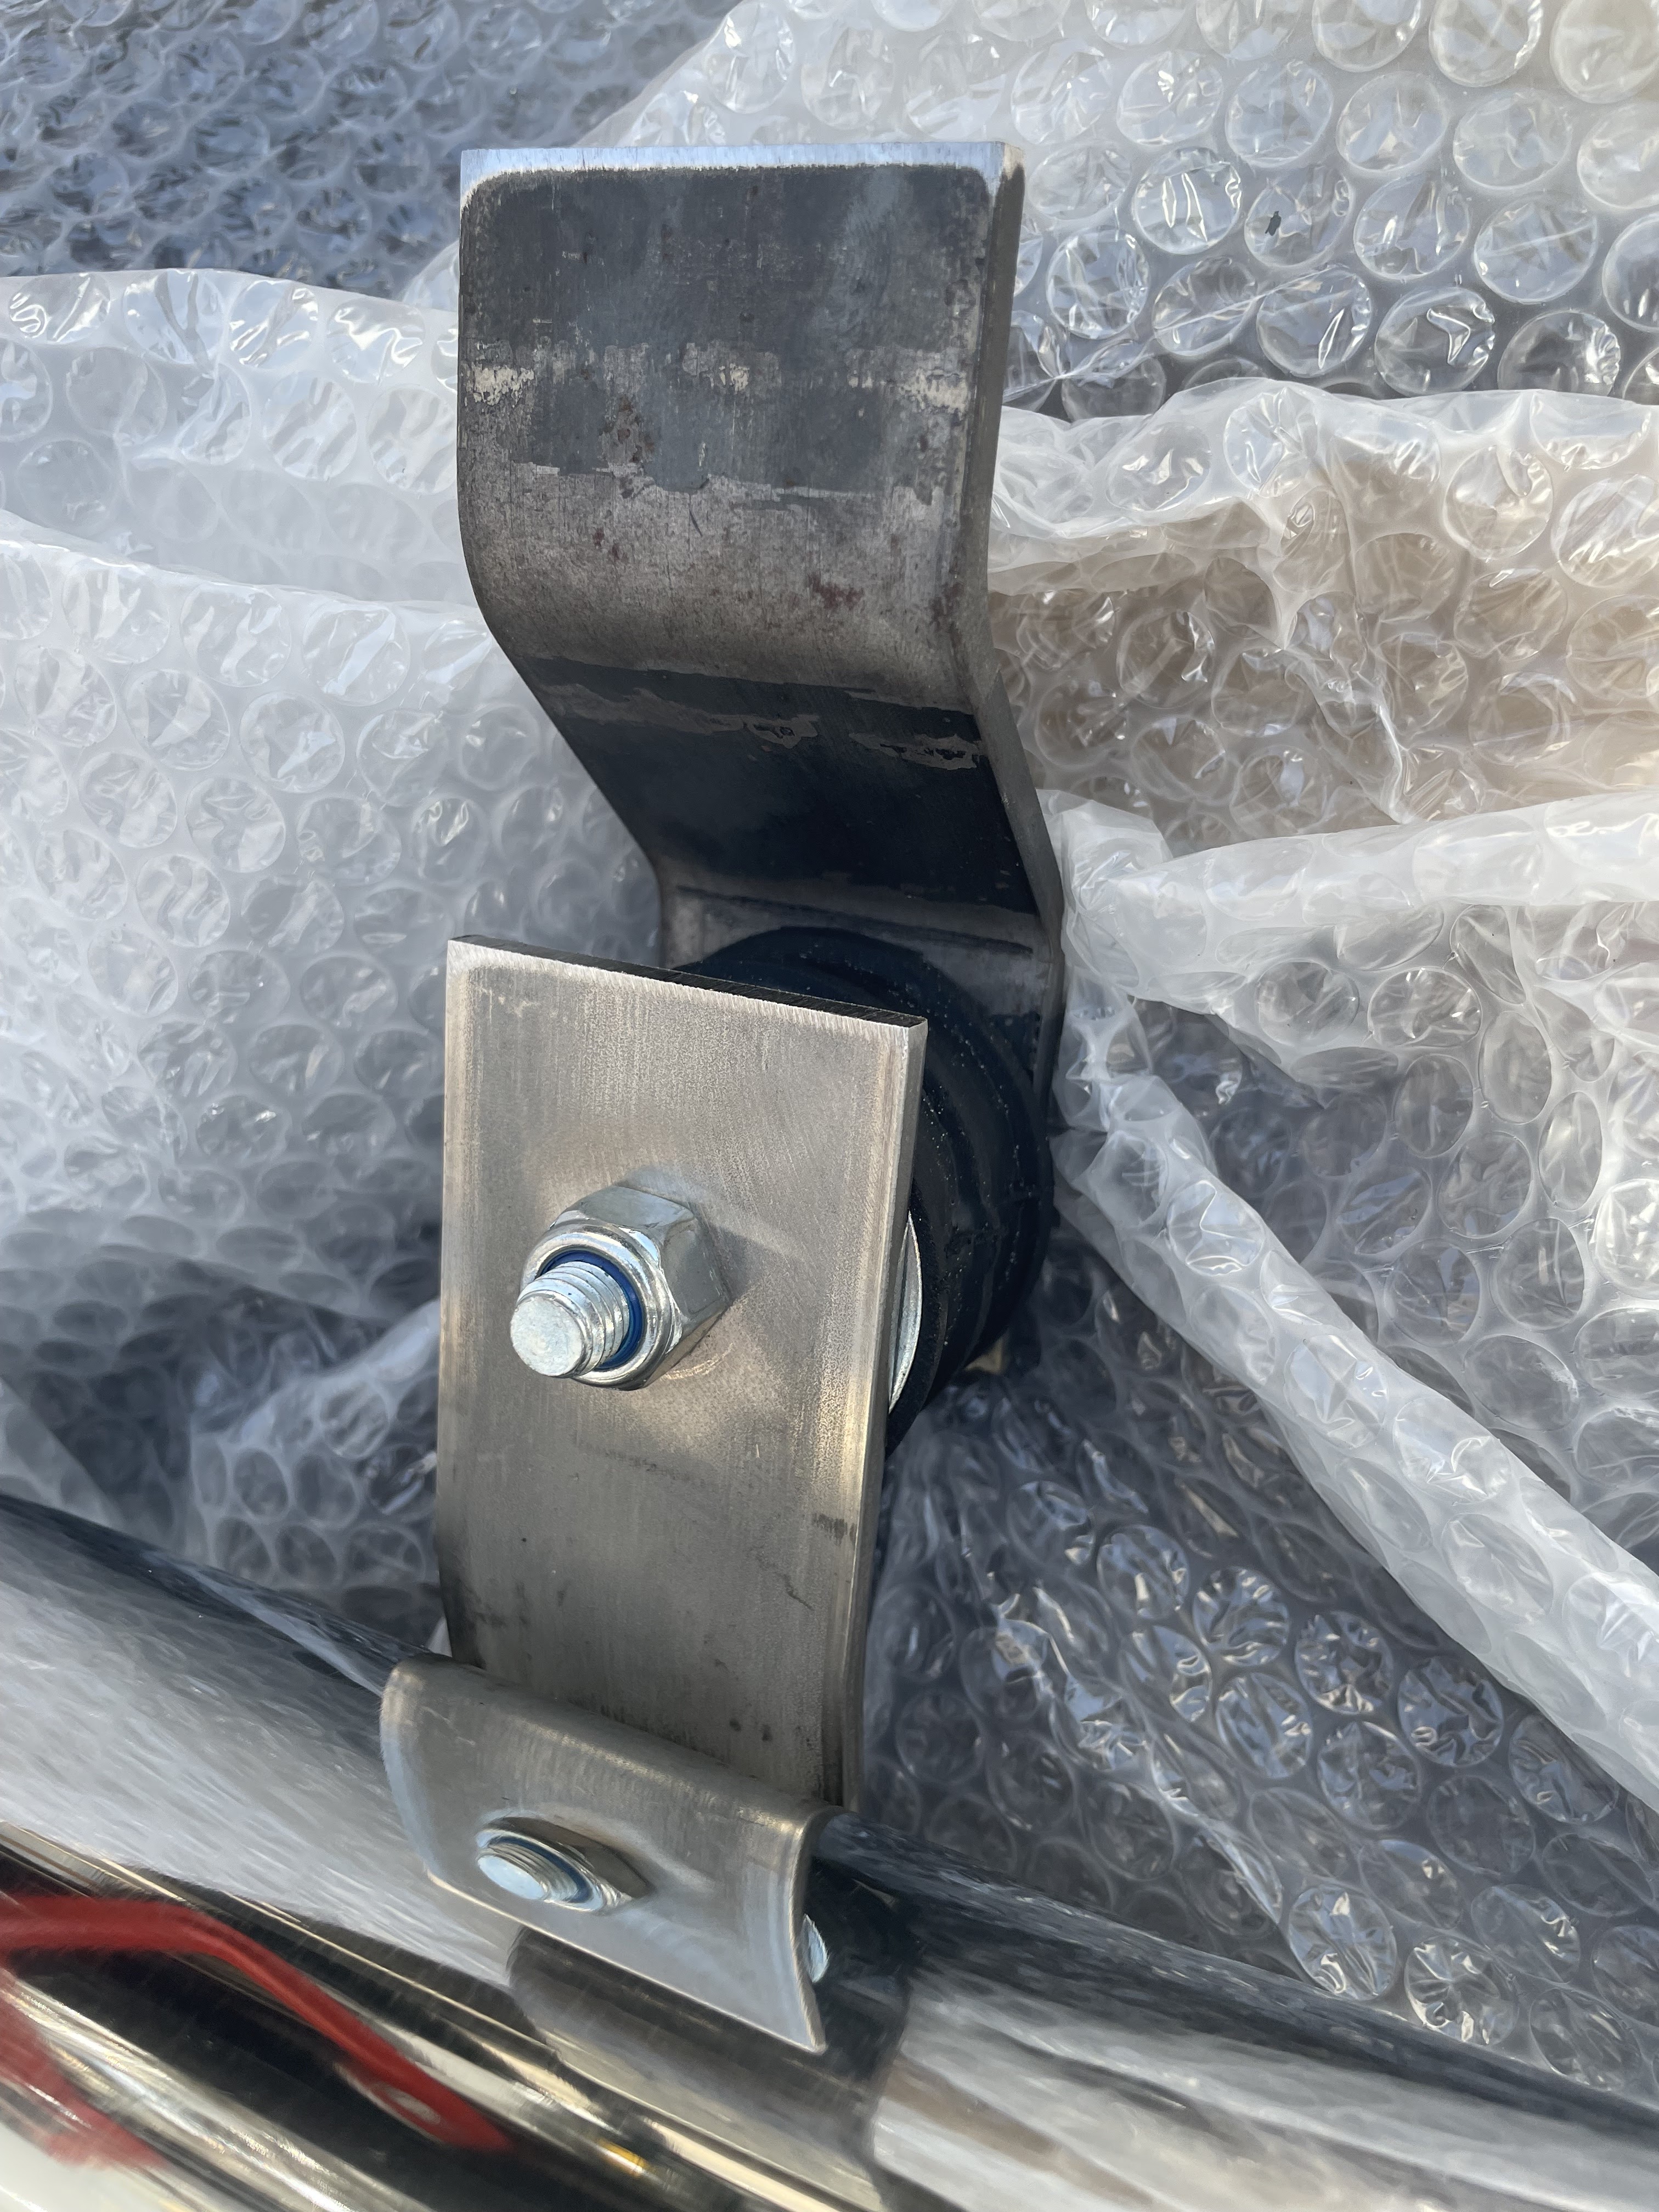
The AK side pipes come with some mounting brackets and rubber bobbins (which look suspiciously like engine mounts!) which sit between the side pipe and the bracket.  |
| Rubber bobbin between side pipe and mounting bracket |
The brackets are intended to be welded to the chassis but, following the example of many other builders, I am going to bolt them on and use a threaded bung welded into the chassis for added strength.
Firstly I marked the centre line on the top of both brackets and then bolted the bobbins and brackets to the side pipe (with the bobbins bolted in the centre of the slotted end of the bracket to give some adjustability), slid the pipe onto the headers and then used a couple of clamps to hold the whole assembly in place. (I put plenty of blankets and bubble wrap down on the floor to prevent any damage in case I dropped the side pipe in the process!).
I could then finagle the side pipe backwards and forwards until the distance between the pipe and chassis was the same at both mounting positions. I ended up with the pipe approximately 85mm set off from outside the chassis rail on both sides.
 |
| Offside side pipe is temporarily held in place... |
 |
| ...and the same for the nearside side pipe |
 |
| Offset from chassis approximately 85mm |
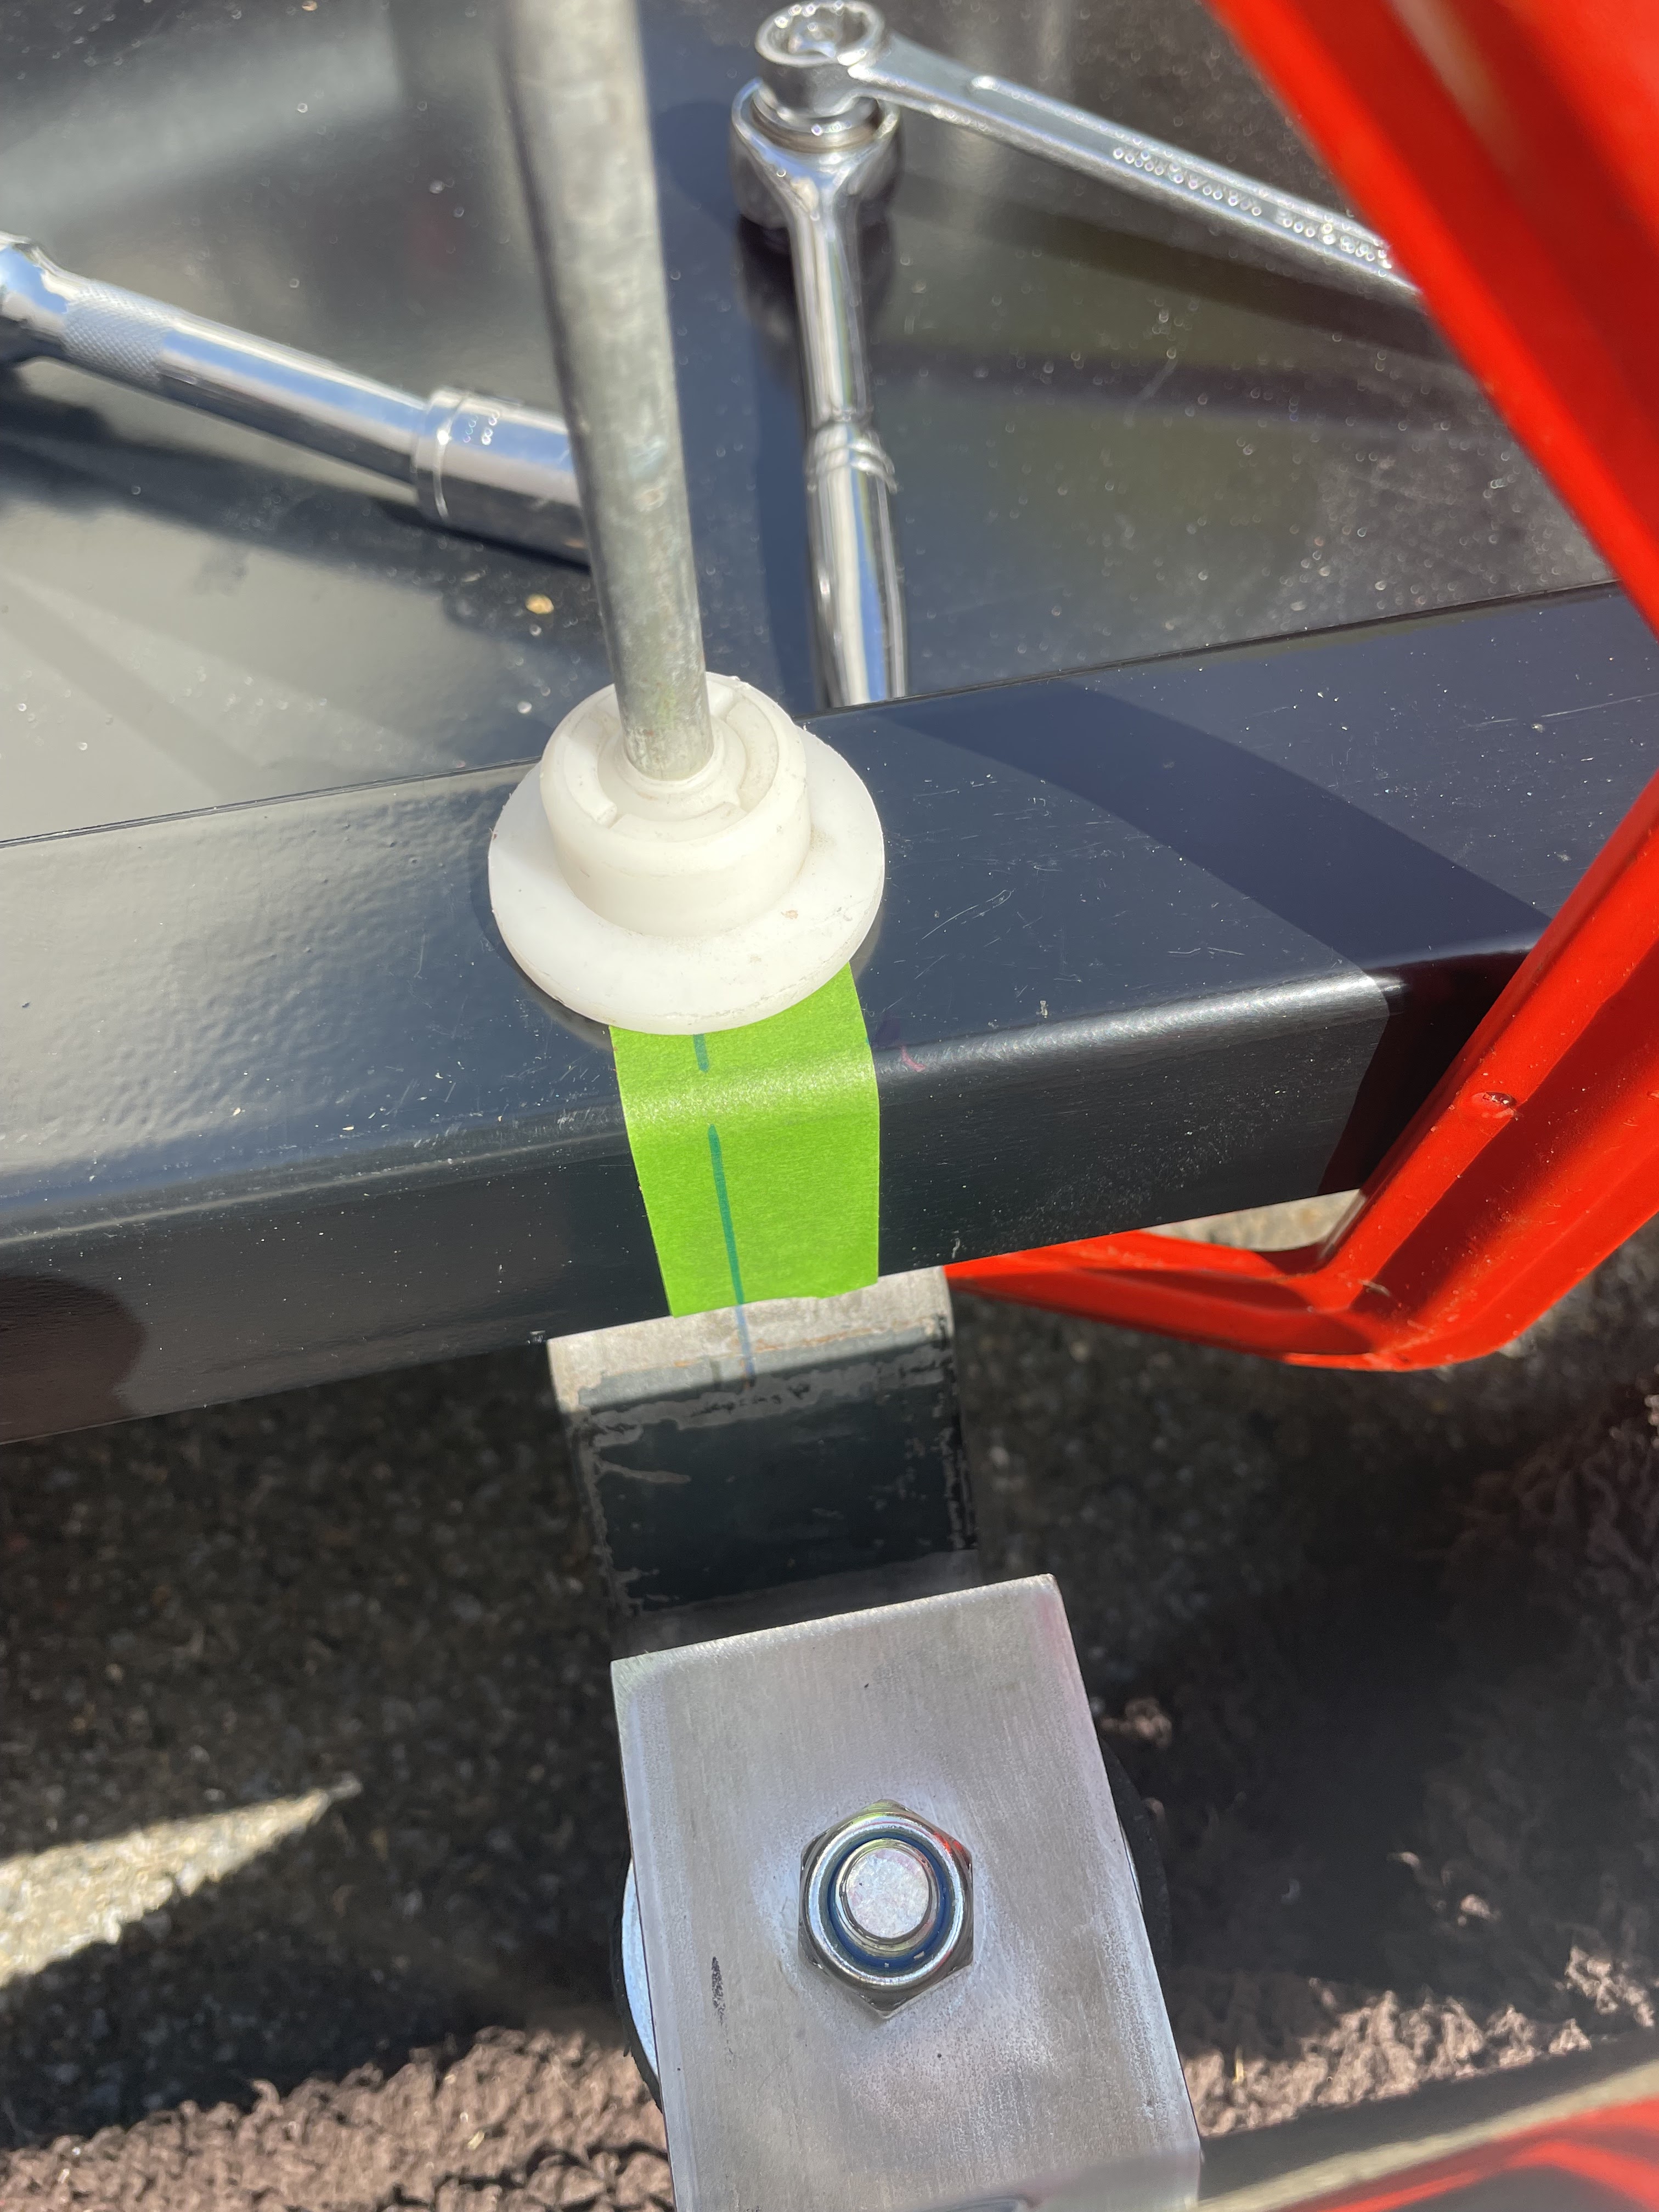
Ensuring that the brackets were at 90 degrees to the chassis rails I stuck a bit of tape on the chassis and transferred a mark for the centre line of the bracket onto the chassis. I drilled a 10mm diameter hole through the top and bottom of the chassis rail and opened the top hole up to 20mm with a hole drill at each bracket position. I could then drop in a couple of bungs made from 20mm diameter steel bar into which I drilled and tapped an M10x1.5 threaded hole and once I had drilled a 10mm diameter hole into the mounting brackets, these could be fixed into place with M10x30 bolts.
 |
| The centreline of the bracket transferred to tape on the chassis |
 |
| 20mm Diameter bung threaded for M10x1.5 on the underside |
The last job was then to drill a 10mm hole in each of the mounting brackets, which I also powder coated in gloss black ready for final installation.
 |
| Bracket after drilling and powder coating |
I then re-wrapped the side pipes in bubble wrap and put them away until the body is mounted and the pipes will need to be fitted into place again to finalise the position of the hole in the body.


