|
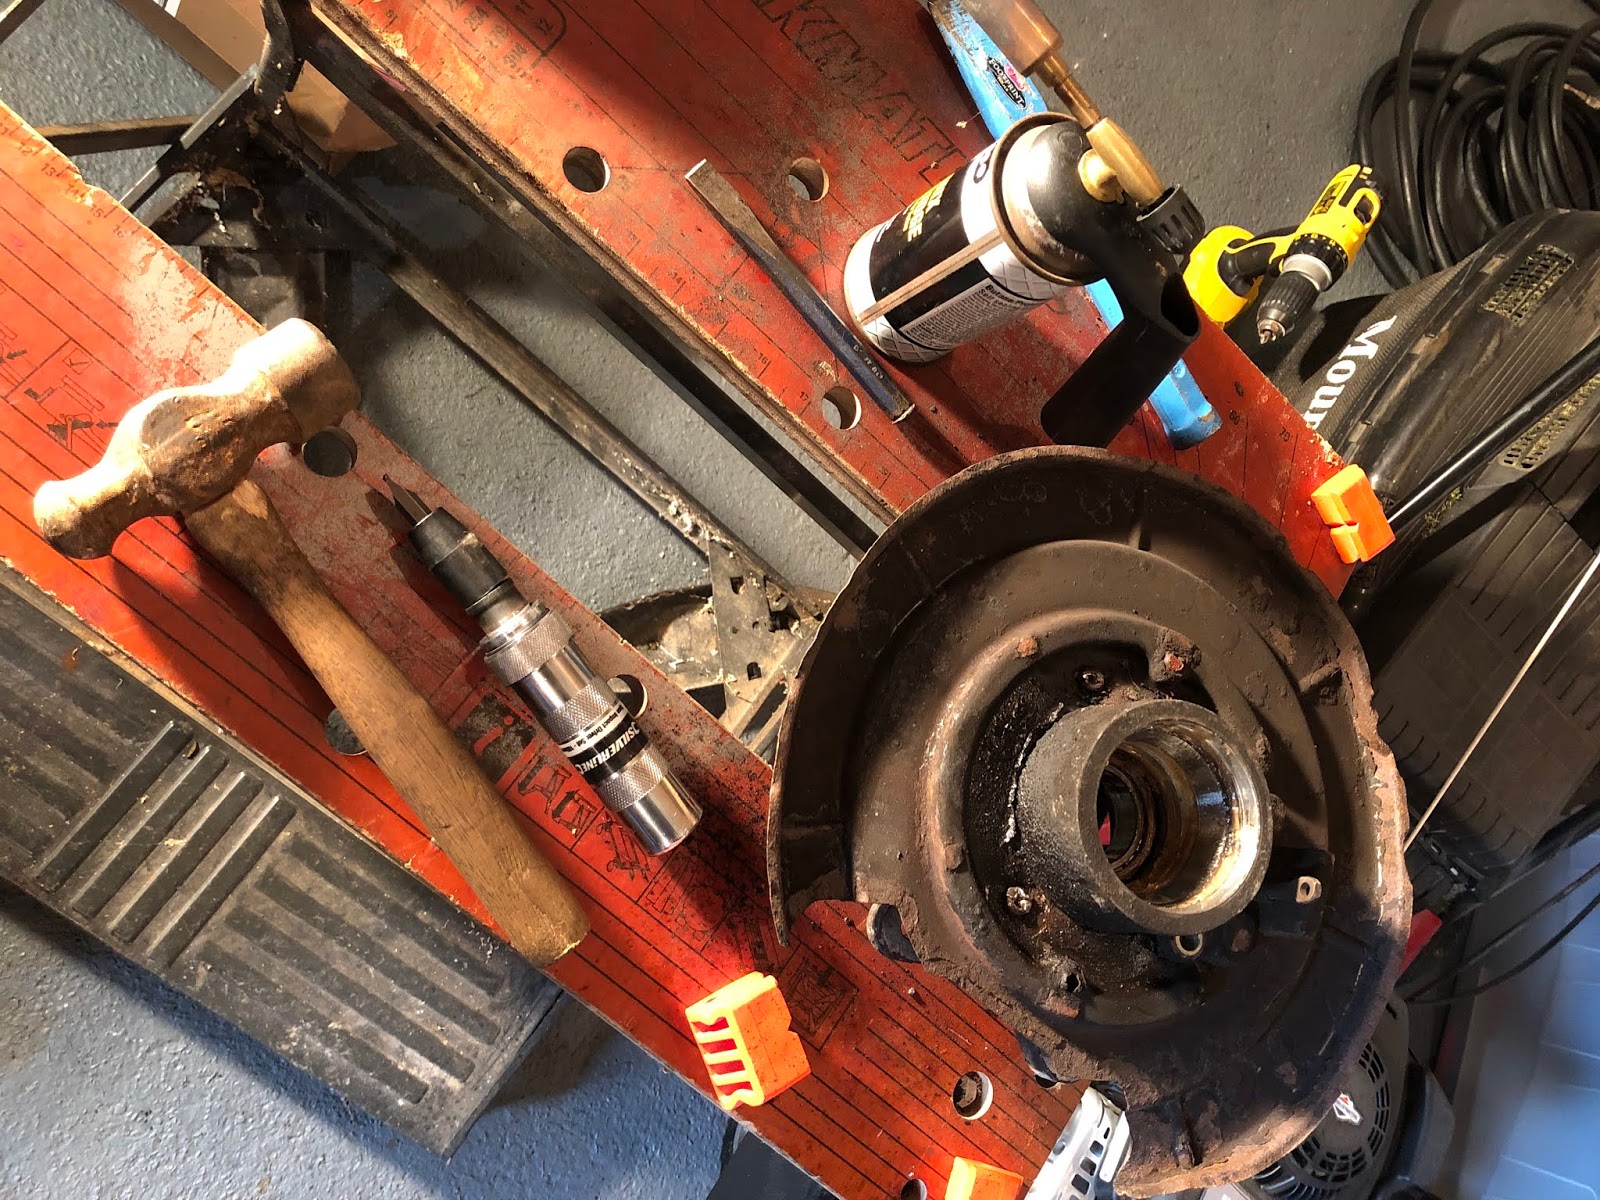
| Rear Driveshaft |
The universal joints consist of a 4-legged 'spider' with a roller bearing cup on each leg. 2 legs are located in the driveshaft and 2 legs in the stub / flange axle end.
 |
| Universal Joint - Photo courtesy of SNG Barratt |
Having read through the AK Manual I assumed that to take the universal joints apart would be the reverse of installation so that if I could push the bearing cups out of both sides of the drive shaft or axle end then the spider would simply fall out. Well it sort of worked like that, but as with everything so far on the rear end strip-down, it didn't go quite to plan.
The first step was to remove the circlips that hold each of the bearing cups in place. Despite both ends of the driveshaft being caked in a fair amount of grease all the circlips proved to be either wedged or rusted into their housings.
 |
| Doesn't look too bad but circlip was stuck fast |
The removal technique involved spraying with penetrating oil, application of a blow torch to heat up the half shaft and then another application of penetrating oil to cool the circlip and hopefully persuade it to loosen up. Some additional persuasion in the form of a hammer and cold chisel on the clips eventually allowed me to either use a pair of circlip pliers to remove the clips or to lever out the clip with a screwdriver.
 |
| Using a screwdriver to pry the circlip out |
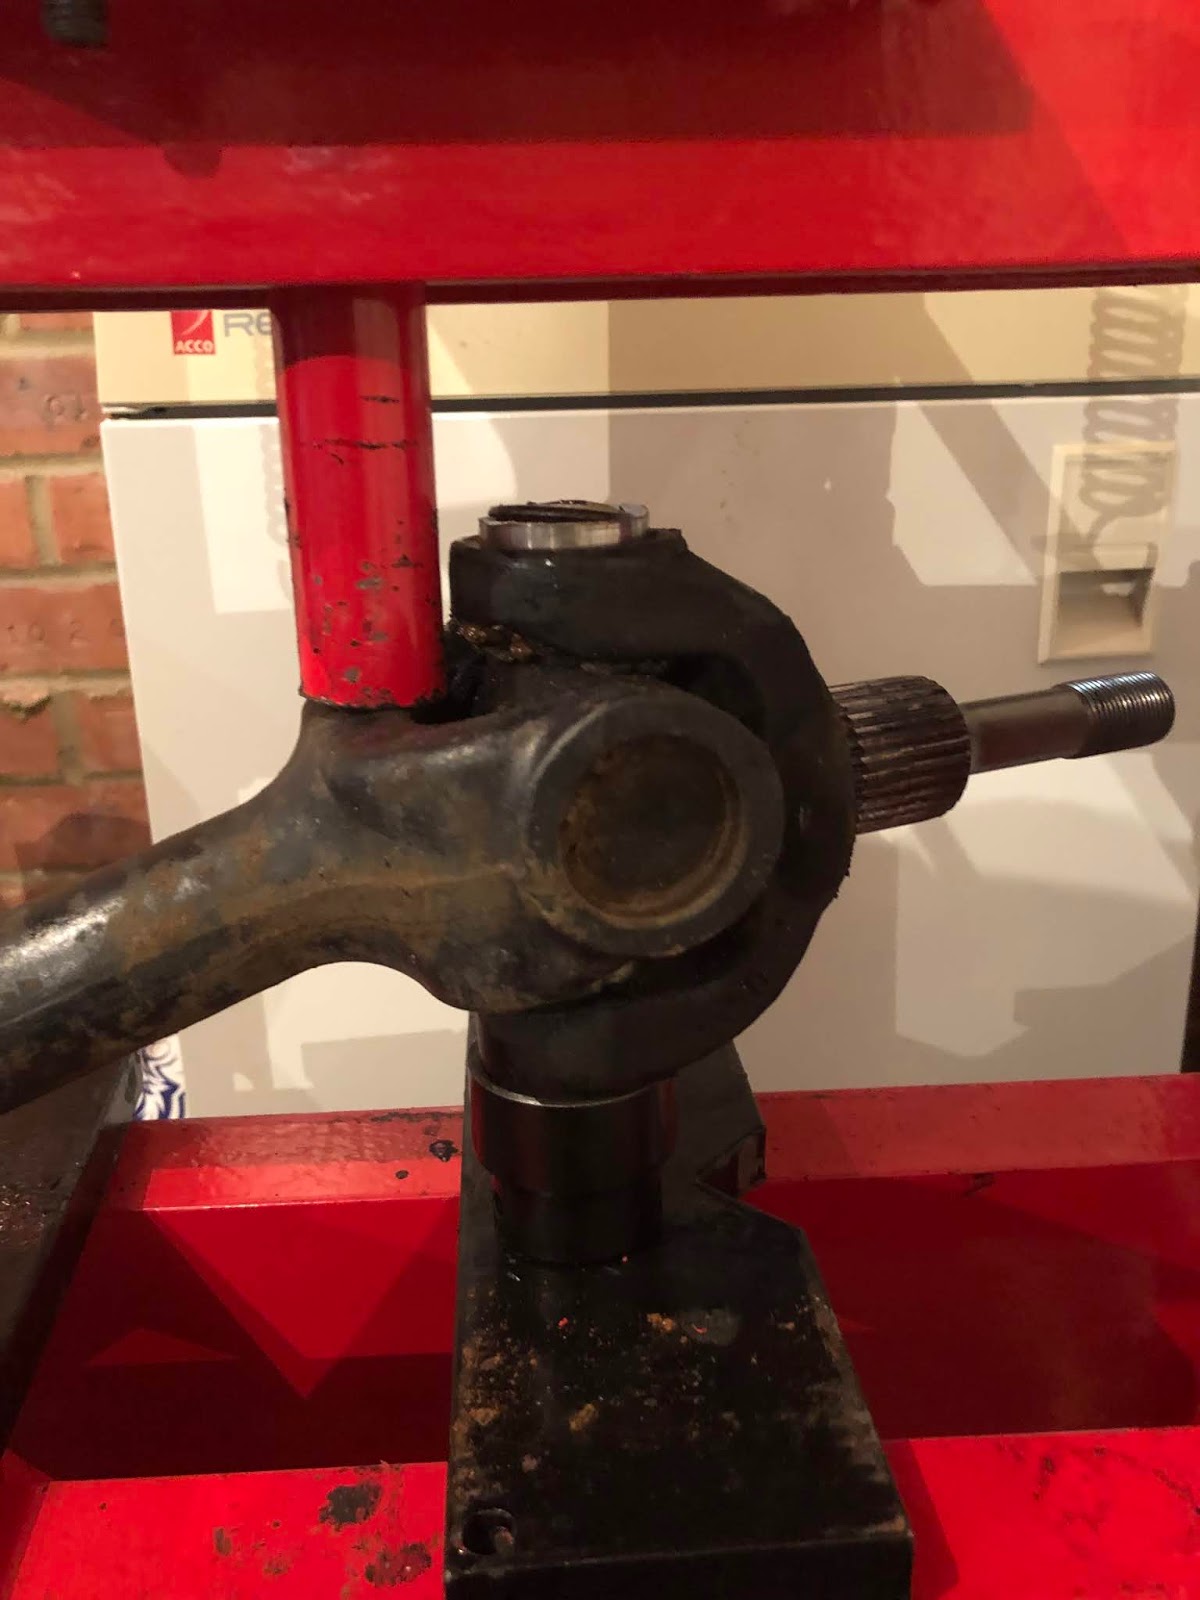
I removed the clip from one side and used a socket with a slightly smaller diameter than the circlip on the other side in my hydraulic press to push down on one bearing cup to push the other side partially out of the stub axle. I used a 32mm socket under the shaft to allow the bearing cup to push part way out of the bottom of the axle end.
 |
| Pushing bottom bearing cup out part-way |
With the bearing cup on the top pushed in slightly removal of the circlip on that side was much easier using circlip pliers. I then turned over the driveshaft and used the press to push down on the driveshaft to partially press the other bearing cup back out of the stub axle.
 |
| Top bearing cup pressed part-way out - pressing the bottom cup out |
With both cups now pushed partway out I thought that would be sufficient to enable the spider to be removed from the stub axle. I was wrong....
However there was now sufficient play on the spider to enable me to insert a screwdriver into one of the bearing cups and so I thought I could try and drift out the cup. That didn't work either although it did crush the top of the cup enough that some of the roller bearings fell out into the bottom of the cup. This had the effect of filling up the bottom of the cup so that when I put the shaft back in the press I managed to pop the cup out of the bottom and release the stub axle from the spider.
(During disassembly of some of the other universal joints I did manage to drift out a couple of the bearing cups with the screwdriver - but most of them did require the above technique to remove them)
 |
| Success!! |
 |
| Separated stub axle |
 |
| Half shaft with stub axle removed and spider still in place |
The other bearing cup was then easily pressed out of the stub axle. Removal of the spider from the drive shaft followed a similar process although the absence of the stub axle meant that I needed to be a bit more creative with holding the shaft in the press to get some leverage to push the bearing cups out.
 |
| Pushing out top bearing cup |
 |
| Spider removed |
 |
| Pressing out the final bearing cup |
I then used the same technique to remove the differential flange and universal joint from the other end of the driveshaft.
On one of the ends I managed to pop the top of one of the bearing cups whilst pressing it out which gave a good picture of the end of the spider and the roller bearings in place (see photo below).
 |
| Roller bearing assembly with spider leg and grease gallery visible |
Both drive shafts are now fully separated. Next and final job on the rear is to separate the lower wishbones from their pivot shafts and the wishbone tie.