
My engine has been sitting in the corner of the garage on an engine stand and acting as a giant dust magnet since I collected it back in 2020. Exciting times are ahead as I have reached the stage where I can seriously contemplate being able to install the engine and gearbox into the chassis.
There were a couple of bits that I was able to do before having to remove the engine from the stand to allow the gearbox to be fitted up.
First was to install a thermostatic take-off plate for the oil cooler. I purchased a Derale LS Engine Oil Cooler Adaptor from Summit Racing. This is a thermostatically controlled adaptor which allows the oil to bypass the oil cooler until the oil temperature reaches 180 degrees Fahrenheit. It also includes two 1/8" NPT ports which can be used for oil temperature and pressure sensors for dashboard instruments.
 |
| Oil Cooler Adaptor |
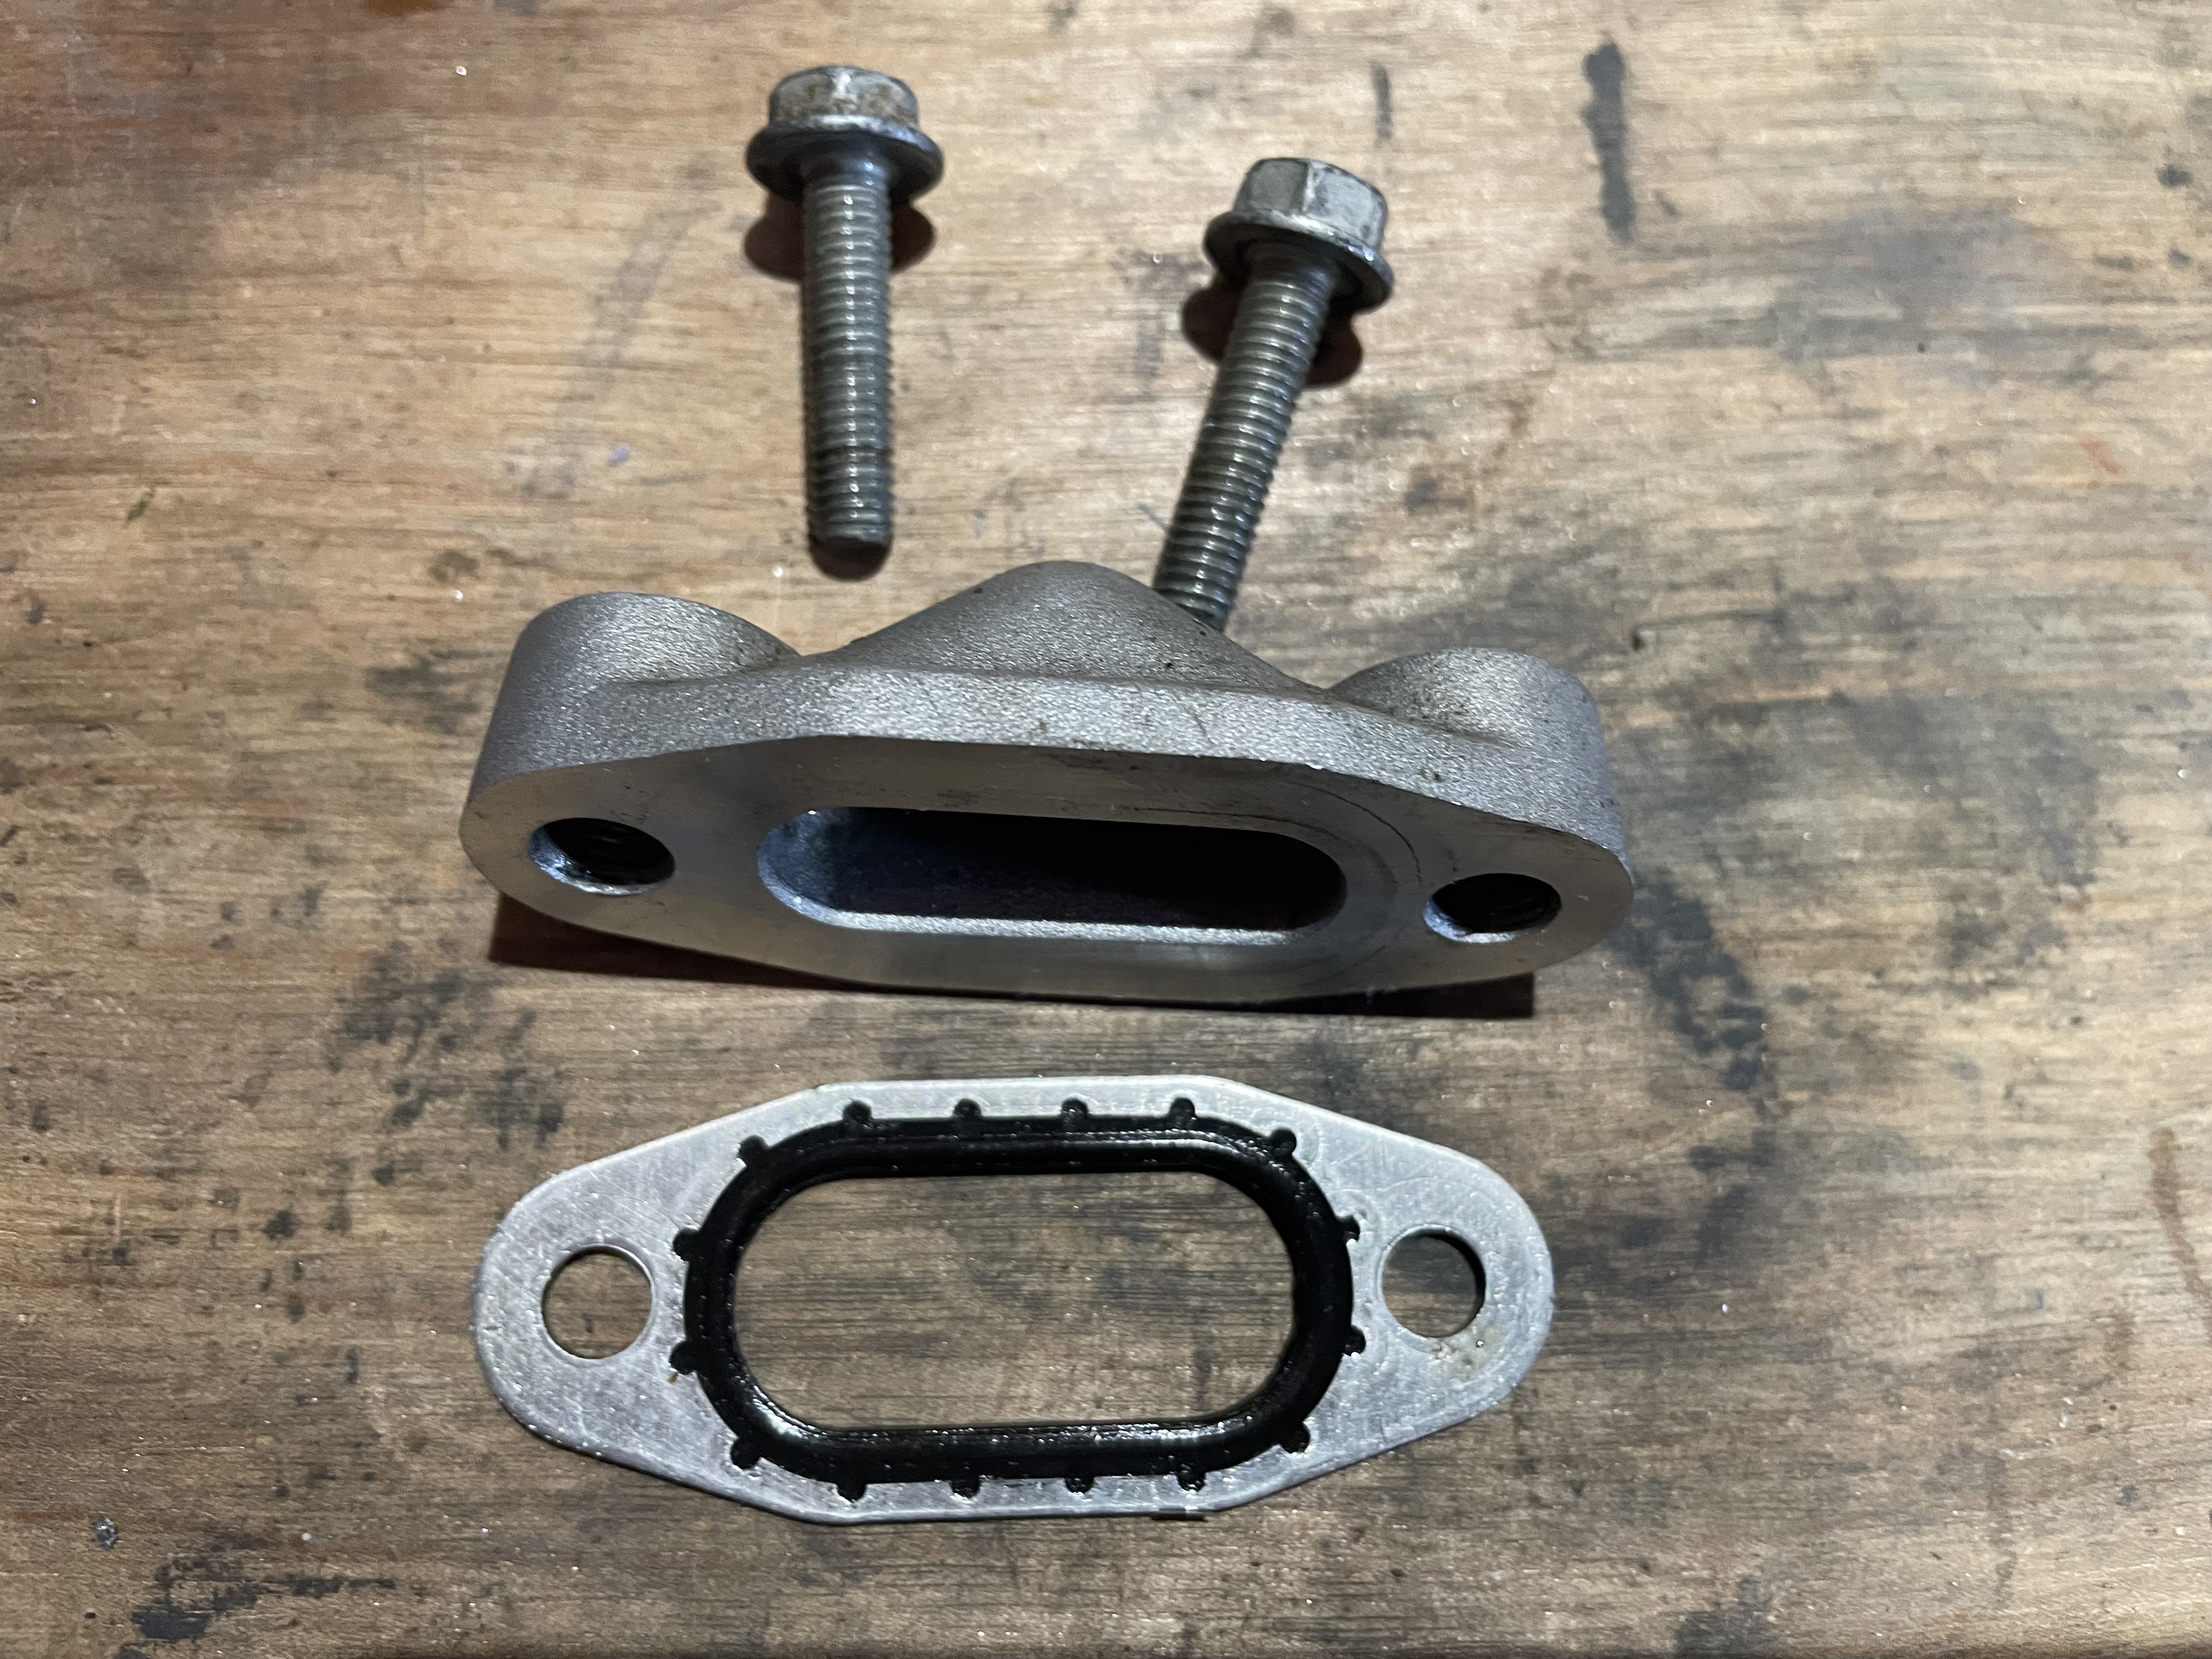
The adaptor is installed by removing the cover on the side of the LS engine block above the oil filter. There are two oil galleries behind this and the cover simply provides continuity of flow between the two.
 |
| Location of the original cover plate above the oil filter |
 |
| The cover simply provides a channel to connect the two oil galleries |
As I do not have my dash instruments yet and therefore do not know the necessary senders required I sealed the two NPT ports in the adaptor with plugs which come supplied with the adaptor. I used PTFE tape on the plugs just in case I end up running the engine without having installed the sensors.
The adaptor also requires two AN adaptors to be installed to which the oil cooler lines can be connected. The two ports on the top of the adaptor are -10 ORB fittings. This, as I discovered, means that they are a -10 AN thread (7/8" UNF) while ORB stands for O-Ring Boss, meaning they need to be installed with an O-Ring seal.
I purchased two -12 AN to -10 ORB adaptors from Torques Products Ltd. I lubricated the O-rings with some engine oil prior to installation and tightened both adaptors into the top ports.
 |
| -12 AN to -10 ORB Adaptor |
The adaptor plate itself also comes with two O-rings that need to be installed into grooves on the rear of the adaptor (I didn't lubricate these) before the adaptor plate is bolted into place with two M6 bolts which were torqued to 120inch lbf. Note the inch rather than foot torque specification!! This equates to a mere 10ft lbf / 13.6 Nm so I could dig out my smaller torque wrench for this job!
 |
| O-rings installed on the rear of the adaptor |
 |
| Oil Cooler Adaptor bolted in place |
I also took the opportunity while the engine was on the stand to install the starter motor. This will allow me to check the clearances between the starter pinion gear and the flywheel before the bellhousing is installed and makes that task pretty much impossible.
I was supplied a standard GM starter motor with my engine but I elected to actually install a Proform high-torque gear reduction starter motor. This type of starter has a lower electrical power demand but still produces enough torque to spin over higher-compression engines. The Proform starter also can be "clocked" in three different rotational positions to allow more clearance of the solenoid from exhaust pipes or other components if necessary.
 |
| Standard starter (top) vs High Torque starter |
 |
| The three bolt positions on right allow starter body to be rotated relative to mounting plate |
 |
| Starter motor in place |
The last job before lifting the engine off the stand was to bolt on the engine mounting plates. These were fixed in place with 4No. M10x25 bolts and M10 washers each side. For added peace of mind I put a drop of Loctite 271 on each of the bolts before installation.
 |
| Engine mounting plate in place |
With those jobs done its time to get the engine crane out and lift the engine off the stand to allow flywheel and clutch to be installed.