
With the engine in the car, the last job to complete the installation was to attach the alternator and the power steering pump and fit the serpentine drive belt.
When I bought the engine, Kyle supplied a nice billet aluminium bracket set-up, which once I worked out which holes on the engine it was all supposed to bolt up to, went on quite easily. There is a smaller bracket which supports the rear of the alternator which sits directly against the cylinder head, the larger front bracket is then set off from the engine block with a number of spacers.
 |
| Initial Fit of Ancillary Bracket |
Somewhat oddly, despite it being listed as a part of the bracket kit, I didn't seem to have the lower idler pulley with my kit; it was all blister packed and there didn't seem to be a "missing" spot for it. That created a short delay in proceedings as I had to order a new idler pulley from Summit Racing in the States (I did this to be sure I got the right one, which needed to be for a Z06 Corvette). Once it arrived it just needed to be fitted with the 110mm M10 bolt supplied with the bracket kit through the pulley and a couple of spacers and screwed into a hole in the engine block.
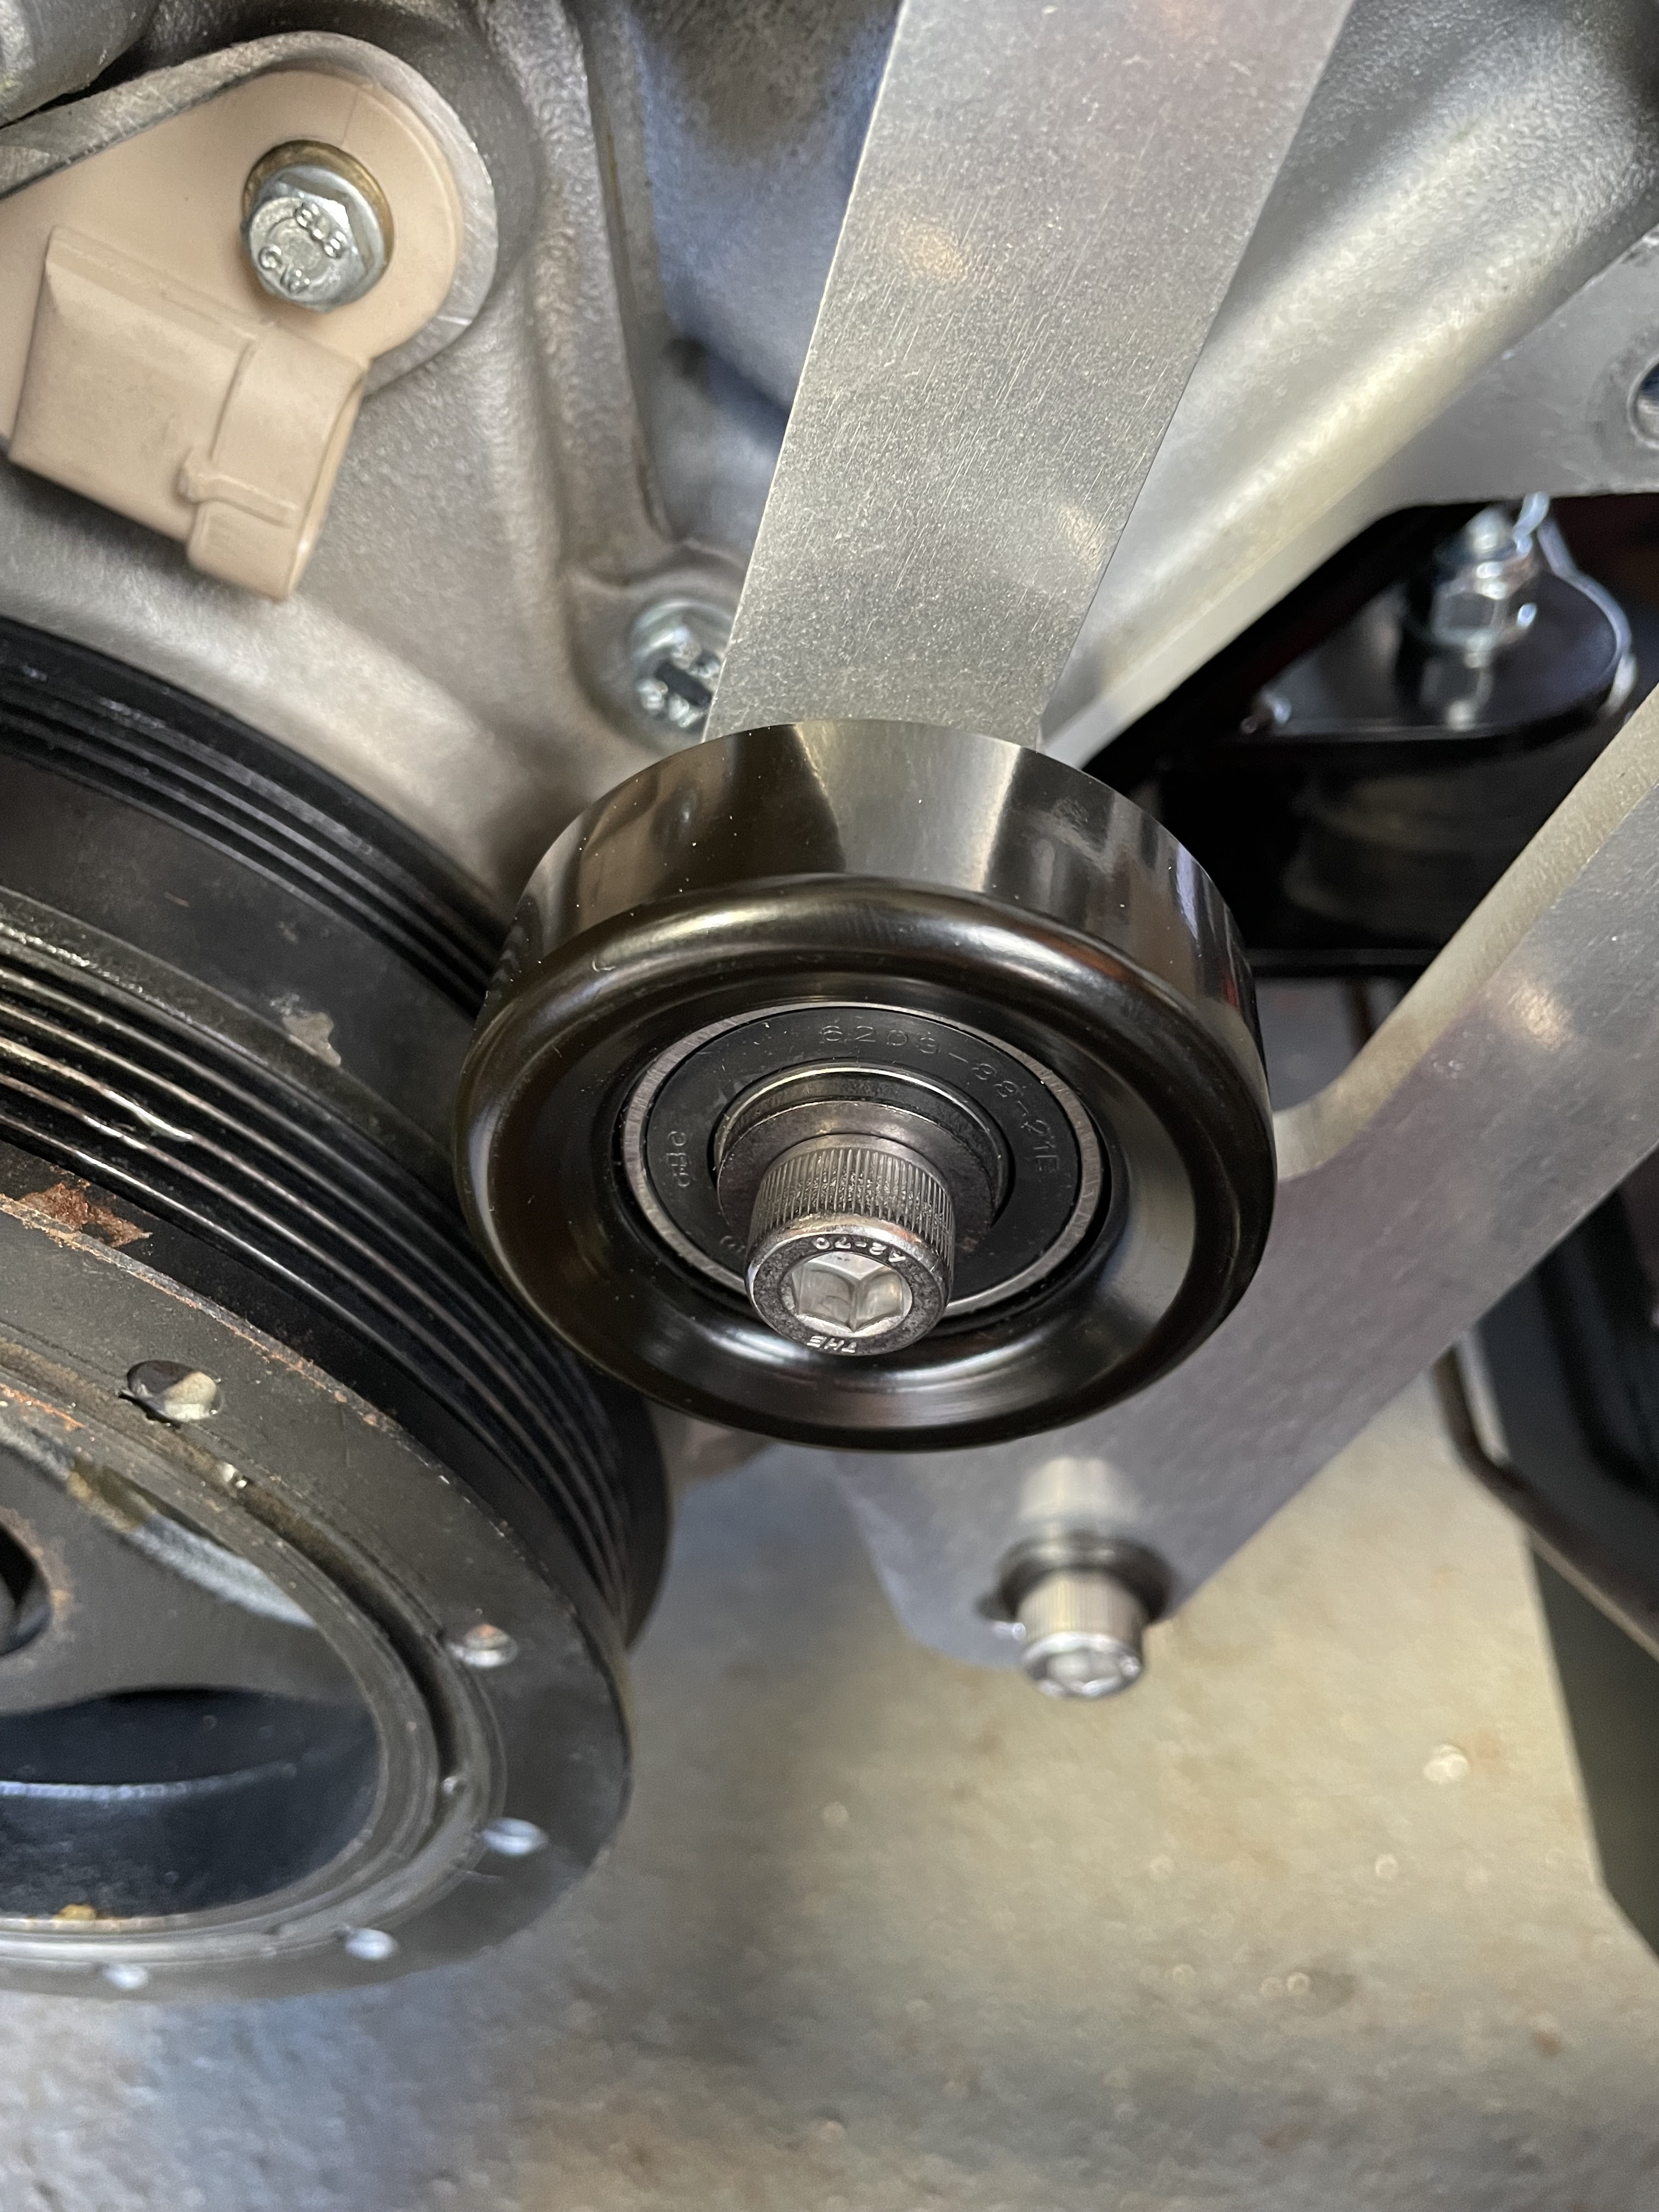 |
| "Replacement" Lower Idler Pulley |
The alternator could then be fitted into place between the front and rear parts of the bracket and held in place with two M10x80 bolts.
 |
| The alternator is fixed in place |
Then it was 'just' a matter of fixing the Power Steering Pump in place with the three M8x25 bolts supplied. And with that, a five-minute job turned into a several weeks job...
The first problem was that the Power Steering pump that I had been supplied with the engine, which was a standard GM / AC Delco unit, did not have threaded mounting holes. The fixings were meant to be much longer bolts that passed through the whole unit and were secured with nuts at the rear. OK, so I could have bought some longer bolts, but the pump unit is a snug fit between the front and rear parts of the ancillary bracket which would have made it impossible to get any nuts on the bolts in any case.
Another AK builder, who had also got his engine from Kyle, and with who I had been in contact previously, had purchased a new pump from Summit and he had previously given me the details of this. Figuring he might have encountered the same problems that I was having, I blindly went and ordered the same pump; a performance pump with AN fittings from Tuff Stuff. This was a long-lead item from Summit and I had to wait several weeks for it to arrive. Once it arrived, I was relieved to find out that it did have threaded mounting holes and managed to fix it in place on the bracket.
 |
| Tuff Stuff 6170ALB-2 Power Steering Pump... |
 |
| ...installed in place |
At this point, I noticed my next problem. The pump that I ordered has the outlet port on the bottom. This is the high-pressure line and while I knew that I would need to get a new hose made up with an AN fitting to suit, it was pretty obvious that there was going to be insufficient room between the port and the bracket to accommodate an AN fitting and sufficient clearance to form a 90-degree bend (similar to the brake pipe in the picture above, you can not form a bend immediately behind the fittings; there will need to a certain straight length needed to allow the pipe bender to do its thing...). This was confirmed in my discussions with Adam at Earls, who I had contacted to request a quote for a new high-pressure pipe.
I had two solutions. Grind away part of the bracket to give clearance for the fitting or find another pump. I went with the latter option but this time did a bit more research before pressing the order button. I thought a pump was a pump, but reading through the Tuff Stuff catalogue online, there are loads of configurations. So this time I bought a pump with a top outlet and with threaded mounting holes and with AN fittings. Summit was showing out of stock so I ordered via Ebay.com but that still took another 8 weeks to arrive!
 |
| Does what it says on the box... |
 |
| ...only this one has a top-facing outlet port! |
The power steering pulley needs to be installed onto the pump using a special tool. It's a press-fit but should not be attempted using a hydraulic press as that could damage the pump. I bought a cheap tool from Amazon; this is basically a threaded bolt that screws into a thread at the end of the pump drive shaft with a nut/flange arrangement threaded onto the bolt. The flange sits on the face of the pulley and then by holding the main bolt with one spanner and winding the nut down with another spanner, this presses the pulley onto the shaft. The pulley is installed until the end of the shaft is flush with the front face of the pulley.
It's probably obvious, but the pulley needs to be installed with the grooved flange to the front; this is to allow a puller to grip onto the pulley in the event that it needs to be removed. If you install it the wrong way around, you will need to take it to your local helpful mechanic to get it removed while he laughs at you; ask me how I know this...
 |
| Holley Power Steering Pulley - note which way round it goes... |
 |
| Pressing the pulley into place... |
 |
| ...until the face end of the shaft is flush with the front of the pulley |
I could then install the pump back onto the ancillary bracket; it needed a bit of wriggling to get the pump with the pulley into place with the tubular bracing of the AK Gen III chassis. I could then get the bolts into place and tighten them to 15ft-lbs / 20Nm.
 |
| Finally, the pump is in place! |
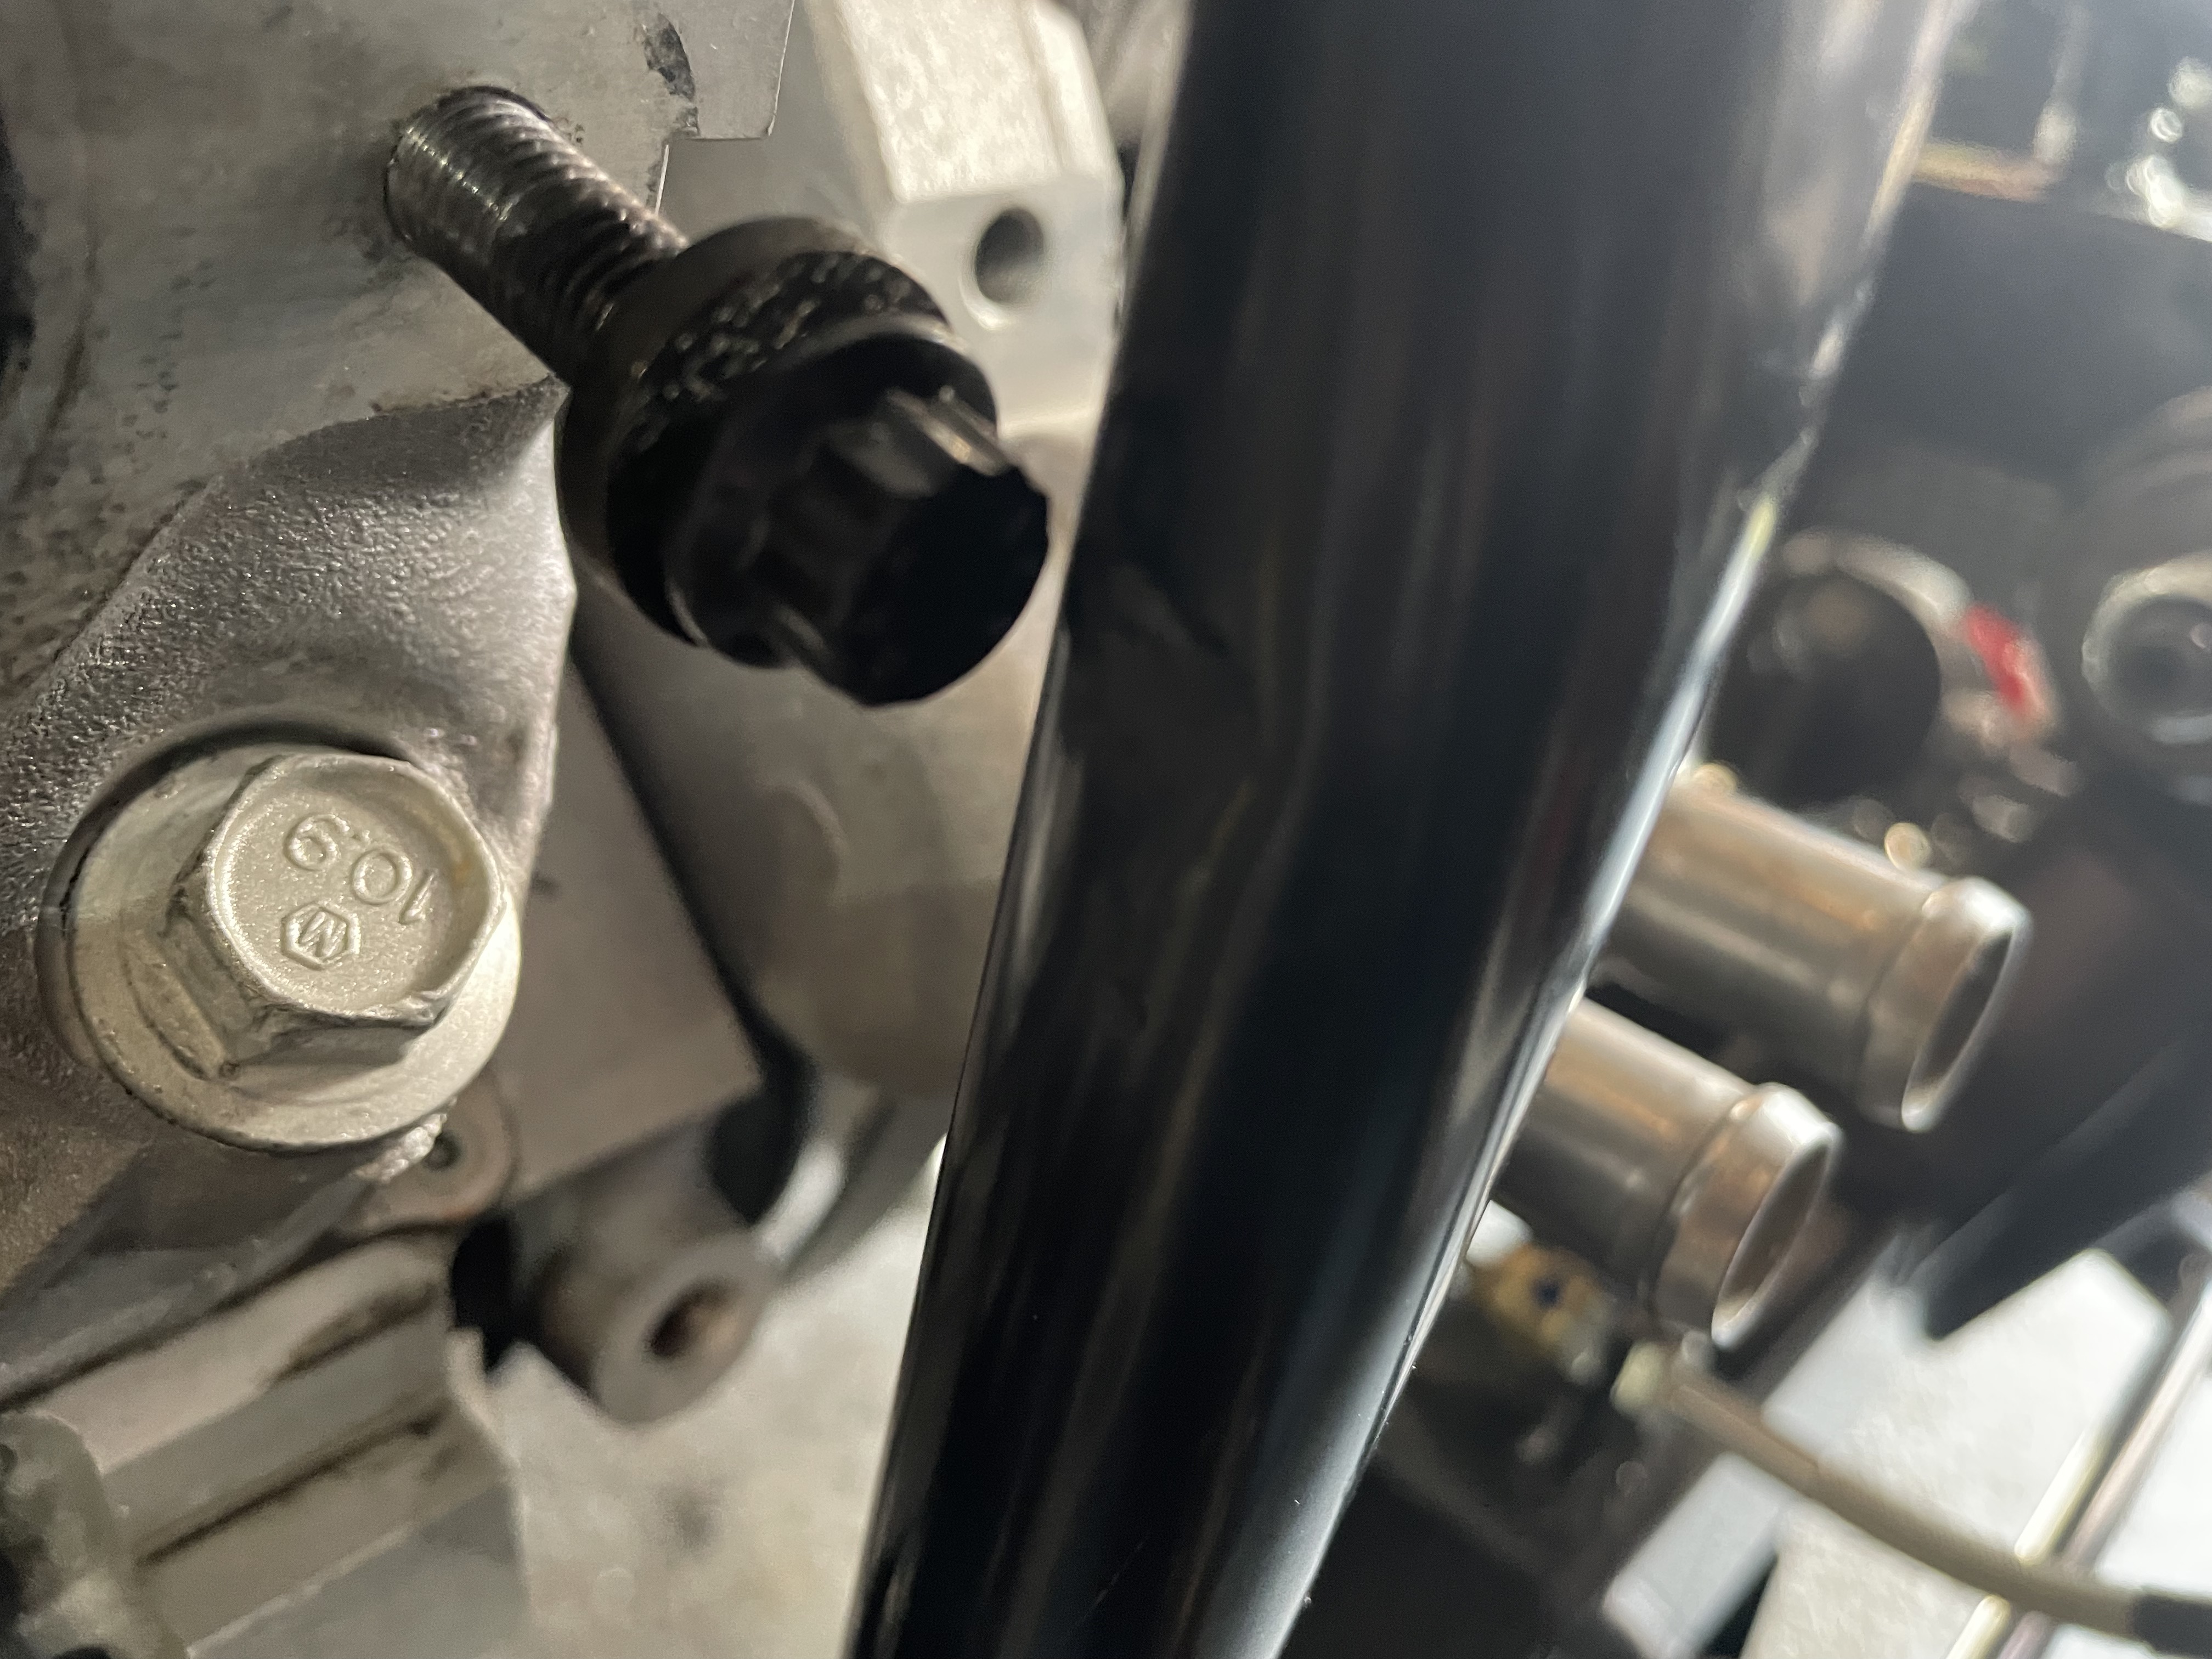
(Actually, I did have to take the pump out again as I had forgotten to torque up the bracket mounting bolt that is cunningly obscured by the pulley once the pump is in place. I torqued all the bracket bolts to 25ft-lbs / 34Nm.)
Finally, I could get the serpentine belt looped onto the alternator, power steering pump, water pump, idler and crank, and using a spanner to pull the belt tensioner forward, slipped the belt fully into place and released the tensioner.
 |
| The serpentine belt looped into place... |
 |
| ...and over belt tensioner. |
With all the faffing around with power steering pumps, that little job only took the best part of five months!!!


