Saturday 31 August 2019

Why You shouldn't rush things...

Sometimes I astound myself with my own stupidity...

If you are up to date with my blog you will recall that I am the proud owner of two rear wishbone ties.

The first one, which I got with the donor axles, was missing the inner bushes.  I used this part as a practice piece for powder coating and as a result, the finish wasn't that great.

The second one, which I got as a replacement, came with the full complement of bushes.  The powder coat finish that I achieved on this part was far better than that of the first tie.

However, it turned out that the first tie was the correct part for my rear axle set-up.  

So my first thought was that I was going to have to re-coat the original wishbone tie, which was going to be a bit of a pain to have to try and strip off the iffy powder coat and get back to bare metal.

Then I had the lightning bolt moment!  Of course, all I had to do was press the inner bushes out of the second wishbone tie.  Then I would have a tie that fitted my rear axle and had a decent finish. Simples!!

Cue another job that should have taken 5 minutes, actually took most of the day and, in this instance, ended in disaster...

Firstly the inner bushes stubbornly refused to budge from the second wishbone tie.  I think I must have almost reached the maximum capacity on my 10-tonne press.  The frame was shaking and the jack was crying hydraulic oil but despite several cycles of loading and unloading the bushes did not even move so much as a millimetre.

A trip to Screwfix to buy a 30mm holesaw for my drill followed, in an attempt to drill out the centre of the bush.  Even this plan of attack was slightly thwarted.  The inner bushes on the wishbone tie are actually 3 sleeves of steel with a rubber sandwich between each.  The resulting thickness of the rubber was thinner than the thickness of the holesaw.  So rather than just cutting through the rubber to allow the inner metal sleeve to be removed, the holesaw had to chew its way through the middle metal sleeve.  This took forever as the saw kept catching and jamming on the end of the metal.  

Eventually, I did manage to work my through the whole of one of the bushes and extract the centre core.  Then all I had to do was gently cut through the outer steel sleeve left in the wishbone housing with a hacksaw and then tap the remains of the bush out. What could go wrong?

Well, two things went wrong.

1) Firstly, rather than secure the wishbone tie in a proper vice, I clamped it into my trusty workmate.  My workmate sits in the corner of my garage; the dark and dimly lit corner.  The constant jamming of the holesaw when trying to drill the bush out kept shaking the tie loose in the workmate.  So I kept tightening it up, tighter and tighter...It was only when I had finished hacksawing out the outer sleeve that I realised that I had not been clamping the wishbone tie by the central (solid) part but on one of the flanges.  My constant tightening of the workbench had distorted the flange inwards.  I tried bending it gently back out and although it straightened out of sorts, it actually bent back from just above the point where the flange was welded onto the main body of the tie.  As a result, I was concerned that the metal had torn slightly above the weld line, rather than bent back to shape (if shape was the right word since the flange still looked quite distorted).

Distinctly "S"-shaped flange - and that was after trying to bend it back...

2) Secondly, my frustration over the whole exercise taking far longer than it should have, resulted in some further carelessness when hacksawing through the outer sleeve.  Rather than set-up a work light to see what I was doing properly I attempted the sawing operation in the aforementioned dark and dim corner of the garage.  After completing the cutting and the outer sleeve popping out onto the floor with a reassuring ping, I released the wishbone tie from the workbench and took it outside to examine my handiwork in a better light.  Of course, I spotted the bent flange at this point but also that I had been too enthusiastic with the hacksaw.  Not only had I cut through the outer sleeve but had managed to cut a sizeable slot into the wishbone tie itself.  

Bush removed - remains of the middle sleeve after operation holesaw on LHS

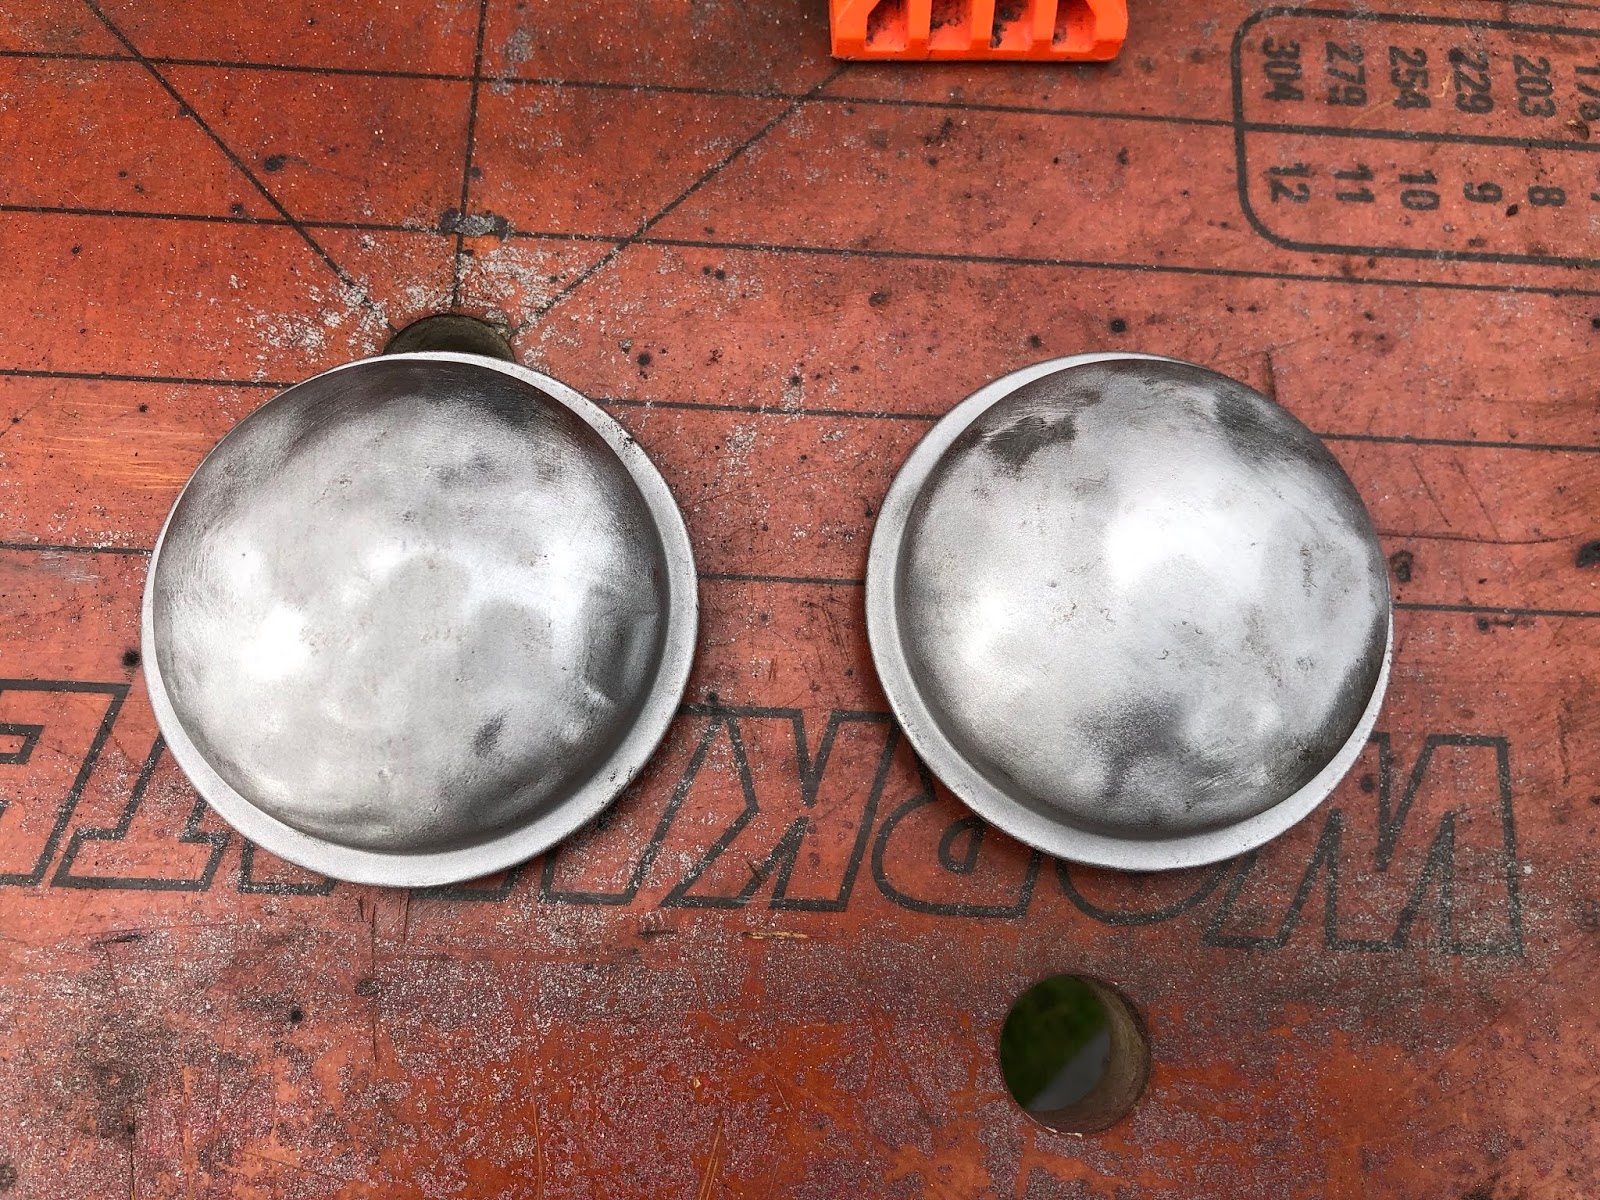
One inner bush removed.  Looking good...

...except for the addition of a small crack inducer into a highly loaded part...

While I am no mechanical expert, I know enough to realise that the wishbone tie is a highly loaded part of the rear suspension since it is one of the main components transferring the load from the rear suspension into the chassis.  My actions had rendered my spare wishbone tie junk, with a weakened flange and a rather effective crack inducer added to point at which the tie connects to the chassis.

My son has a particular phrase that he used to describe my actions - but I'm not going to repeat it...

So the lesson for today is - even when things are not going to plan, don't rush, take your time and don't cut corners.  It's back to Plan A for me and attempting to re-coat the first wishbone tie...

Powder Coating Fest - Part 3

Having had some reasonably successful results powder coating various donor parts, using either satin black or gloss black powder, I thought it was time to funk things up a bit.

At the 2019 Stoneleigh Kit Car Show, I was looking at the various powder coat colours on the ElectroStaticMagic stand.  I had been contemplating coating a few pieces in either a candy blue or red which would be similar colours to the anodised aeroquip style hose fittings that we plan to use for plumbing Project Snake.

My original thought was to go for a blue candy colour but they didn't have any in stock at the Stoneleigh show so I went for candy red instead (always one for sticking to a plan).  The candy powder is applied over the High Gloss Chrome powder and I picked up 1/4kg of that at the same time.

The first pieces I decided to apply to funk treatment to were the front axle dust caps.  These got the usual wire brushing, sandblasting and Afterblast treatment prior to coating.


Dust Caps - after initial clean...

...after sand blasting

...and after application of Afterblast

The instructions for appying the candy powder coat require an initial coating with the High Chrome powder, which is then cured for 30mins at 180 degrees and then allowed to cool to ambient temperature.  The red candy powder is then applied over the High Chrome and cured for 10mins at 180 degrees.

The dust caps were given a once over with the Eastwood Prepaint Prep and a wipe over with a tack rag and then the High Chrome powder was applied.  This goes on as a flat medium grey colour.


High Chrome powder applied

These were then brought up to temperature in the oven and cured for the recommended 30mins.  The finish of the High Chrome is very good.  The powder cures to an almost chrome-like finish (as the name suggests....).  If leaving the parts as the Chrome finish it is recommended to gloss clear coat the parts to prevent the powder dulling with time.  I reckon this would give the parts a really good shine and, on a well-prepped surface (unlike my battered and bruised dust caps), I think at first glance it would be hard to differentiate the finish from a real chromed part.


Shiny Dust Caps - shame about the dimples...

I can see my face in this one!

Its like looking in a battered mirror....

Next step was to apply the red candy powder.  I did this the day after applying the High Chrome so obviously the parts had cooled completely.  I gave them another wipe over with Prepaint Prep and a tack rag and then tried to apply the red candy powder.  

Note the word 'tried'.  This proved quite tricky.  The second coat of powder didn't want to adhere to the parts at all.  I'm not sure whether I wasn't getting a good ground contact (because of the first coat), although I had scraped a bit of the coating off on the inside where I had placed the hanging/ground wire, but the powder went on in a very patchy manner and when I tried to fill in the gaps, the powder that had coated the part just seemed to blow off.

I ended up blowing all the powder off with an airgun, re-cleaning the parts and trying again.  The second time I turned the air pressure on the powder coating gun down a bit (to around 4psi) and trying to 'fog' the parts in powder.  This did achieve a better coverage (although not a very economic use of powder and everything in the garage now has a slight red tinge to it....) although care was still needed not to blow the powder off in places.


Eventually managed to get parts completely covered...

These were then popped in the oven at 180degrees / Gas mark 4 for 10mins after the parts had reached curing temperature.  I was quite pleased with the results.  The final colour is quite a deep red and so is more like the colour of 'Ruby' (the AK demonstrator that is current inspiration for this project) which is fine assuming we don't change our mind on the final colour!!

Close inspection of the final pieces did show some areas where the coating was a bit patchy, but only if you look closely (and the dust caps will eventually be hidden anyway - which begs the question why did I bother...).  


Freshly cured Candy Red dust caps...

Final result - some minor blemishes!!

Still, it was a good experiment for some parts which might be more visible and so buoyed by the initial success I attempted to powder coat the rear wishbone spacer tubes.

These needed a good session with the angle grinder and some flap wheels to clean off the surface pitting caused by my leaving them too long in a citric acid de-rusting bath previously.  After an intensive session with 40, 80 and then 120 grit flap wheels, the tubes cleaned up quite nicely.


After some flappy wheel treatment...

These then got a final sandblast, spray with Afterblast and a clean up before powder coating with the High Chrome.  As before these were cured at 180 degrees for 30mins.


Chrome coated spacer tubes

Having scoured the internet for some tips on applying the candy powders, I found a couple of tips on various forums, which suggested that, rather than trying to apply the candy powder to a cooled part, it should be preheated to around 65-75 degrees to aid adhesion of the second coat. 

This technique made a big difference and the candy powder seemed to adhere much more readily to the chrome coat, although there were some areas that needed a bit more persuasion than others. 

However, after curing and cooling, I was a bit disappointed with the results.  The candy coat was still quite thin and patchy in places and where I had obviously not managed to remove all the surface blemishes from the tubes with the grinder/flap wheel combo, the powder had concentrated around these giving some very obvious dark spots on the coating.


Patchy coating...


...and dark spots

I know these tubes (and the dust caps) will be hidden from sight once the car is finished, but I still want these bits to be the best finish that they can be.  So at some point soon, I will probably attempt to redo them all.

Tuesday 20 August 2019

Set Blasters to stun.....

Armed with my trusty Budget Blaster Mk2, I had been making good progress with cleaning and prepping many of the donor car parts for powder coating.

However, the change of my blasting media of choice from kiln-dried sand to aluminium oxide soon identified a major issue.  

The aluminium oxide media is far more abrasive than the sand; so abrasive that it actually blew its way through the nozzle of Budget Blaster.  I was starting to notice that it was taking a bit longer to clean off one of the rear hubs and then I spotted the hole in the nozzle...


The additional hole does not improve performance.....

OK I thought, I've managed to do quite a lot of sand blasting with the original nozzle so I'll just order another set of nozzles from a well-known mail-order company that offers next day delivery and that should see me set for a bit longer.  In the meantime, I'll just revert to Budget Blaster Mk1.

A great plan....for less than 5 minutes, by which time Budget Blaster Mk1 had bitten the dust as well.


RIP Budget Blaster Mk1...

Clearly, the nozzles were not going to survive very long with the aluminium oxide media and so I cancelled the order for another set of cheap nozzles and contemplated Plan B.

Plan B involved the purchase of a Clarke SB3 Grit Blasting Gun, the main lure of which was it came with a hardened steel nozzle!  There were fairly mixed reviews of this on the internet, but for £20 I was prepared to give it a go.


Clarke SB3 Grit Blast Gun - photo courtesy of MachineMart

Some of the reviews cited issues with media delivery and volume of media used.  I found one review that said to ensure the delivery tube was fixed facing forwards and to angle the gun downwards in use - which I did and had no problems in use.

However, the speed at which the gun uses blasting media is quite high.  The pot takes has a litre capacity so around 1-1.5kg of media.  My initial experiments with the gun managed to empty a full pot in a couple of minutes.  The results were impressive but clearly, some means of capturing and recycling blast media would be required otherwise 25kg was not going to last very long!

My solution was to buy a large tarpaulin and a cheap gazebo with sides, from the well-known internet auction site, to make a supersize blasting 'cabinet' by laying the tarpaulin on the floor and sitting the gazebo on top.  The theory being that the gazebo would help to contain the excess blast media and this could be swept off the tarpaulin and reused.

For the first full-scale test of this set-up, I reverted to using the kiln-dried sand since a) the damp bag that I bought previously had now dried out a bit and b) if the set-up failed I was only wasting a £3 bag of sand rather than expensive aluminium oxide.  

I have to say the results using the SB3 gun and sand were pretty amazing.  The gun is pretty effective and I managed to strip and clean some of the rear axle parts in less than 30 minutes.  It does go through the media at a phenomenal rate!  But the tarpaulin/gazebo combo did a reasonable job of containing the excess media and with some frequent sweeping up, I did manage to recycle a fair amount of the sand and finished with almost as much as I had started with!

Lifes a Beach - After 5 minutes of blasting...

Initial results...

A quick blast with the aluminium oxide should see these parts finished and ready for powder coating.

So a big thumbs up for Plan B (although unfortunately, the 'B' does not stand for budget...)

Friday 2 August 2019

Differential - Part 3 - I'm a bit tied up at the moment

With the differential fitted and the problems with fitting the wishbone tie resolved, I decided to deviate slightly from the AK build manual instructions.

Rather than press on with installing the rear wishbones and hubs (well my hubs aren't ready in any case), I decided to install the rear differential tie bars.  I had seen from Richard's blog post that he had had some fun and games getting these fitted and I figured it would be easier without all the extra weight of the drivetrain if things needed to be jiggled about!

The AK-supplied tie bars are fixed between two chassis lugs and the upstand flanges on the wishbone tie; one on each side of the chassis.

I offered up the tie bars to the chassis lugs but despite trying both ends of both bars, they did not fit between the lugs.  I find this a bit surprising really; as the tie bars are supplied by AK and the lugs on the chassis are welded on by AK, I would expect the fit to be a bit better.  The difference is more than the thickness of the powder coat and would require some metal removal to allow bushings on tie bar end to fit between the lugs.


Nope - that isn't going to fit!

The simple solution used by many others to this issue has been to reach for the file and file down the ends of the tie bar bushing to fit.  But I don't like removing metal unnecessarily so I went for a different approach.

My plan was to ease the chassis lugs apart very slightly to allow the end of the tie bar to fit between them.  This was achieved using a long bolt passed through the chassis lugs with two nuts installed in between the lugs (with washers under the nuts to protect the powder coat).  Using a couple of spanners to tighten one nut and back off the other, this has the effect of spreading the lugs apart very slightly (I did this very carefully as I didn't want to bend the lugs, just ease them apart).


The patented Acme lug-spreader tool...

I am pleased to say that this actually worked!  Using this approach I managed to spread the lugs sufficiently to be able to tap the end of the tie bar in between the lugs - obviously, the presence of the bolt meant that it only just sat between the lugs.  Then it was a case of gently undoing the nuts on the make-shift lug spreader tool, without disturbing the tie bar.  Then the tie-bar could be gently tapped fully into the lugs and centred over the bolt hole.  To make sure these didn't slip out of position while fixing the differential ends I passed one of the AK-supplied 7/16" by 3" fixing bolts through each of the chassis mounts.

Using this approach I had the chassis ends of both tie bars installed in under an hour - result!

The other ends were much easier, in that the ends of both tie bars fitted between the upstand flanges on the wishbone tie - although the holes did not line up perfectly.  This was easily rectified by loosening the mounting bolts of the wishbone tie which gave enough play to allow the bolt holes to line up.  Again I passed a 7/16" by 3" bolt through each of the holes to hold it in place and tightened the wishbone tie bolts back up again.


First tie bar in place....


....both bars in place

After the fun and games I had had with fixing the wishbone tie, it was good to have a job that I was expecting to take some time only take a couple of hours!

I haven't yet tightened up all the nuts and bolts a) because I need to try and work out from the Haynes manual what all the relevant torque settings are, and b) in case I need to loosen any bits off again to facilitate installation of the rear wishbones and hubs.

I will also probably attempt to re-coat the wishbone tie; since I originally thought this was going to be a spare and I used it for my initial attempts at powder coating, there are some areas that are a bit patchy and thin.  Being the perfectionist that I am I want to get a better finish on this piece - it won't be seen (hidden behind the fuel tank) but I want to minimise the chances of any corrosion developing in future.

I will also probably replace the AK-supplied tie bar mounting bolts with some shorter ones; AK provides 3" long bolts which leaves a significant amount of protruding thread.  I reckon a 2 1/2" or even a 2 1/4" long bolt will look neater.

Now I need to crack on with cleaning up the rear hubs...