Showing posts with label Body. Show all posts

Friday, 18 April 2025

Body On! (if only temporarily...)

So, I have still not come up with a solution for routing/connecting the power steering high-pressure hose or found a suitable location for my dry sump tank. However, I figured it would be worthwhile to get the body installed on the chassis, if only as a temporary measure. This would allow me to, hopefully, crack on with some easy jobs and make faster progress.

With alcoholic beverages on offer as a suitable bribe, I managed to enlist the help of some friends to lift the body off its support frame and lower it onto the chassis.  It needed a bit of jiggling to get the body to sit evenly on the chassis, but once that was sorted, I could get all of the body mounting bolts in place.  I haven't bothered to fully tighten them all as the body will be coming off again.

The chassis about to be rolled out to receive the body

It's starting to look like a proper car!

It felt like quite a major milestone getting the body on, and it's certainly dialled the motivation levels up to 11!!


Steering - Part 4 - Steering Column Installation

I decided to install the steering column before fitting the body to the chassis because, while the body is supported on its frame, I considered the height would make it easier on my ageing back!

On the face of it, this should have been another relatively straightforward job, and, as usual, it turned out to be anything but.

First things first, a bushing is needed to support the lower extension piece of the column as it passes through the driver's footwell bulkhead.  This part is made specifically by AK, and as it's essential for every build, I'm surprised it's not part of the basic kit (and it's not cheap).  

AK steering column bushing in shiny stainless steel!

I started the installation in the engine bay - another reason for doing this job while the body is off the chassis.  AK had already drilled the hole for the steering column in the driver's footwell.  My plan was to try and fix the bushing more or less centrally over this hole, thus avoiding the steering column rubbing anywhere as it passed through.  I used a ruler placed against the pedal box mounting bolts to establish a vertical line and then set out the mounting positions for the bushing. The mounting holes were drilled using a 5.5mm diameter drill bit.  I also tidied up the AK-drilled hole in the bulkhead with a stepped hole bit just to remove the sharp edges.

Some accurate setting out...

...mounting holes drilled and sharp edges tidied up.

Next up was to mount the BMW column unit inside the body.  This should have been so simple.  The AK body includes the bracketry for the two top mountings and the retained right-hand lower mounting for the column unit.  These are slotted, which you might expect would give some leeway in locating the column in place.  You would be wrong...!

I retained the upper mounting bushings that had come with the column when I bought it.  I used two M8x30mm bolts and nyloc bolts to fix the column to the upper mounts in the body.  The first problem that came to light was, that with the upper mounting bolts both bottomed in the slots in the bracket, the lower mount was around 10mm away from the lower mounting bracket and also misaligned with the slot so that I could not pass an M8 bolt through the bracket and through the column mount.

I initially solved this by sliding the column off the upper mounting bushes, attaching the column to the lower mount loosely using an M8x40mm bolt and then hooking the column back onto the upper mount bushings.  There is not a lot of leeway, and the bolts seem to end up at the extremes of the slots in the AK mounts, meaning the column does not actually have any movement.

Steering Column Mounting Points

Upper Mount Bushings 

Initial Column Installation

I could then slide the nylon bush onto the end of the lower steering column extension and slide this into the end of the column from within the engine bay.  The shiny bit of the steering bushing could then be slid over the end of the column shaft and bolted into place. 

Nylon bushing in place ...

...lower steering column extension inserted into upper column...

...and the bushing housing bolted up.

Job done!  Except that the steering column was now locked solid and would not turn.  Loosening the bolts holding the steering bushing housing in place did allow rotational movement to be restored so clearly something was out in the overall alignment of the steering column.

Another view of the upper column mounting confirmed that something was definitely not right with the upper mounting bracket clearly not parallel to the scuttle hoop.

Misalignment of the upper column mounting

My solution to this issue was to remove the lower mounting bolt and put a number of washers between the steering column and the lower bracket to get the upper mounting parallel to the scuttle hoop. Fortunately, this seemed to do the trick, and rotational movement has been restored!

M8 washers used as spacers on the lower mount


Sunday, 13 April 2025

Lights - Part 2

To make me feel like I was actually making some progress with this build I decided to install the lights onto the car before fitting the body to the chassis (although it's taken me so long to write this blog update that the body is now on the car!).

I've gone with the classic Lucas P700-style headlights which I ordered from S&J Motors.  These come with a plastic headlamp bowl and retaining ring which also includes the adjusting screws to alter the headlamp beam alignment. 

The first task was to measure up and transfer some centre lines to the headlight openings and the front indicator positions.  This was not entirely straightforward as the molding lines on the AK body are not symmetrical!.  I measured lots of times to get this right.

I could then mark out the required hole positions for the headlight bowls.  I did this by marking the position of the larger holes which are needed for the bosses of the beam adjusting screws and drilling these first.  I could then sit the headlight bowl flush into the opening and mark and drill the positions of the mounting screws.  The holes for the indicators were opened up with a 32mm diameter hole drill.

Centrelines marked out

Holes drilled

The headlight bowls were then fixed in place using self-tapping screws and spire clips on the back face to hold them in place.  I oversized all the holes slightly to allow some wriggle room in the final positioning of the headlights.

The headlight unit is then fixed into the retaining ring and this can be reinstalled into the bowl.  

The headlight bowl is fixed in place...

...and the headlight unit installed.

The indicator units were also fixed in place using self-tapping screws and spire clips.  The final step was to install the headlight rims.  I bought a pair of "chrome on brass" rims from Car Builder Solutions as they are less prone to corrosion than chromed steel rims.  The rims have a slight lip on the back which hooks onto the headlight bowl and are then secured in place by a single screw under the rim.  Getting the alignment of the rim correct such that the fixing screw actually lined up with its hole in the headlamp bowl was a surprisingly fiddly exercise.  

Completed front headlights and indicators

Installing the rear indicator and rear light/brake light units was much the same process as the front indicators.  Although I did spend a lot of time measuring and measuring to ensure the lights would be evenly spaced within the mounting zone on the AK body.  Again this was not so easy due to the slight differences in the body molding on each side.

Measure several times!

Holes drilled once I was happy with the location

Rear lights completed!

The last job was to install the side indicator repeaters.  These units from Car Builder Solutions just need a 20mm diameter hole to be drilled.  The mounting grommet is then installed in the hole and the LED light is pushed into the grommet from the front which fixes the whole unit in place.

Mounting hole for side repeater

Mounting grommet placed into the mounting hole...

...and side repeater and trim ring pushed into the grommet.

It's a small thing but getting the lights installed has started to make the project look more like a car now and hopefully, it will motivate me to get moving on with the build!


Lights - Part 1

I have chosen the Lucas L488 style Indicators and Stop Lights for Project Snake as I preferred the flatter profile of the lens glass to the alternative domed style lens.

Lucas L488 Style Indicator

These were fitted as original equipment on many British cars in the 1960s and 1970s.  I bought my units from S&J Motors and they still appear to be as per those original units, even down to needing to use Lucas brass bullet connectors to connect the wiring!

The rubber backshell holds the lens glass and the chrome trim ring in place and protects the wiring connections.  There are three holes in the backshell for wires to pass through.  However, these holes were much larger than the diameter of wire that I was planning to use (20AWG thin wall insulation from Car Builder Solutions) so I decided to add some wiring pigtails from the bulb holder to a weatherproof connector and seal the wiring with heat-shrink to keep it watertight.

Disassembled Light Unit and a Lucas Brass Bullet Connector

Using a special tool, the Lucas brass bullet connectors are crimped onto the wire.  I wrapped the wires around the bulb holder a few times to allow the bulb holder to be pulled out from the backshell in the future should the need arise.  I passed all the wires through one of the holes in the backshell, the other two will be plugged with Tigerseal or similar to keep water out.

Bullet Connectors crimped onto wires

I used a short length of heat-shrink tubing around the wires as they exited the backshell.  I also used a small piece of adhesive-lined lined heat-shrink to seal around the exit from the backshell and the wires; the adhesive melts and forms a weather-tight seal around the wires.

A (hopefully) weather-tight seal as the wires exit the backshell

For the connector at the end of the wiring pigtail, I have gone with Deutsch DTM connectors.  These are one of the 'go-to' electrical connectors in the high performance automotive market and offer great reliability and ability to endure harsh environmental conditions.

They use a Size 20 solid-barrel contact which is rated to 7.5Amps and can accommodate 20-24AWG wire.  

Typical DTM connector parts - Size 20 pin and socket contacts

Contacts are crimped with a special tool - note the pairs of indentations around the base of the contact

The pins are then inserted into the rear of the connector body, passing through a silicon wire seal, until they click into place.  A wedge lock is then inserted into the front of the connector body, which holds the pins or sockets in place and prevents them from coming loose.

Again I used a short length of adhesive-lined heat-shrink around the end of the connector body to seal around the body and the wires to keep it all weather-tight.

Full set of indicators and weather-proofed wiring pigtails


Friday, 11 April 2025

Body Preparation - Part 3 - Holey Moley Batman!

Another task required before the body could be installed was to cut holes in the floor pan for the gear lever and for the fuel tank filler neck and access to the fuel gauge sender unit.

To locate the hole for the gear lever, I made up a jig from a couple of pieces of strip wood.  This was located in the body mounting holes in the chassis and then I fixed a laser level onto the jig and aligned it with the centre of the gear lever.

Wood and Laser Level Jig

I measured the distance from the laser level's edge to the gear lever's centre. I then aligned the jig into the body using the mounting holes in the body to locate it and measured the distance from the edge of the laser level to the top of the gearbox tunnel to find the centre of where the hole for the gear lever needed to be.  I then cut the hole for the gear level using a 120mm diameter hole saw.

Locating the centreline of the gear lever on the body

One gear lever hole added
 
For the hole in the boot floor, I made a template out of a piece of cardboard, which used the two body mounting holes in the rear chassis cross-member as a location reference.  I transferred the template to the body and marked out the hole location.  Again I cut out the hole using a 120mm diameter hole saw for the ends of the opening and a multi-tool to cut the edges of the opening.

Cardboard template for hole in boot floor...

...transferred to the body...

...hole position marked...

...and cut out.

The last thing I did before getting the body on for its first trial fit was to put some foam tape along the top of the chassis rails.  The AK build manual suggests running a large bead of sealant on top of the chassis to seal the body to the chassis.  Obviously, as I intend on removing the body again at some point, I did not want to carry out this step.  However, using sealant, even in the permanent case would make any future body removal very difficult so I have elected to substitute the sealant for some 5mm thick closed-cell foam tape.

Self-adhesive foam tape around the chassis rails

Now I just need a nice day and a few friends around to get the body on for the first time!


Monday, 9 September 2024

Body Preparation - Part 2 - Pedal to the Metal

AK recommends fitting the pedal box to the body before installing the body on the chassis.  Most builder's blogs also suggest that installing the brake servo and master cylinder is a much easier job if done with the body off the car.  So that was my next job!

I obtained my brake servo unit, from a Rover 200, via that renowned internet auction site.  When I was looking for this, there seemed to be none available in the UK and I ended up having mine shipped from Lithuania!

My unit arrived looking in not too bad a condition.  Importantly it also came with the grommet and the spigot for attaching the engine vacuum line.  I gave it a quick scuff-up with a scotchbrite pad, masked up the bolt threads and bellows and applied a couple of coats of primer, followed by some matt black spray paint.

The servo unit was given some gentle abrasion...

...followed by a couple of coats of primer...

...and some black spray paint

Looking almost as good as new!

The master cylinder from a Rover 25 or Rover 200 is also needed.  However, as I had opted for the big brake upgrade kit I needed to also upgrade the master cylinder.  

This got a bit confusing for a while as I really struggled to find the right part.  AK suggested that the required bore of the master cylinder was 22.7mm as opposed to the standard Rover 25/200 component, which has a 22.2mm bore. This meant that I needed to search for a master cylinder from a Rover 220 Turbo model, which according to Jon at AK is easily identifiable as the brake pipe outlets on the master cylinder point to the outside of the car as opposed to pointing toward the engine bay.

I completely failed to find any Rover master cylinders with a bore of anything other than 22.2mm and the majority seemed to have the outlets facing the engine.  In the end, I bought a brand new unit from TRW, which had the outlets on the correct side, but still had a bore of 22.2mm; so fingers crossed it works!

New master cylinder unit - bore 22.2mm

The master cylinder was bolted to the servo unit using some M8 Nyloc bolts, remembering to install the rubber O-ring between the master cylinder and the servo.

Servo and master cylinder

In hindsight, it might have been easier to install the servo into the engine bay and then bolt the master cylinder on.  There is not a lot of space between the pedal box firewall and the inner wheel arch.  It required a lot of careful jiggling around, taking care not to scratch the stainless steel engine bay cladding before I managed to get the servo and master cylinder in place.

In place - and it's not coming out again!

I'm running a 'Drive by Wire' (DBW) throttle set-up so I needed to drop the GM DBW throttle pedal (which includes the position sensor and electrical connector) off with AK so they could modify their normal pedal box and install the new pedal.

Modified Pedal Box with DWB Throttle Pedal

I had hoped that I could use the studs from the brake servo to 'hang' the pedal box off while installing it to make life a bit easier.  Unfortunately, the weight of the box and its centre of gravity conspired against me.  So installation of the pedal box is definitely a two-person job.

The pedal box is secured to the firewall with M8 bolts.  I bought some stainless steel Allen-head bolts, which as they will be visible in the engine bay, I treated to a bit of an extra polish to match the shiny engine bay cladding.

Shiny!

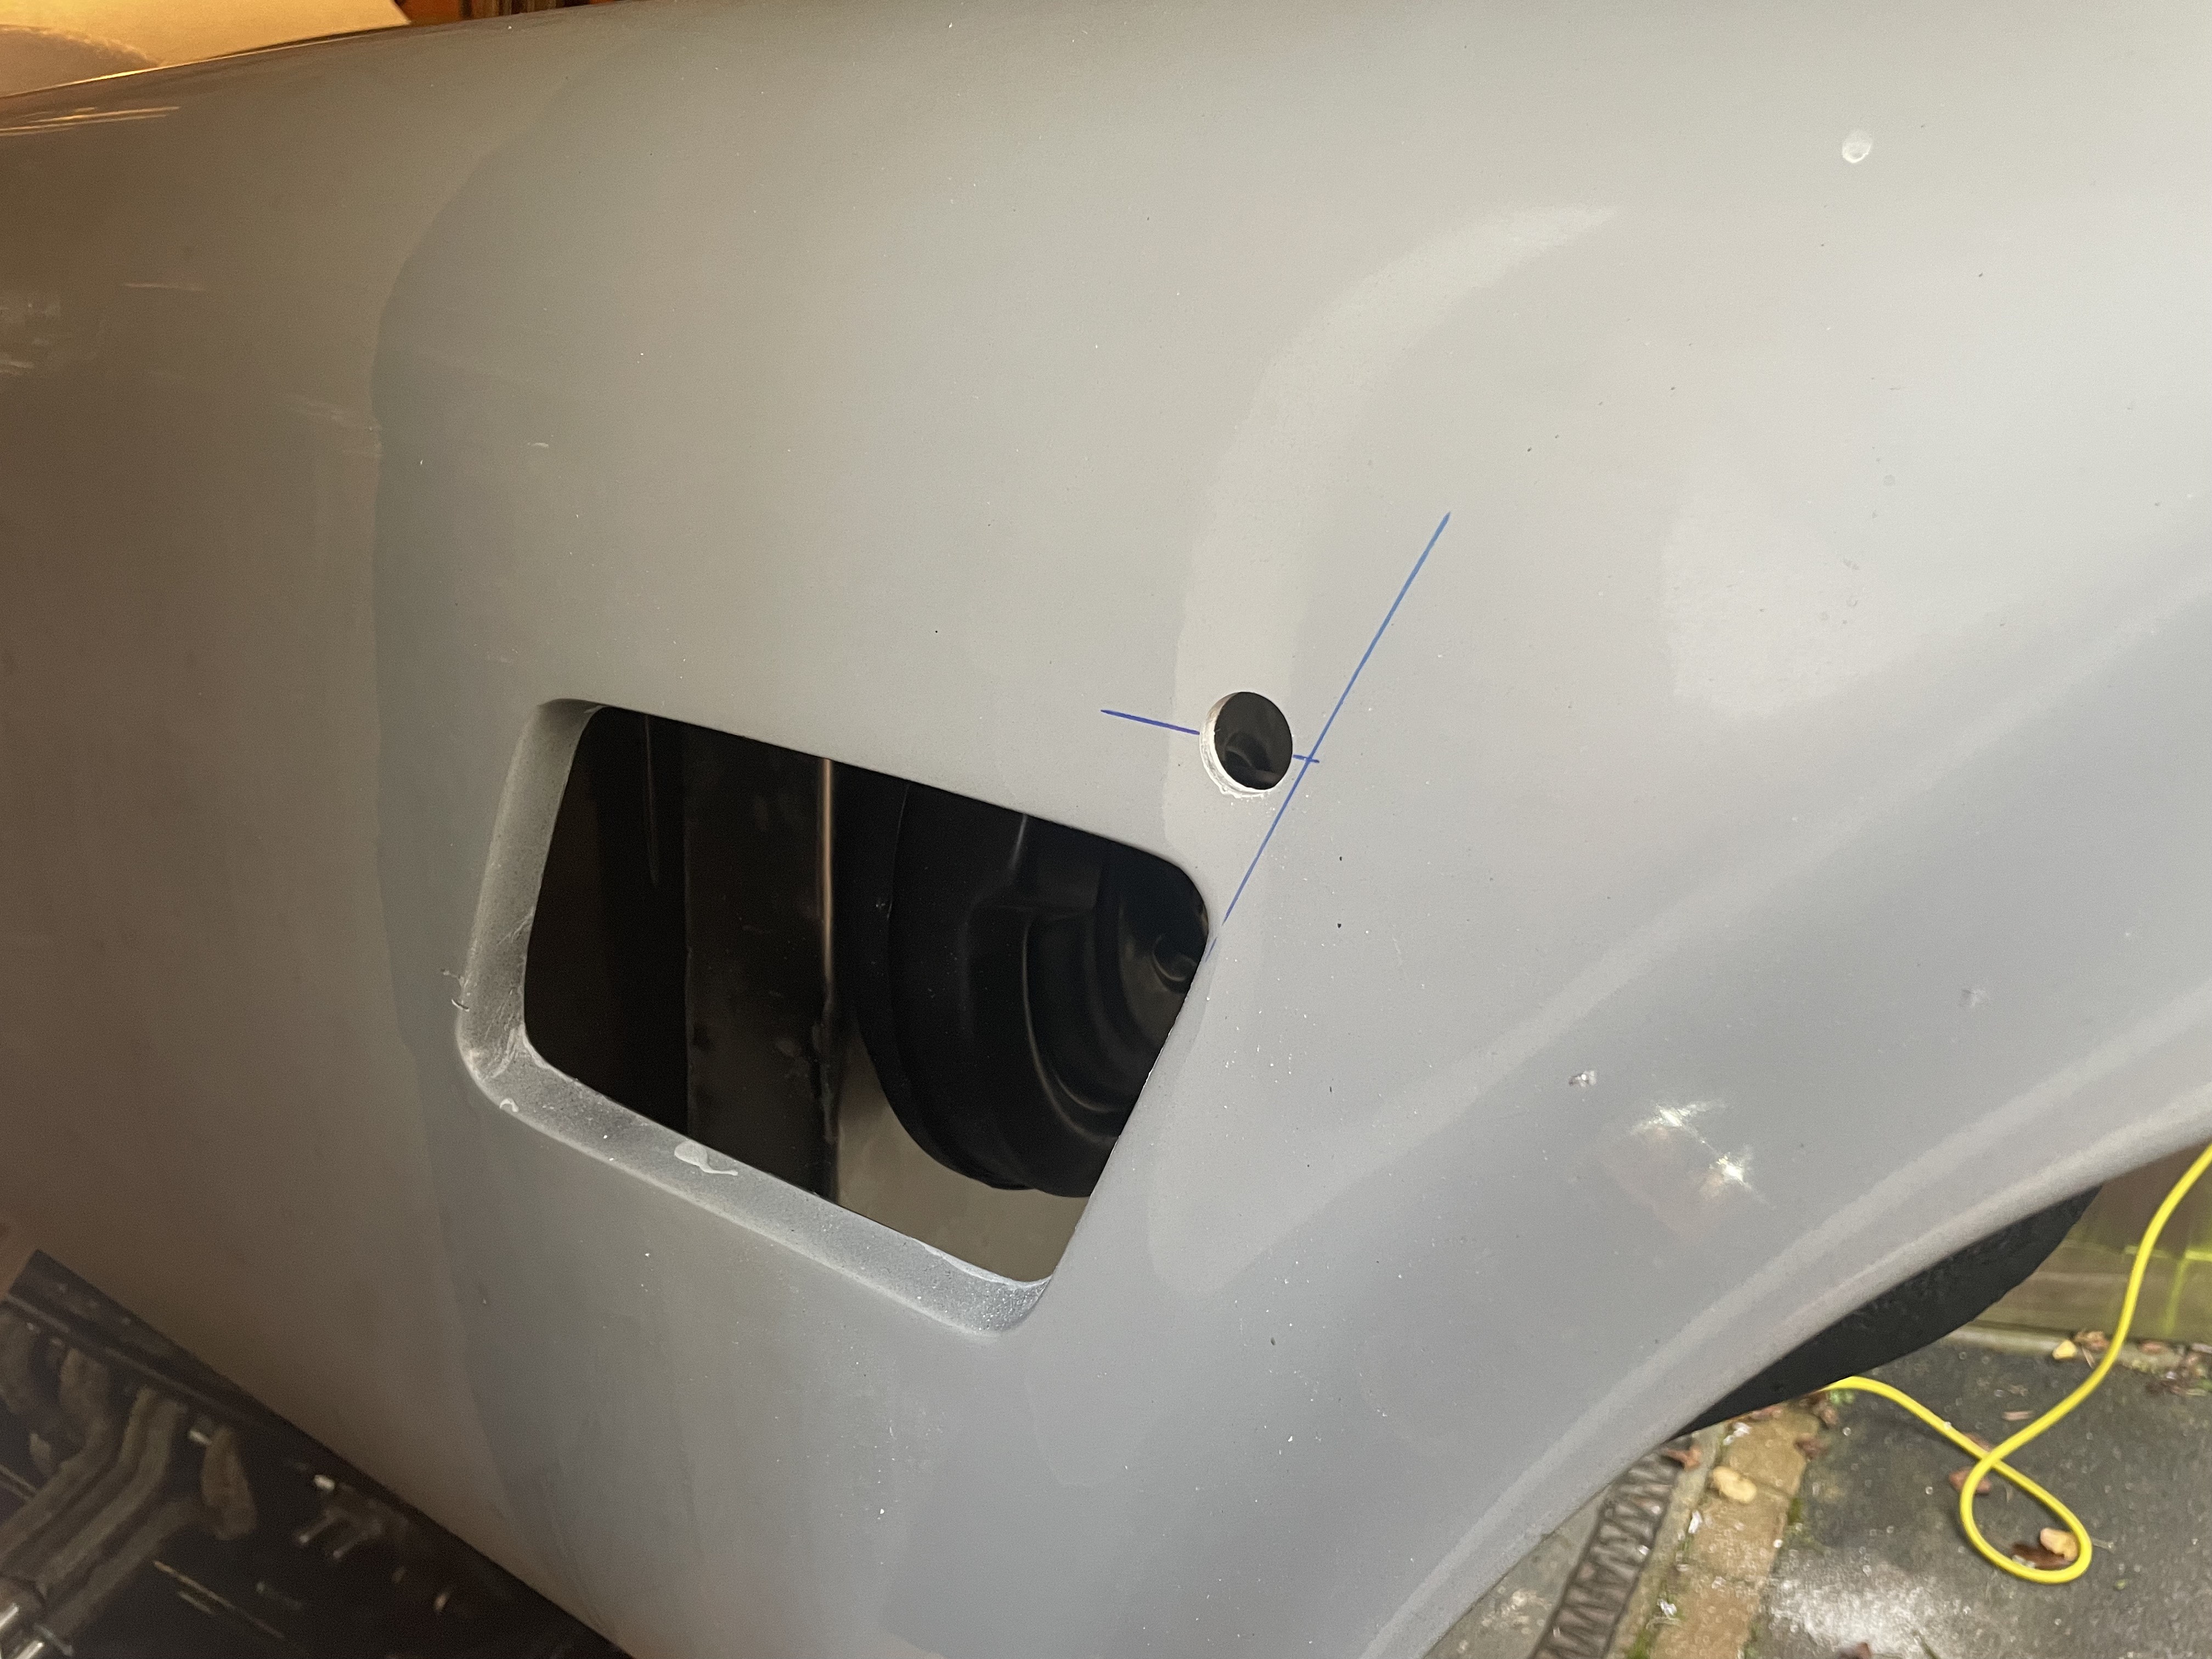
With me standing in the engine bay, trying to hold the pedal box against the firewall with my fingers through the hole for the clutch master cylinder and holding an Allen key into each of the bolts, and with my son lying in the driver's footwell with a socket and extension bar, we did manage to get the pedal box installed into place and secure the brake servo in place.  It is impossible to get a socket onto the upper bolts, so we had to resort to a spanner for those.  

While my son was trapped in the footwell I also took the opportunity to install the clutch master cylinder.  I bought a Girling unit with a 0.75" bore from Car Builder Solutions.  Again this was installed using 2No. shiny 8mm Allen-head bolts. 

Another "easy" job completed...

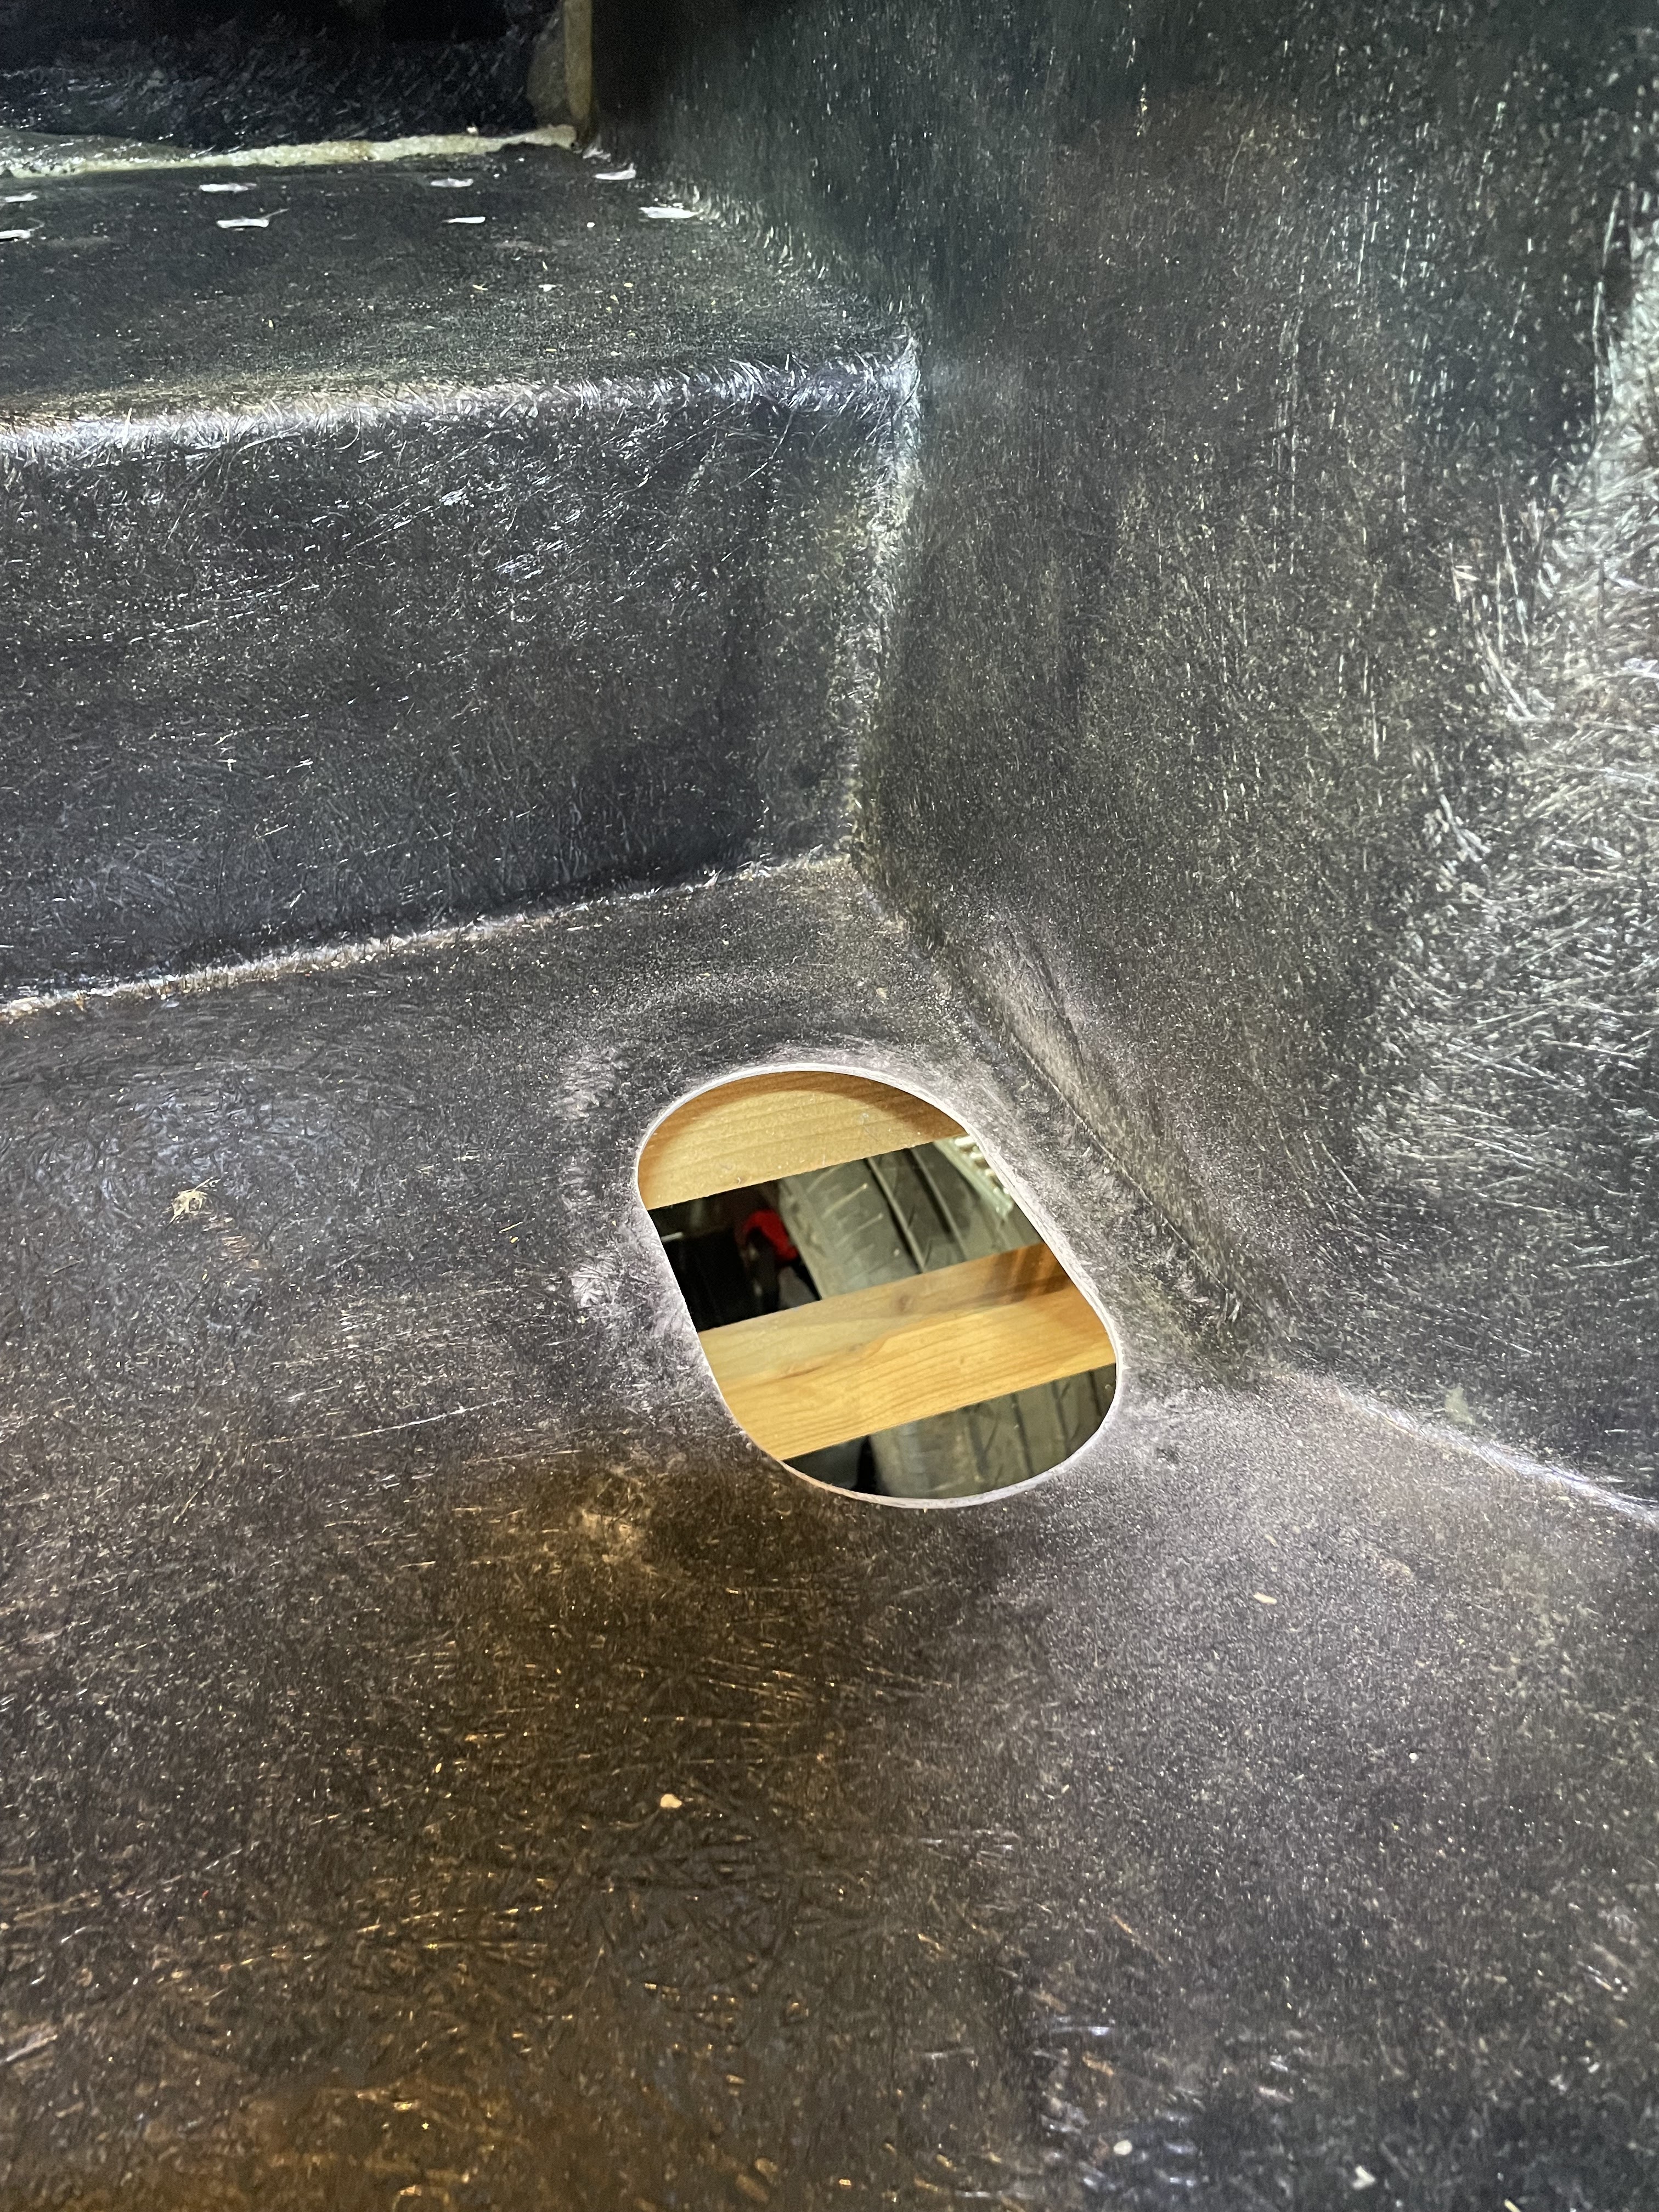
...and as seen from the inside!

And with that done, I am one step closer to getting the body on!