My last few blog posts have dealt with a few "issues" that I have encountered, the outcome of which is that I need to redo the powder coating on a number of parts.
One of the main reasons for powder coating the parts in the first place is that the coating is very durable. In other words, it's a bugger to remove. I had a couple of attempts with the sandblaster and various sanding discs and wire wheels; these would eventually remove the majority of the coating but would take a heck of a long time.
If I lived in the US there would appear to be a number of chemical products available to strip powder coat. However, none of them are available in the UK.
The internet suggested that, after giving the surface a good abrading to remove the top surface of the coating, paint stripper could be used to remove the remaining powder coat. Well, normal Nitromors paint stripper had zero effect.
Further research suggested that to be effective, the paint stripper needed to contain a particular chemical ingredient, namely Dichloromethane (DCM). This was a common solvent many years ago and used to be widely used in paint strippers. But, probably for good reason, in the modern health and safety-conscious era, it is has been removed from most products.
It took some tracking down but I did manage to find some industrial strength paint stripper containing DCM on the well-known internet auction site and purchased 5 litres.
 |
| Innocuous packaging, limited H&S warnings (and no data sheet supplied with the product...) |
I need to recoat the rear wishbone spacer tubes and the rear wishbone tie. I gave these parts a quick session with the angle grinder/flappy wheel combo (and in the case of the wishbone tie, some wire brush treatment to get into the recesses) to scratch up the surface of the powder coat finish. These were them brushed liberally with the professional strength paint stripper and left to soak for a few minutes.
Health and Safety Tip - DCM paint stripper is potent stuff. Even outside in well-ventilated conditions, I could smell the solvent content! Make sure you wear gloves, long sleeves and eye protection. I got some small splashes on my skin when brushing the stripper on and it starts to burn any exposed skin immediately. Also, work quickly; this stuff burns even through gloves! After just a couple of minutes of holding the parts while applying the stripper my fingers were starting to tingle!
The potency does mean that the product is extremely effective. It only took a few minutes for the surface of the abraded powder coat to start wrinkling and using a wire brush I was able to remove the majority of the original coating.
 |
| Less than 5 minutes for paint stripper to do its stuff... |
 |
| After a wire brushing and rinse off with water |
 |
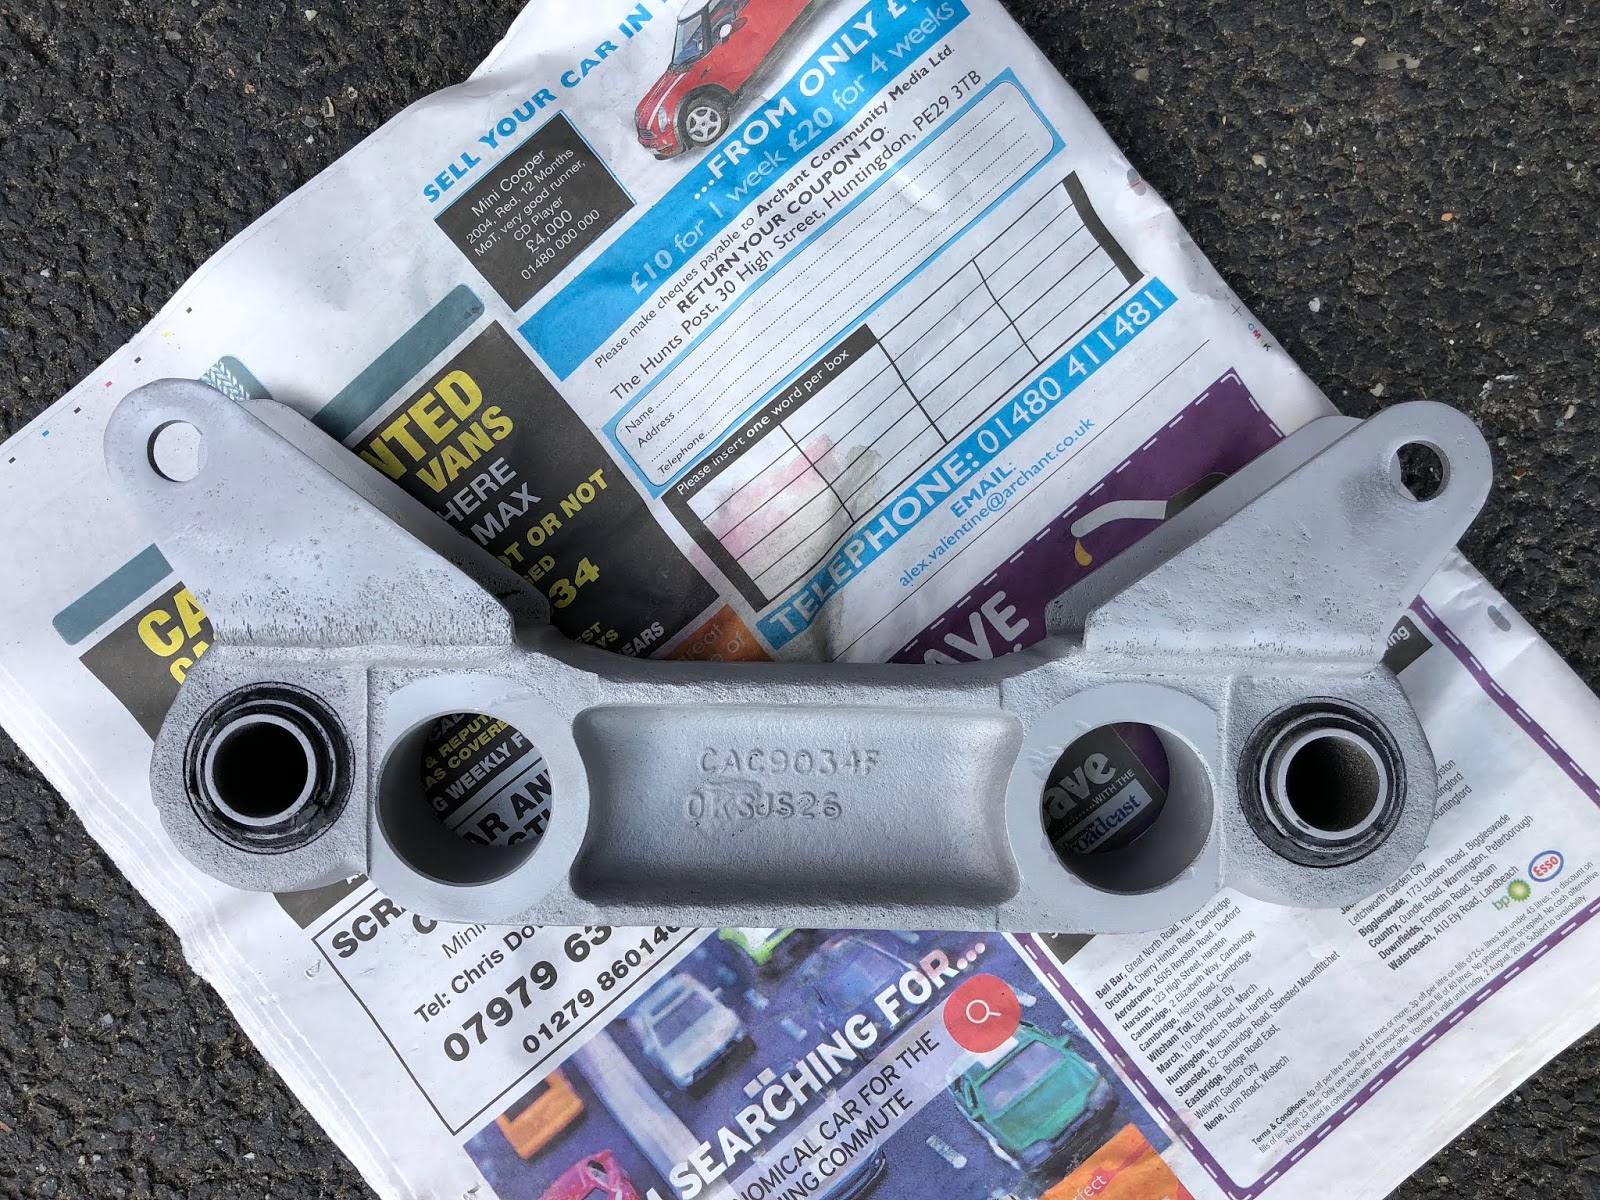
| Wishbone tie after flappy wheel/ wire brush treatment |
 |
| After a few minutes of soaking in paint stripper... |
 |
| ...the majority of old coating could be removed with a wire brush |
 |
| After rinsing and drying |
These parts were then re-prepped for powder coating. I gave the spacer tubes a thorough going over with the grinder and sanding discs to try and remove as much of the surface pitting as I could. These and the wishbone tie then had another session in the sandblasting tent before an application of Afterblast.
 |
| Wishbone tie after sandblasting... |
 |
| ...and after etching with Afterblast |
The wishbone tie was then recoated in Satin Black; this time around I made sure to get a good coating of powder all over the part prior to curing.
 |
| Ready for coating (again...) |
 |
| After curing - better than the first time! |
For the wishbone spacer tubes, I tried another approach for the application of the candy red topcoat (another technique sourced from internet research...). The High Chrome coat was applied and cured as before. This time though, rather than allowing the parts to cool and reheat them prior to applying the candy coat, I tried a technique called 'hot flocking'. This technique involved applying the second coat to the parts as soon as they were removed from the oven after curing the first coat. Due to the parts being at or just below curing temperature, the second coat of the powder started to cure as soon as it is applied to the part. This also meant that the powder adhered far more readily to the part and did not get blown off as easily. The parts were then cured in the oven as normal for 10 minutes.
 |
| Extensive sanding to remove surface pitting |
 |
| High Chrome coating applied and cured as usual... |
 |
| ...before red candy is 'hot flocked' to parts straight out of the oven |
 |
| After 10 minutes of curing in the oven |
 |
| No blemishes and no patchy coating... |
 |
| Nice result! |
The results this time were far better. The spacer tubes were blemish-free and the consistency of the red candy coat was much more even with no patchy bits. The colour is amazing in the sunlight!
So now I am back on track and I can get on with finishing off cleaning up the rear hubs!


