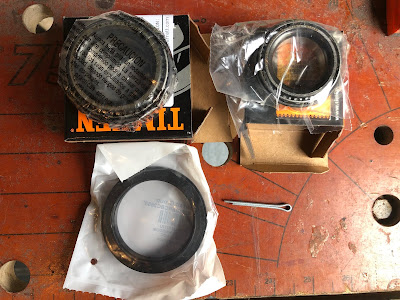
I'd previously placed another order with SNG Barratt for the service parts needed as shown below.
 |
| Contents of Wheel Bearing Kit from SNG |
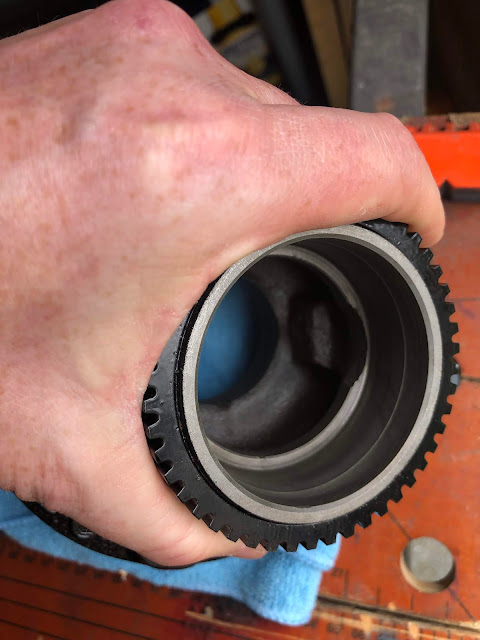
Prior to attempting to install the new bearings I gave the hubs a final clean out to get rid of any final remnants of sand from the blasting prior to powder coating. I read on the internet about masking off bearing recesses etc when sand blasting to avoid any contamination with blasting media. Unfortunately I read that after I had sand blasted my hubs......And sure enough there were some traces of sand clinging to the cast areas in the middle of the hubs. A final clean-out with some cotton buds soaked in WD40 and a blow out with the airgun and I think (hope) I managed to remove all traces of grit / sand that might lead to a very short bearing life!!
 |
| Cleaned out and grit free....(fingers crossed) |
I recycled the old bearing races to use a drifts to assist in installing the new races. Firstly I cut a slot in the old races using an angle grinder with a cutting disk so that the old races wouldn't get stuck in the bearing recesses - the slot allows the old race to be compressed slightly so it can be pulled out easily.
 |
| Old bearing races modified to assist with installation of new races |
It was then a simple task of seating the new races into their respective housings and using the old race and a large hammer to gently tap the races into the hub until they were fully seated.
 |
| Inboard race prior to any gentle tapping.... |
 |
| Modified bearing drift... |
 |
| Finally got the boy off the X-box to help out! |
 |
| Inboard race fully installed and seated... |
 |
| ....followed by outboard bearing race. |
With races installed it's time to get greasy! Armed with a tub of high performance bearing grease and a large box of disposable gloves I set about packing the central part of the wheel hubs between the two bearing races with grease making sure I got plenty of grease in and any large air pockets out!
 |
| Grease - does exactly what it says on the tin.... |
Having formed a large grease "dam" behind the bearing races, I packed the inboard roller bearings with grease, making sure to get all the spaces in the bearing cage as full of grease as I could manage. The inboard bearings are then placed in their bearing races and the outer grease seals pressed into place (I used a large block of wood and the large hammer to press the seals in fully).
 |
| Hub cavity packed with grease |
 |
| Inboard bearing cage greased and in place |
The stub axle on the front uprights then got a generous coating of grease as well and then the hubs can be slid onto the stub axles.
 |
| A well lubricated shaft........(sorry...) |
The outboard bearings were then packed with grease as above and pushed into their bearing races. The D-washers from the original donor car were then placed over the end of the stub axle and a new locknut screwed onto the end.
 |
| Outboard bearing race inserted in place |
 |
| D-washer and lock nut in place |
The recommended procedure is then to tighten the locknut to 16Nm / 12 ft-lbs to seat the hub onto the stub axle and then while rotating the hub assembly in the forward direction tighten further to 27Nm / 20 ft-lbs. The locknut is then slackened off half a turn and then retightened hand tight only. The assembly was finished off with a new locknut retainer and split pin.
 |
| All torqued up with new nut retainer and lockpin installed |
That's the front end finished for the moment, pending installation of the brakes. Time for some rear end action now!
 |
| Completed hub assembly |


No comments:
Post a Comment