
First step was a good clean-up with a nylon brush and a bucket of Gunk degreaser to remove all the loose crud and old grease from inside the hubs.
 |
| Step 1 - Degreasing |
This was given a rinse off with water, dried off with a towel and then to prevent any (further) flash rusting of the machined surfaces, I put the hubs in the oven for 30mins to dry off any last traces of water.
 |
| Dinner doesn't look very appetising.... |
I then set to work with a variety of steel wire brushes in a rotary drill. I bought a couple of twist knotted steel wire brushes from Screwfix which were very effective at removing a lot of the surface rust.
HEALTH AND SAFETY TIP 1 - again an obvious one, but when using wire brushes in power tools, always ensure the work piece is secured in a vice or work bench and keep two hands on the power tool (especially if the trigger lock is on). If you hold the work piece with one hand, there is a danger that the brush can snag on part of the work piece and kick back onto the hand holding the piece. I was wearing gloves but the twisted knot brush still managed to give the end of my thumb a good stinging!
 |
| Steel Brush 1 - Glove 0 |
After a good session with the wire brushes, the hubs had cleaned up quite nicely.
 |
| After wire brushing |
There was still quite a lot of rust engrained in the cast surface, especially on the back face of the hub, so I broke out the Budget Blaster and spent a couple more hours cleaning up the hubs. Have to say I was very happy with the results.
 |
| Blasted vs Brushed |
Unfortunately I left the hubs for a couple of weeks between sand blasting and coating and when I went back to them a fair amount of surface rust had reappeared. I assume there must be some salt residue in the sand I used for the cleaning process that reacted with the freshly cleaned metal surface which caused this (I have other parts that have been cleaned up / polished with wire brush and flap wheels alone that have not shown any further signs of rusting over the same period). Still another going over with the wire brush and another couple of hours on the sand blaster got them back to their prior glory!
HEALTH AND SAFETY TIP 2 - never ignore your previous health and safety advice. Rather stupidly I did the same thing again but this time was not so lucky with the wire brush catching on my glove and running up my arm until it found some bare skin to abrade....
 |
| Come back - its only a flesh wound..!! |
Having re-cleaned both the hubs it was time to have a go at powder coating them!
For cast parts, particularly cast iron and aluminium parts, it is recommended to preheat the parts prior to coating to "outgas" or "degas" them. The cast surface can trap contaminants which, when heated, "outgas" and can cause porosity problems or lack of adhesion to coatings.
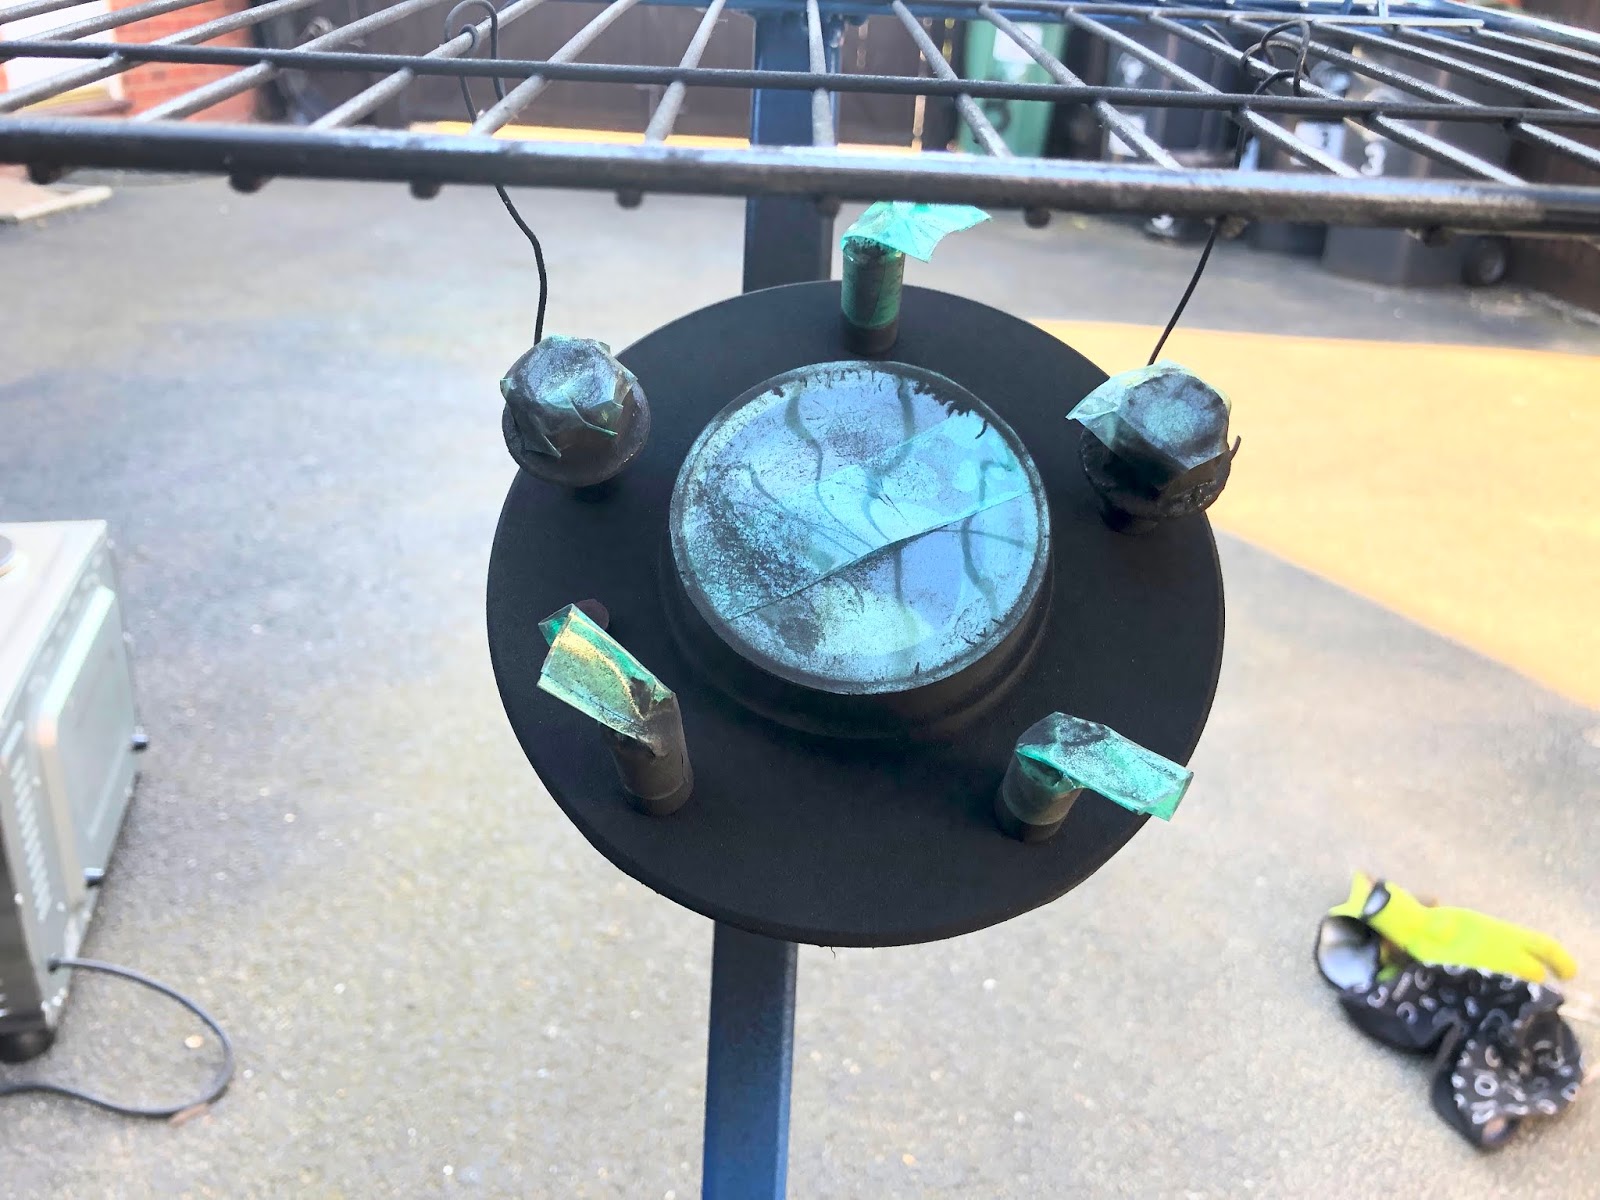
Firstly I masked off all the bits of the hub that I did not want to coat using high temperature masking tape. The hub was then suspended from the oven shelf from my "specialist powder coating oven" using stainless steel wire wrapped around a couple of the wheel studs and secured with a couple of old nuts.
 |
| Masking Tape Applied... |
 |
| Suspended from oven shelf (Note Project Powdercoating Stand in use) |
The hubs were then put in the oven at around 230 degrees C for 30-40 mins before being removed and allowed to cool. I then gave the hubs a good clean with Eastwood PrePrep to remove any last traces of grease and contaminants, gave them a final wipeover with a tack-rag and let them dry for few minutes.
Then it was time to powder coat!
The oven was preheated to 230 degrees C. I hooked the powder coating gun up to my compressor, with the regulator set to around 6-7psi at free flow. The ground clip from the powder coating gun was clipped to the hub and I attached a pot of gloss black powder to the gun.
As it was quite a still day, I risked attempting to coat the hubs outside. Generally this worked OK, although the powder is very fine and even the slightest breeze would make coating very difficult. The theory is that the powder coating gun kit provides a static charge to the powder within the gun with the effect that the charged powder is attracted to the grounded part that you are coating.
Theory seemed to be correct and I managed to coat most of hub quite quickly with a good covering of powder. It can be difficult to get powder into intricate shapes and recesses due to something called the Faraday Cage effect (one for the electro physicists reading....) which causes some issues with the charged powder getting into these areas. I had a couple of issues particularly with the ABS ring on the rear of the hub and some of the areas on the rear of the wheel studs. I managed to get powder onto these by removing the deflector from the end of the gun and "misting" the area at a slightly lower air pressure.
 |
| Powder coated and ready for curing.. |
With the hub coated it was time to gently place it into the oven (without knocking any of the powder off) to be cured. Once hub was in oven the temperature was turned down to 200 degrees C (which is the curing temperature for the gloss black I was using - different powders have different curing temperatures and times).
As the part starts to heat up, the powder starts to flow out - that is you can start to see it changing from the matt powder to a glossy finish. After the powder has flowed out across the whole part, that is the point at which the curing time is started.
The hubs being quite a large and heavy part took quite some time to heat up to the point where the powder had glossed over everywhere - around 30 minutes. This was not helped by the oven that I have bought only having the option to use the top heating element or the bottom element individually and not both at the same time - hence when using the top element (as I was), the top surface of the hub had started to flow out, well before the bottom surface had.
 |
| Top of hub has started to flow out (glossy) while bottom is still slightly matt |
 |
| Freshly cooked hub.... |
Once the hub had fully cooled, I unhooked it from the oven shelf and removed all traces of the masking tape. To prevent any further rusting before fitting the hubs to the stub axles, I gave all the exposed metal surfaces a wipe with some WD40 which will hopefully protect them.
Have to say I am actually pretty pleased with the results.
 |
| Back face of powder coated hub.... |
 |
| ....and the front face |