To make me feel like I was actually making some progress with this build I decided to install the lights onto the car before fitting the body to the chassis (although it's taken me so long to write this blog update that the body is now on the car!).
I've gone with the classic Lucas P700-style headlights which I ordered from S&J Motors. These come with a plastic headlamp bowl and retaining ring which also includes the adjusting screws to alter the headlamp beam alignment.
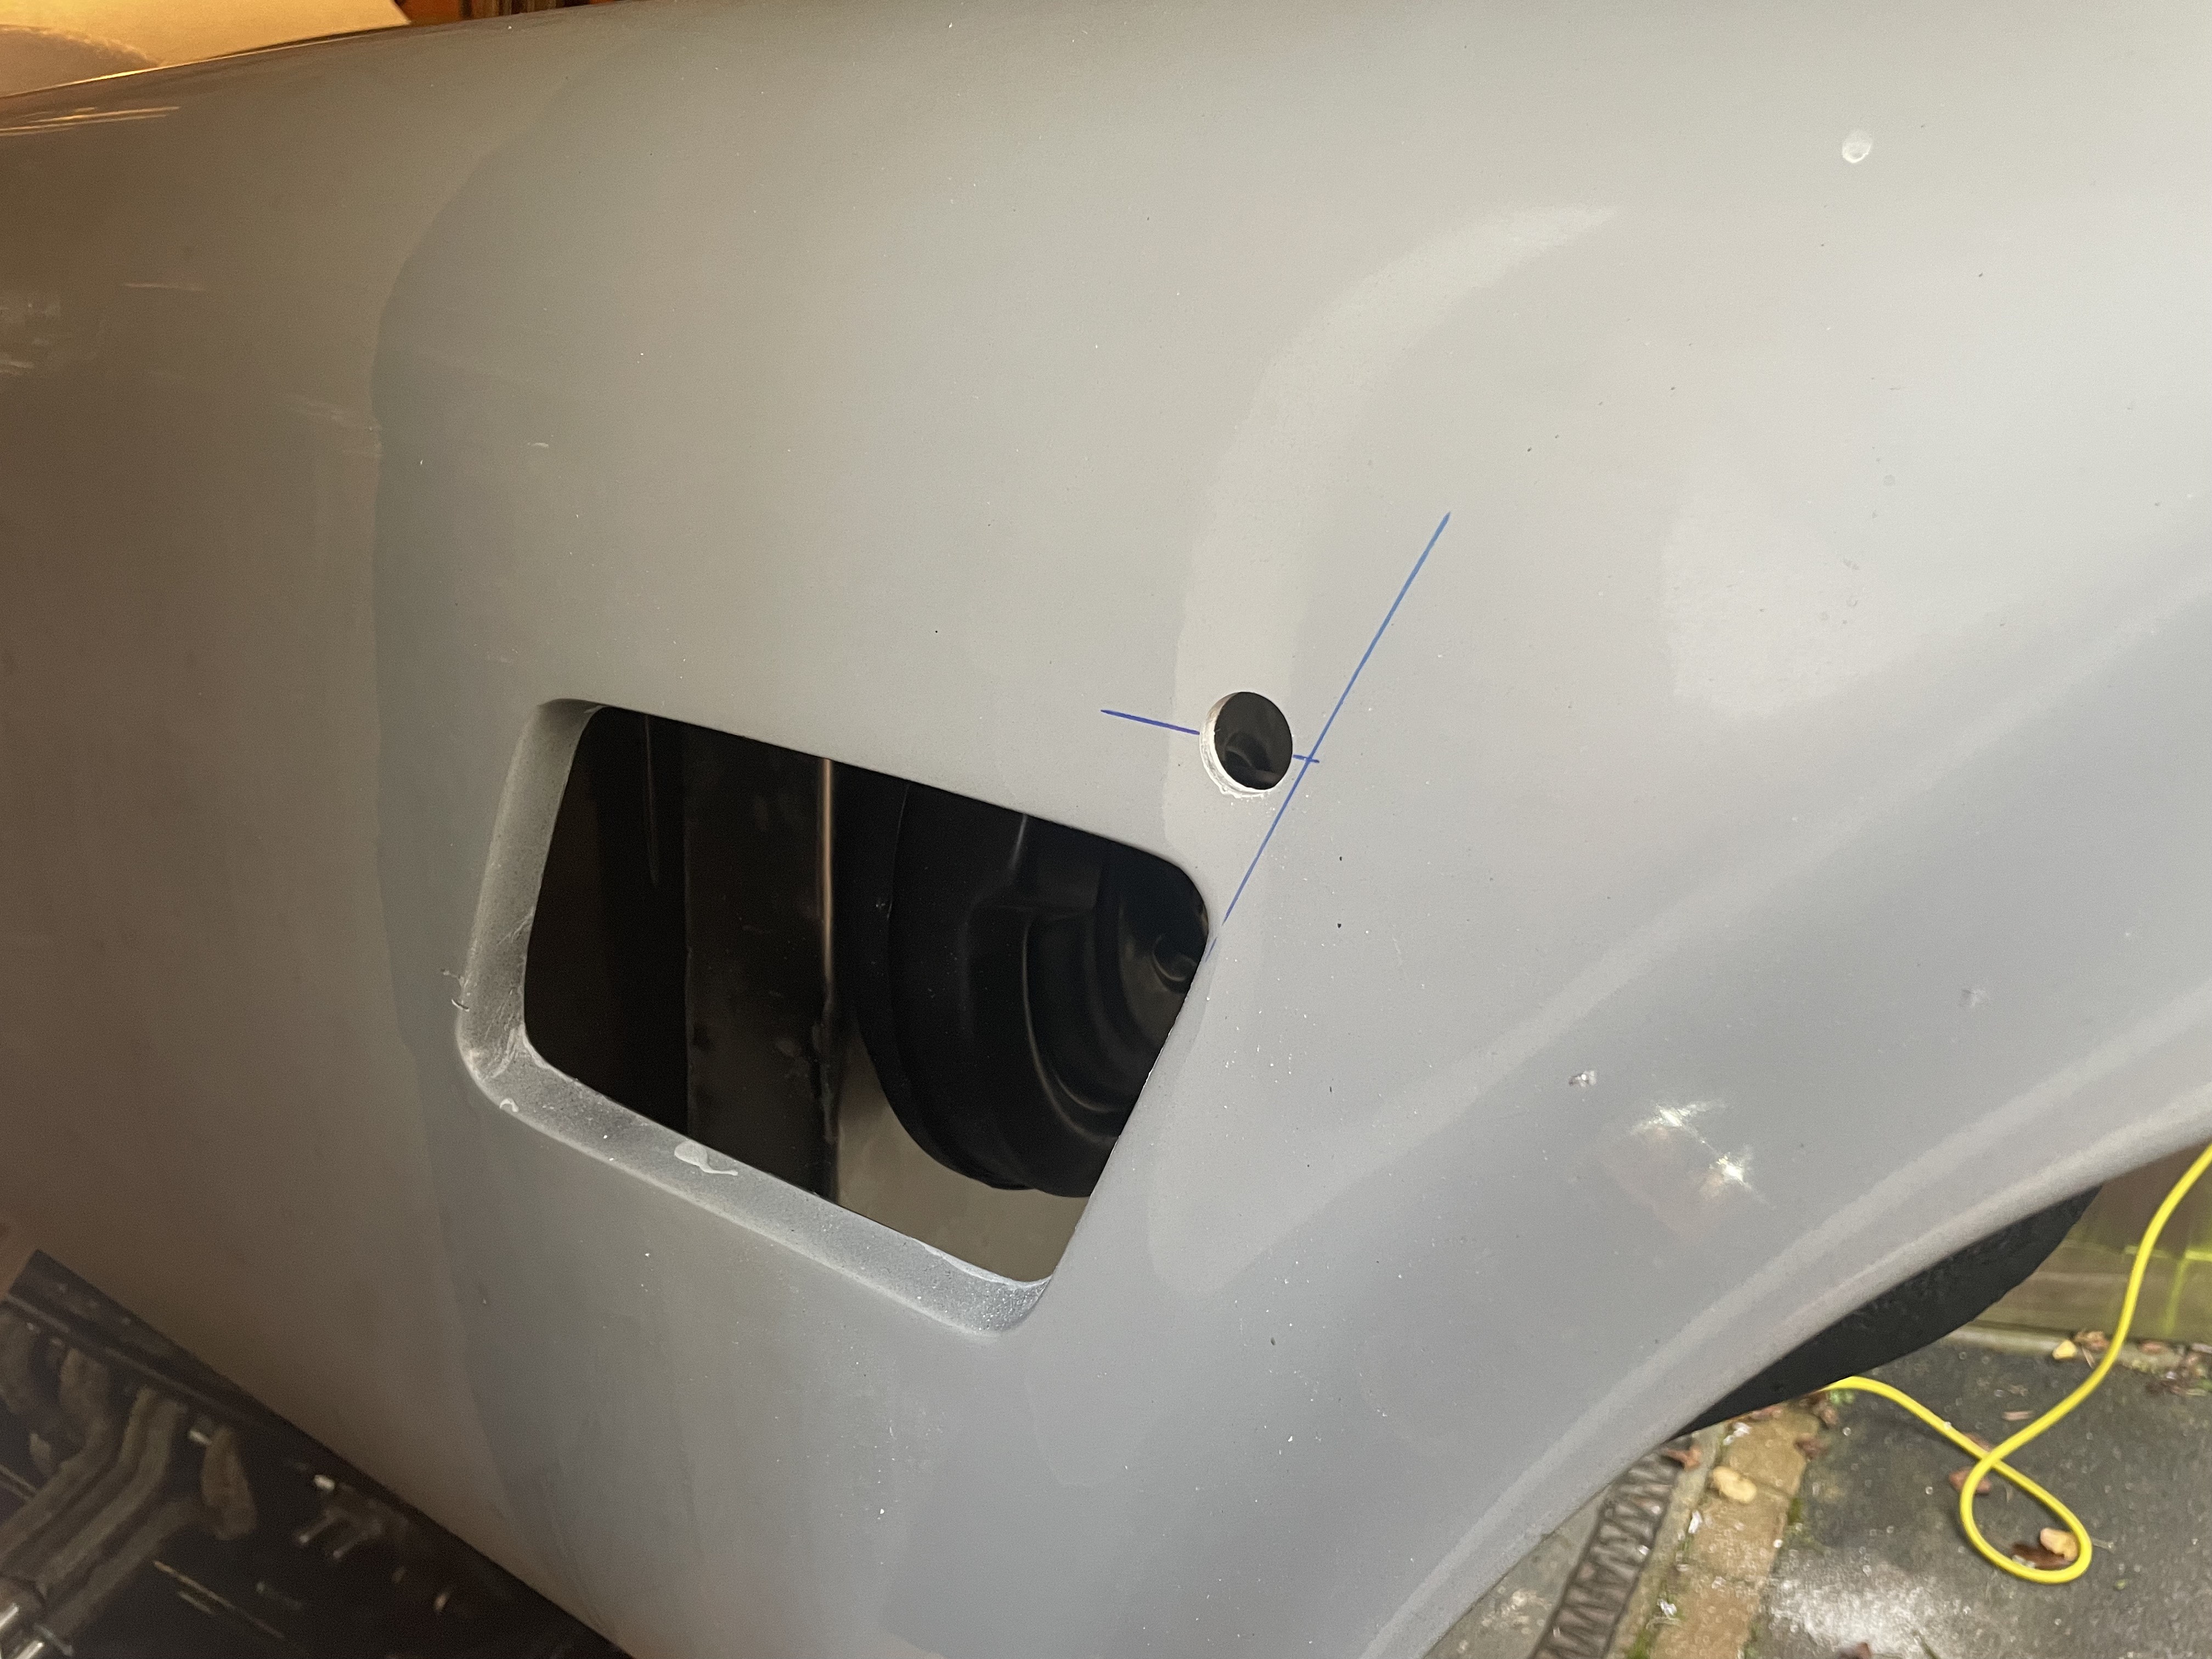
The first task was to measure up and transfer some centre lines to the headlight openings and the front indicator positions. This was not entirely straightforward as the molding lines on the AK body are not symmetrical!. I measured lots of times to get this right.
I could then mark out the required hole positions for the headlight bowls. I did this by marking the position of the larger holes which are needed for the bosses of the beam adjusting screws and drilling these first. I could then sit the headlight bowl flush into the opening and mark and drill the positions of the mounting screws. The holes for the indicators were opened up with a 32mm diameter hole drill.
 |
| Centrelines marked out |
 |
| Holes drilled |
The headlight bowls were then fixed in place using self-tapping screws and spire clips on the back face to hold them in place. I oversized all the holes slightly to allow some wriggle room in the final positioning of the headlights.
The headlight unit is then fixed into the retaining ring and this can be reinstalled into the bowl.
 |
| The headlight bowl is fixed in place... |
 |
| ...and the headlight unit installed. |
The indicator units were also fixed in place using self-tapping screws and spire clips. The final step was to install the headlight rims. I bought a pair of "chrome on brass" rims from Car Builder Solutions as they are less prone to corrosion than chromed steel rims. The rims have a slight lip on the back which hooks onto the headlight bowl and are then secured in place by a single screw under the rim. Getting the alignment of the rim correct such that the fixing screw actually lined up with its hole in the headlamp bowl was a surprisingly fiddly exercise.
 |
| Completed front headlights and indicators |
Installing the rear indicator and rear light/brake light units was much the same process as the front indicators. Although I did spend a lot of time measuring and measuring to ensure the lights would be evenly spaced within the mounting zone on the AK body. Again this was not so easy due to the slight differences in the body molding on each side.
 |
| Measure several times! |
 |
| Holes drilled once I was happy with the location |
 |
| Rear lights completed! |
The last job was to install the side indicator repeaters. These units from Car Builder Solutions just need a 20mm diameter hole to be drilled. The mounting grommet is then installed in the hole and the LED light is pushed into the grommet from the front which fixes the whole unit in place.
 |
| Mounting hole for side repeater |
 |
| Mounting grommet placed into the mounting hole... |
 |
| ...and side repeater and trim ring pushed into the grommet. |
It's a small thing but getting the lights installed has started to make the project look more like a car now and hopefully, it will motivate me to get moving on with the build!


No comments:
Post a Comment