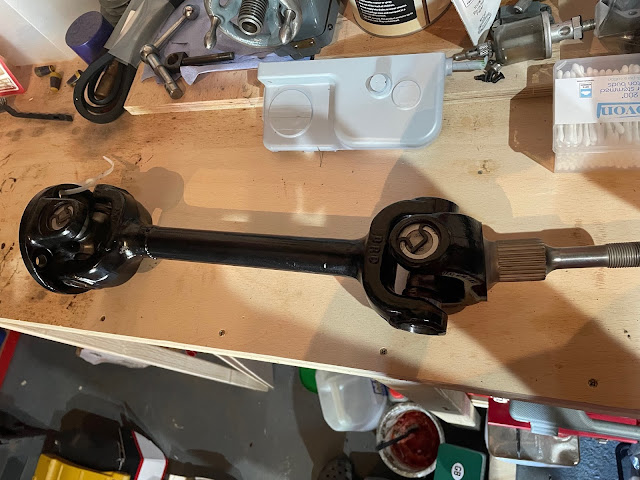
With the rear wishbones installed, the last thing needed before the rear hub carriers can be installed and the rear axle set-up completed, is to assemble the drive shafts.
AK provide shortened driveshafts as part of the kit. These need to be mated to the donor splined axle shaft and differential connection plate using new universal joints to complete the drive shaft assembly.
 |
| Shortened Drive Shaft - spot the join! |
I ordered the replacement universal joints from SNG as per the part numbers below. The end bearing cups need to be removed from the spider for installation, with care taken not to disturb the needle roller bearings in the cups. Prior to assembling anything I put a generous smear of copper grease on all the openings in the various components.
 |
 |
| Replacement UJ Kit Contents |
 |
| Bearing Cup Removed - take care not to disturb the needle rollers |
My hydraulic press was buried behind several boxes of Cobra parts so I was originally intending to be a bit lazy and follow the AK method of using a vice to assemble the UJs. However, the initial attempt to wind the first bearing cap into one side of the diff connection plate using the vice resulted in the cap getting slightly misaligned and jammed; I wasn't happy with hammering on the vice lever to force the cap into place so I resorted to clearing the garage up to give access to my press.
I also found that the AK method of pressing one bearing cap into place first, and then inserting the spider didn't work. Maybe I pushed the cap in slightly too far but there seemed insufficient space to work the spider into the partially inserted bearing cap and the other side of the connection plate. The solution was to hold the spider in place while the first bearing cap was pressed into place, turn the plate over and press the other side bearing cap fully into place (i.e. so that the circlip groove was visible) and the first circlip could be inserted. Then the piece was turned over again, and the initial bearing cap pressed in sufficiently to allow the second circlip to be inserted.
 |
| ...first bearing cap is pressed into place. |
 |
| Bearing cap pressed in flush with outside of diff plate |
 |
| Other side bearing cap pressed in fully and circlip installed |
TOP TIP - make sure that when you install the spider, that, having installed the grease nipple, it is facing towards the half shaft. This makes access for greasing of the nipple once it is installed far easier. Once again you may ask me how I know this (although its not a disaster if the nipples end up facing the other way).
This process is then repeated to connect the diff plate to the new shortened AK half shaft; the diff plate / spider assembly is held in place while the first bearing cup is pressed into the half shaft until flush. Then the assembly is turned over and the second bearing cup pressed fully into place in the half shaft and circlip installed. Then the first cup is pressed fully in and its circlip installed.
The whole process was then repeated to attach the splined axle shaft to the half shaft.
 |
| First bearing cup pressed in to connect diff plate to half shaft |
 |
| Rinse and repeat for the splined axle end... |
 |
| ...and one completed drive shaft! |
I have no intention of having to disassemble the drive shafts ever again, but should that need ever arise, I put a smear of copper grease around all the circlips to give them a bit of added protection against the elements and possibly give a fighting chance of easy removal at some point in the (distant) future.
I also greased up the universal joints with a grease gun filled with a lithium based bearing grease, pumping the grease in until it was just starting to seep out of all the rubber seals of the UJ bearing cups.
And with that, reassembly of the drive shafts is complete!


No comments:
Post a Comment