With the hub carriers painted, it's time to get on with reassembly the bearings and the rest of the rear hubs.
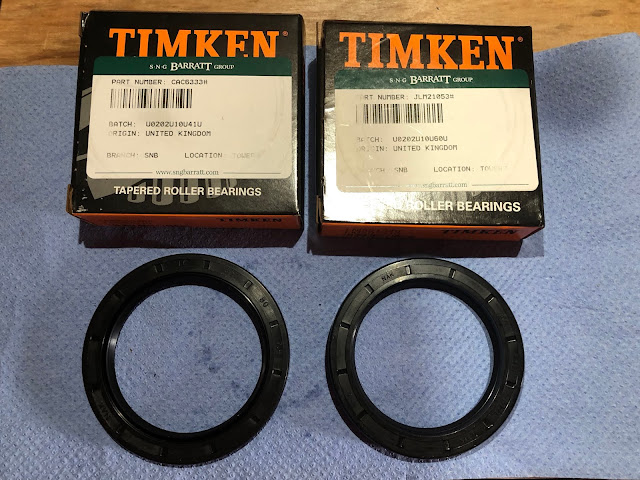
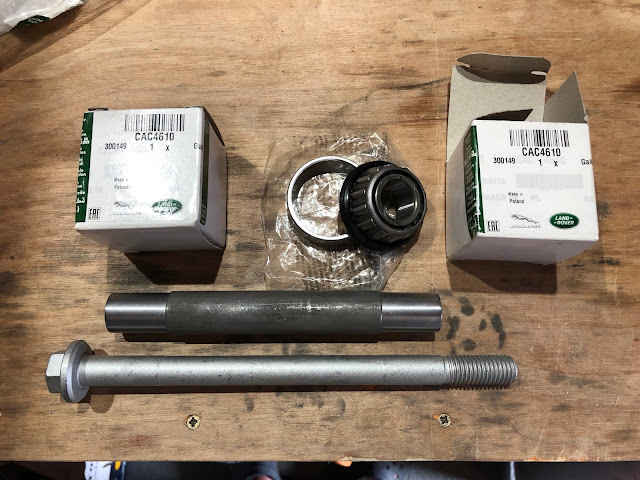
The first task (already undertaken a couple of months ago) was to dig out the credit card and order a couple of sets of new bearings, seals and a few other parts that didn't survive the strip-down operation and needed to be replaced.
The shopping list looked a bit like this...
The Bearing Kit includes both the inner and outer bearings plus the two oil seals and works out a fair bit cheaper than buying the parts separately. I decided to buy new outer pivot pins and pivot pin sleeves as these components on one side of my donor hubs were very corroded when I stripped them down.
 |
| Bearing Repair Kit |
 |
| New Pivot Pin, Sleeve and Taper Bearings |
Reassembly of the hubs commenced with the installation of the new inner and outer bearing races. As with the front hubs, I took an angle grinder to the original bearing races to use as drifts for installing the new races. The new bearing races had a few hours in the freezer and the hub had a gentle warming at 140 degrees C for 30 minutes or so in the oven in order to facilitate the installation process.
 |
| Original races fettled gently to use as drifts to install new bearing races |
All good in theory....
I read with great amusement Terry's version of events for inserting the rear races in the hubs in his blog.
"Heat the oven to 150 degrees (fan oven 140) or gas mark 2 and cook for 30 minutes. Remove from oven an if the races don't just drop in, they will need just a few taps with a bearing drift."
"Just drop in" and "a few taps", for me at least, translated into an average of an hour per race of tapping with a large club hammer, increasing to hitting as hard as possible and the air turning and ever increasing blue with me swearing every time I hit my hand with said club hammer or pinched my fingers between drift and bearing as I applied serious force to said drift with said hammer...!
Four hours, several bruised fingers and blood blisters later and the races were installed and fully seated.
 |
| Installing outer bearing race... |
 |
| Outer bearing race fully seated... |
 |
| ...together with the inner race |
Next I installed the fulcrum races into each hub. Ironically, given how bloody hard these were to remove, these all did "tap" in relatively easily. That is, relative to the effort to install the main races; the fulcrum races did still require some considerable thumping with a large hammer and a suitable drift to persuade them into place.
 |
| Using old bearing race to install new fulcrum races... |
 |
| ...which was "gently tapped" home to fully seat bearing race |
With that job done, it felt like some progress is being made again. Next step will be to install all the bearings and complete rebuilding of the hubs.


No comments:
Post a Comment