A few small jobs need to be tackled before the body can be fitted onto the chassis, so I decided to get on with those while finishing off the rolling chassis.
The first thing I dealt with was the gaps between the rear inner wheel arches and the body. These are not fully bonded/sealed and as supplied provide a fantastic path for water thrown up from the rear wheels to find its way straight into the boot.
 |
| Gaps around the rear off-side wheel arch... |
 |
| ...and even bigger gaps on the near-side rear arch |
At first, I thought that AK Sportscars had forgotten to fully fibreglass the arches in before sending my body to me and I intended to bond in a couple of layers of glass-fibre mat to cover the gaps. However, I discovered after watching Russ Howell's video series on building an AK Cobra that this is not recommended by AK as this leads to a stress concentration and can cause the paint on top of the wheel arches to crack. The recommended solution is using "Tiger Seal" (a polyurethane sealant) to fill these gaps.
The gap on the near-side arch was too big to try and fill so I used a cardboard template to cover the gap from the boot side of the arch and give some backing for the sealant to stick to. I did two sealant applications; the second was to fill any bits that I had missed the first time and give a thicker bead just to be on the safe side. I also ran a thin bead around the front wheel arches. Although any water thrown up would only pass into the engine bay and not the passenger compartment, I still felt it was a prudent step to take.
 |
| No tigers were harmed in the making of this sealant... |
 |
| Cardboard template on boot side of near-side arch |
 |
| First pass sealant application |
 |
| After the second pass of sealant |
I then gave the wheel arches a couple of coats of fibreglass primer which I bought from Black Country Paints. I applied this with a brush (several brushes actually). I also gave the inside of the nose cone and the tops of the front wheel arches inside the engine bay a couple of coats of primer as well.
 |
| Front wheel arch after the first coat of primer... |
 |
| ...and after the second coat. |
 |
| Inside nose cone after first coat of primer |
Then armed with several aerosol cans (I think I went through about 12 cans in total) from Halfords, I gave all the primed areas 3-4 coats of gloss black paint.
 |
| ...Inside nose cone... |
 |
| ...Inside Engine Bay... |
 |
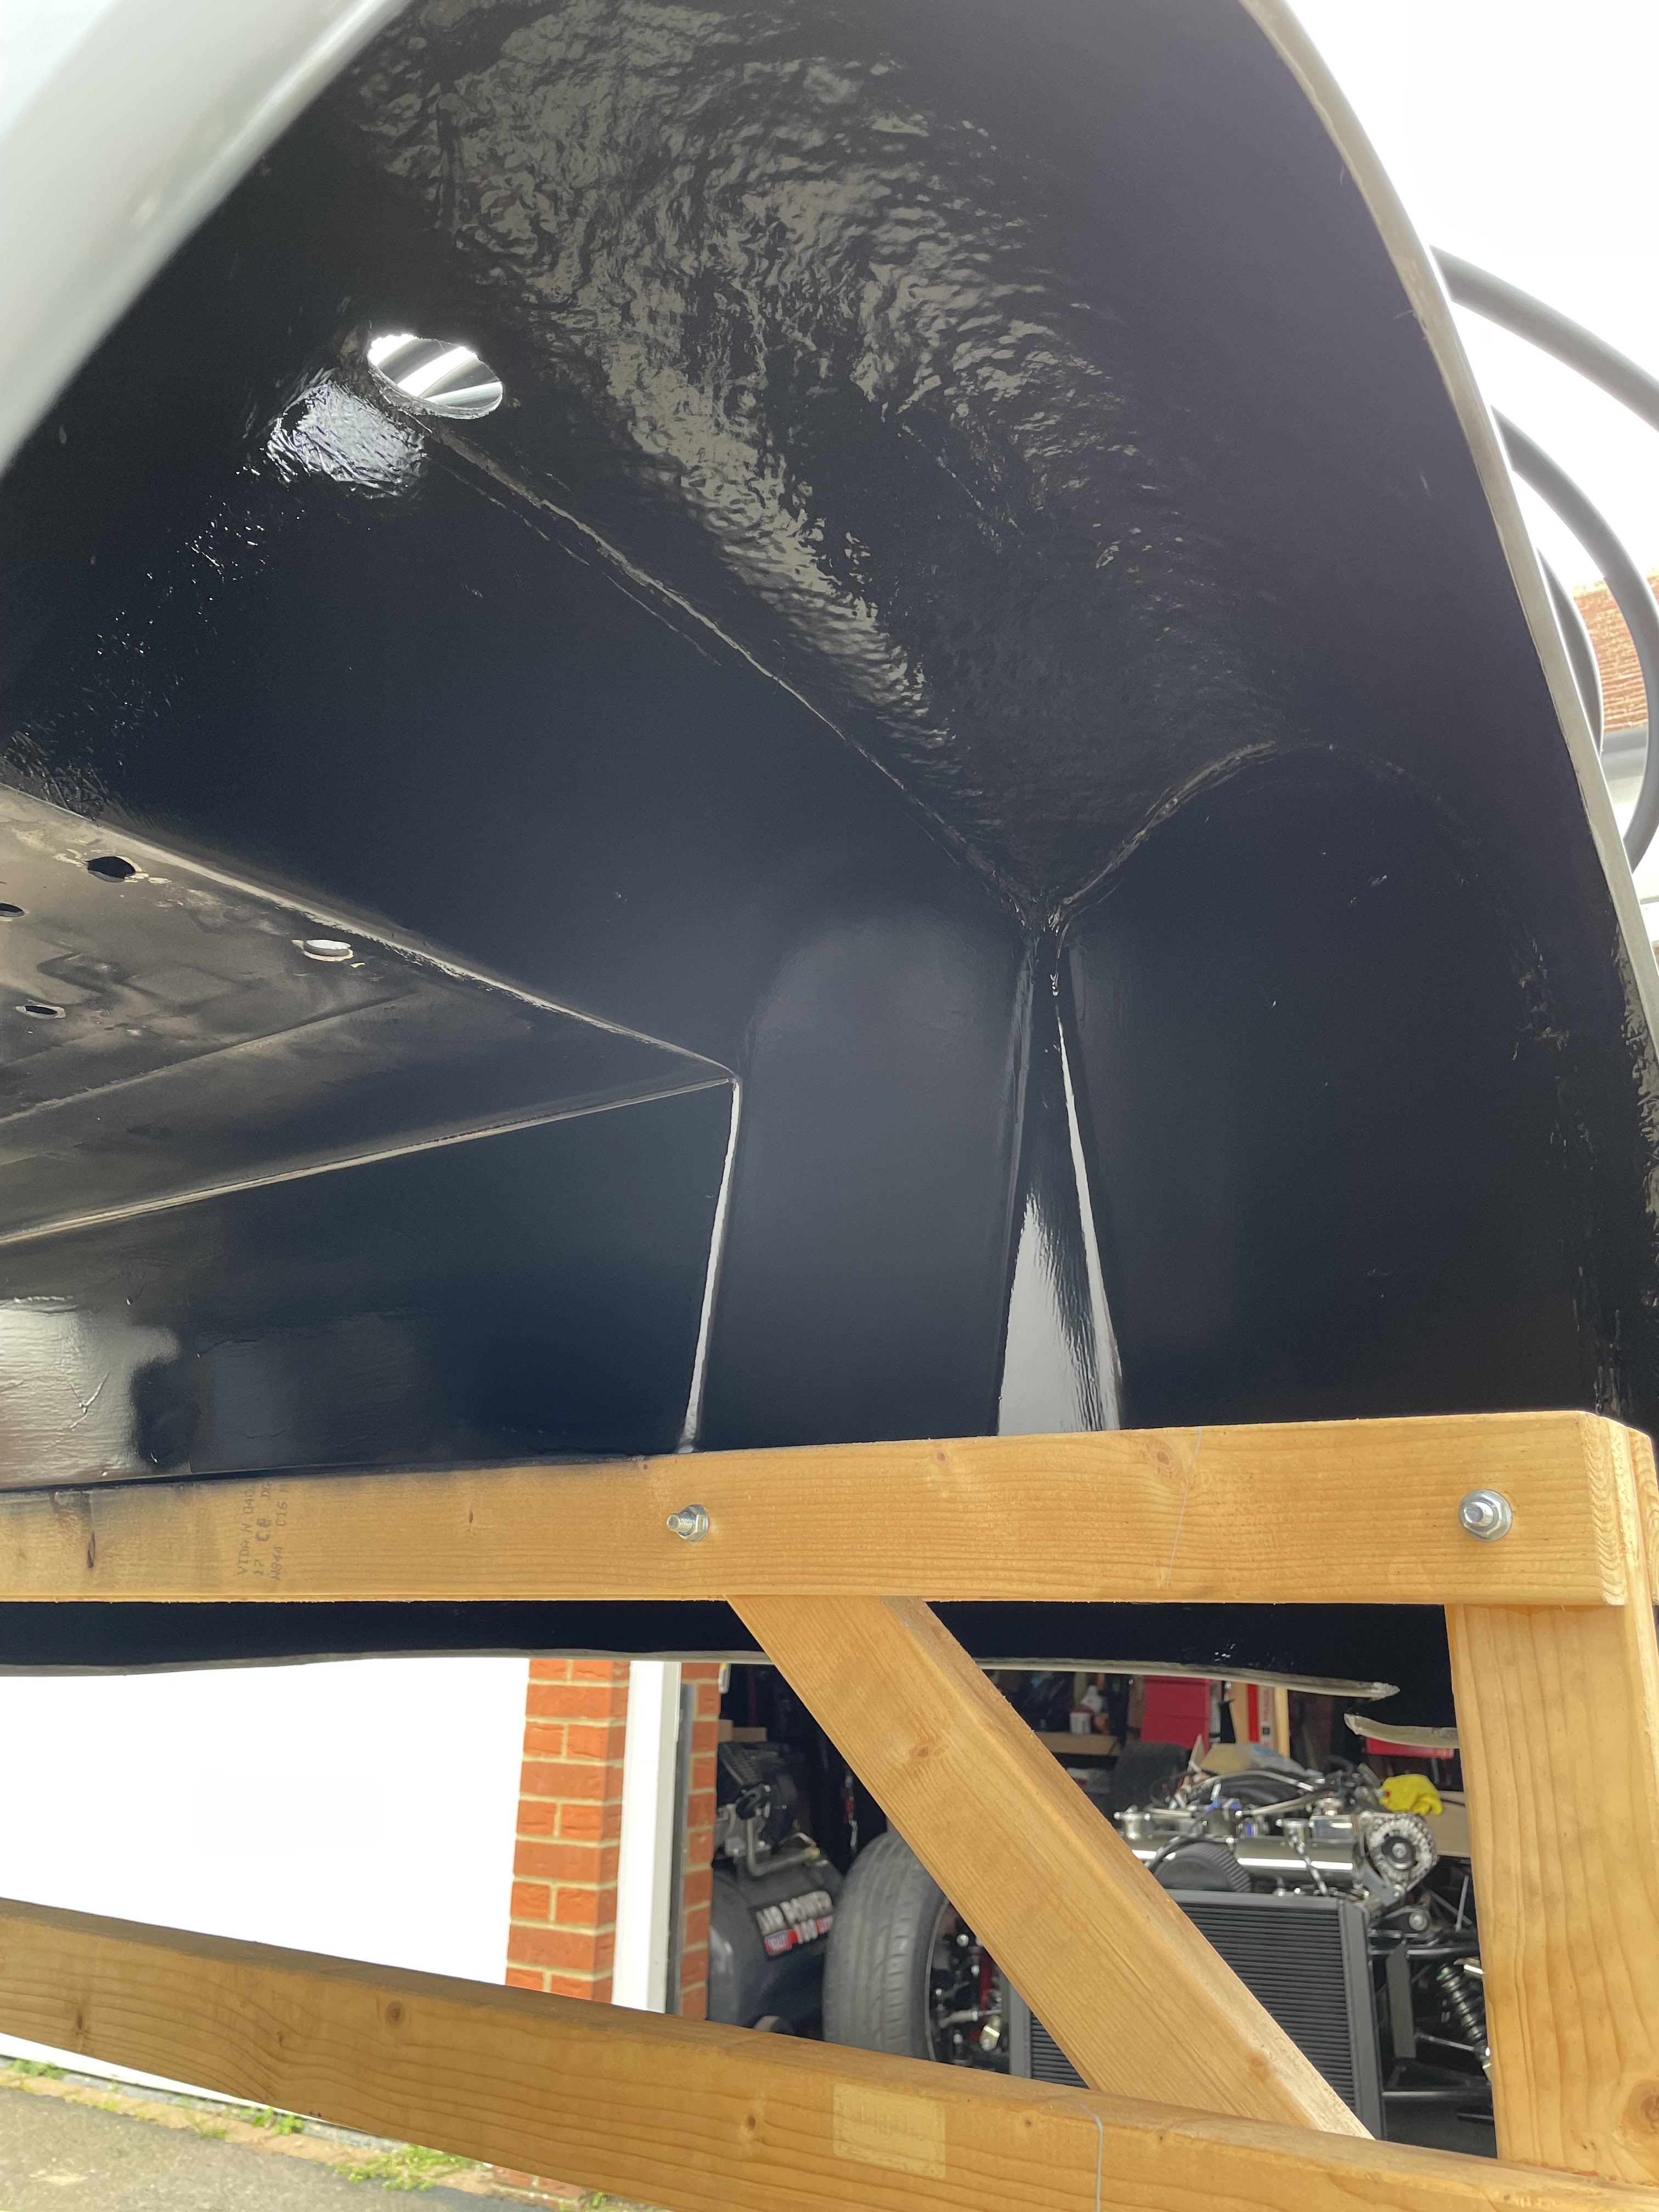
| ...and Rear Wheel Arches. |
It's quite surprising what a simple lick of paint can make to the difference of the look of the body. Starting to look more like a real car now!!


No comments:
Post a Comment