I plan on having the side pipes ceramic coated in black before the final installation. Rather than have the headers ceramic coated, I have wrapped them to try and keep heat levels under the Cobra hood down as low as possible.
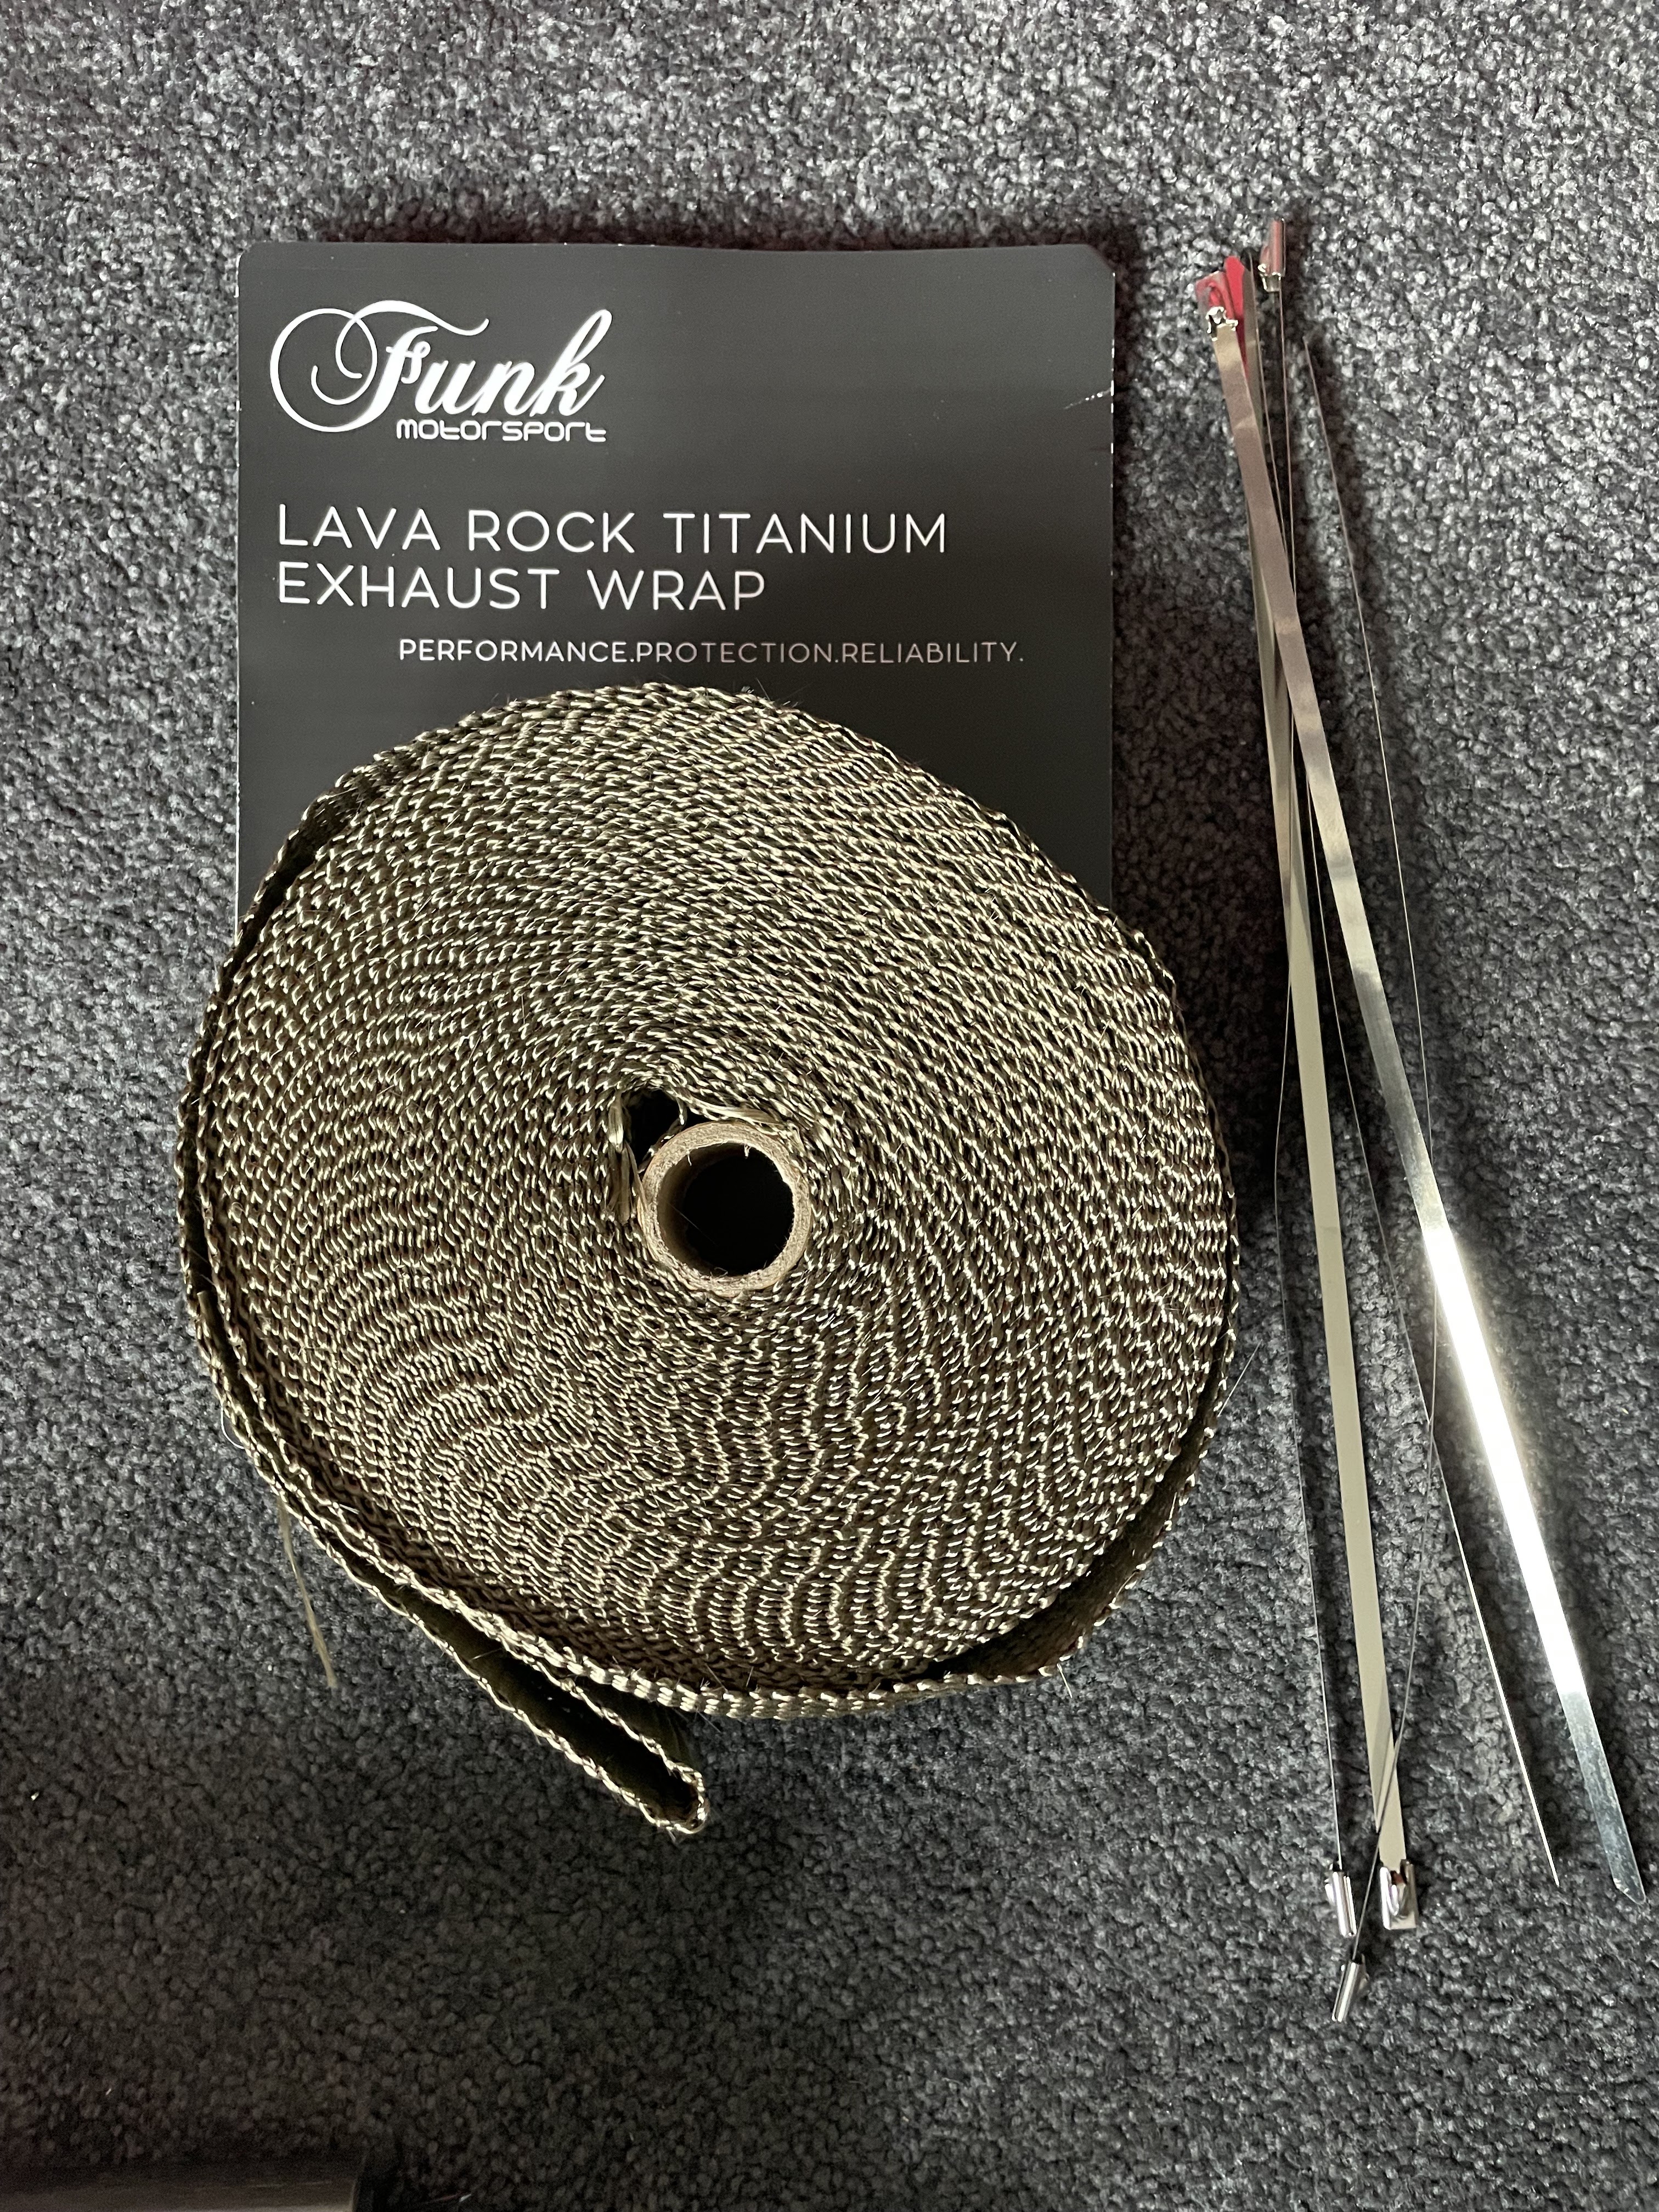
I decided to use Lava Rock Titanium Exhaust Wrap from Funk Motorsport, made from pulverised lava rock. Apparently insulating the heat from the exhaust also helps to improve the flow of gases in the system which helps increase engine power output...bargain!
 |
| Funk Motorsport Exhaust Wrap - made from real volcanoes! |
I bought two 15m rolls of 50mm wide exhaust wrap. Each pack comes with five stainless steel tie clips although I bought another 10 at the same time - just in case...
I followed the Funk Motorsports videos on YouTube which cover how to use the exhaust wrap. There is a "right" edge of the wrap which should be the exposed edge when wrapping the exhaust; I did get one pipe wrong and had to undo it and rewrap it correctly.
 |
| I used nylon zip ties to help hold the wrap in place - note LH pipe wrapped with the wrong edge exposed |
 |
| All pipes are wrapped...correctly! |
I could then cut off the temporary zip ties at the manifold end and replace these with stainless steel zip ties. I found it helpful to grip the spare end of the tie with a pair of pliers and push on the locking tab with a screwdriver to help get the ties really tight. The spare end was then cut off with side cutters and the end folded under to avoid any loose sharp edges.
 |
| Finished offside header pipe, top... |
 |
| ...and bottom |
In theory, I could remove the nylon zip ties as the wrap should stay tight (if I have done it correctly!). For the moment I will leave them in place (I trimmed the spare ends) as I will wrap all four of the pipes and the extent of the side pipe in the engine bay when I assemble the exhaust properly.
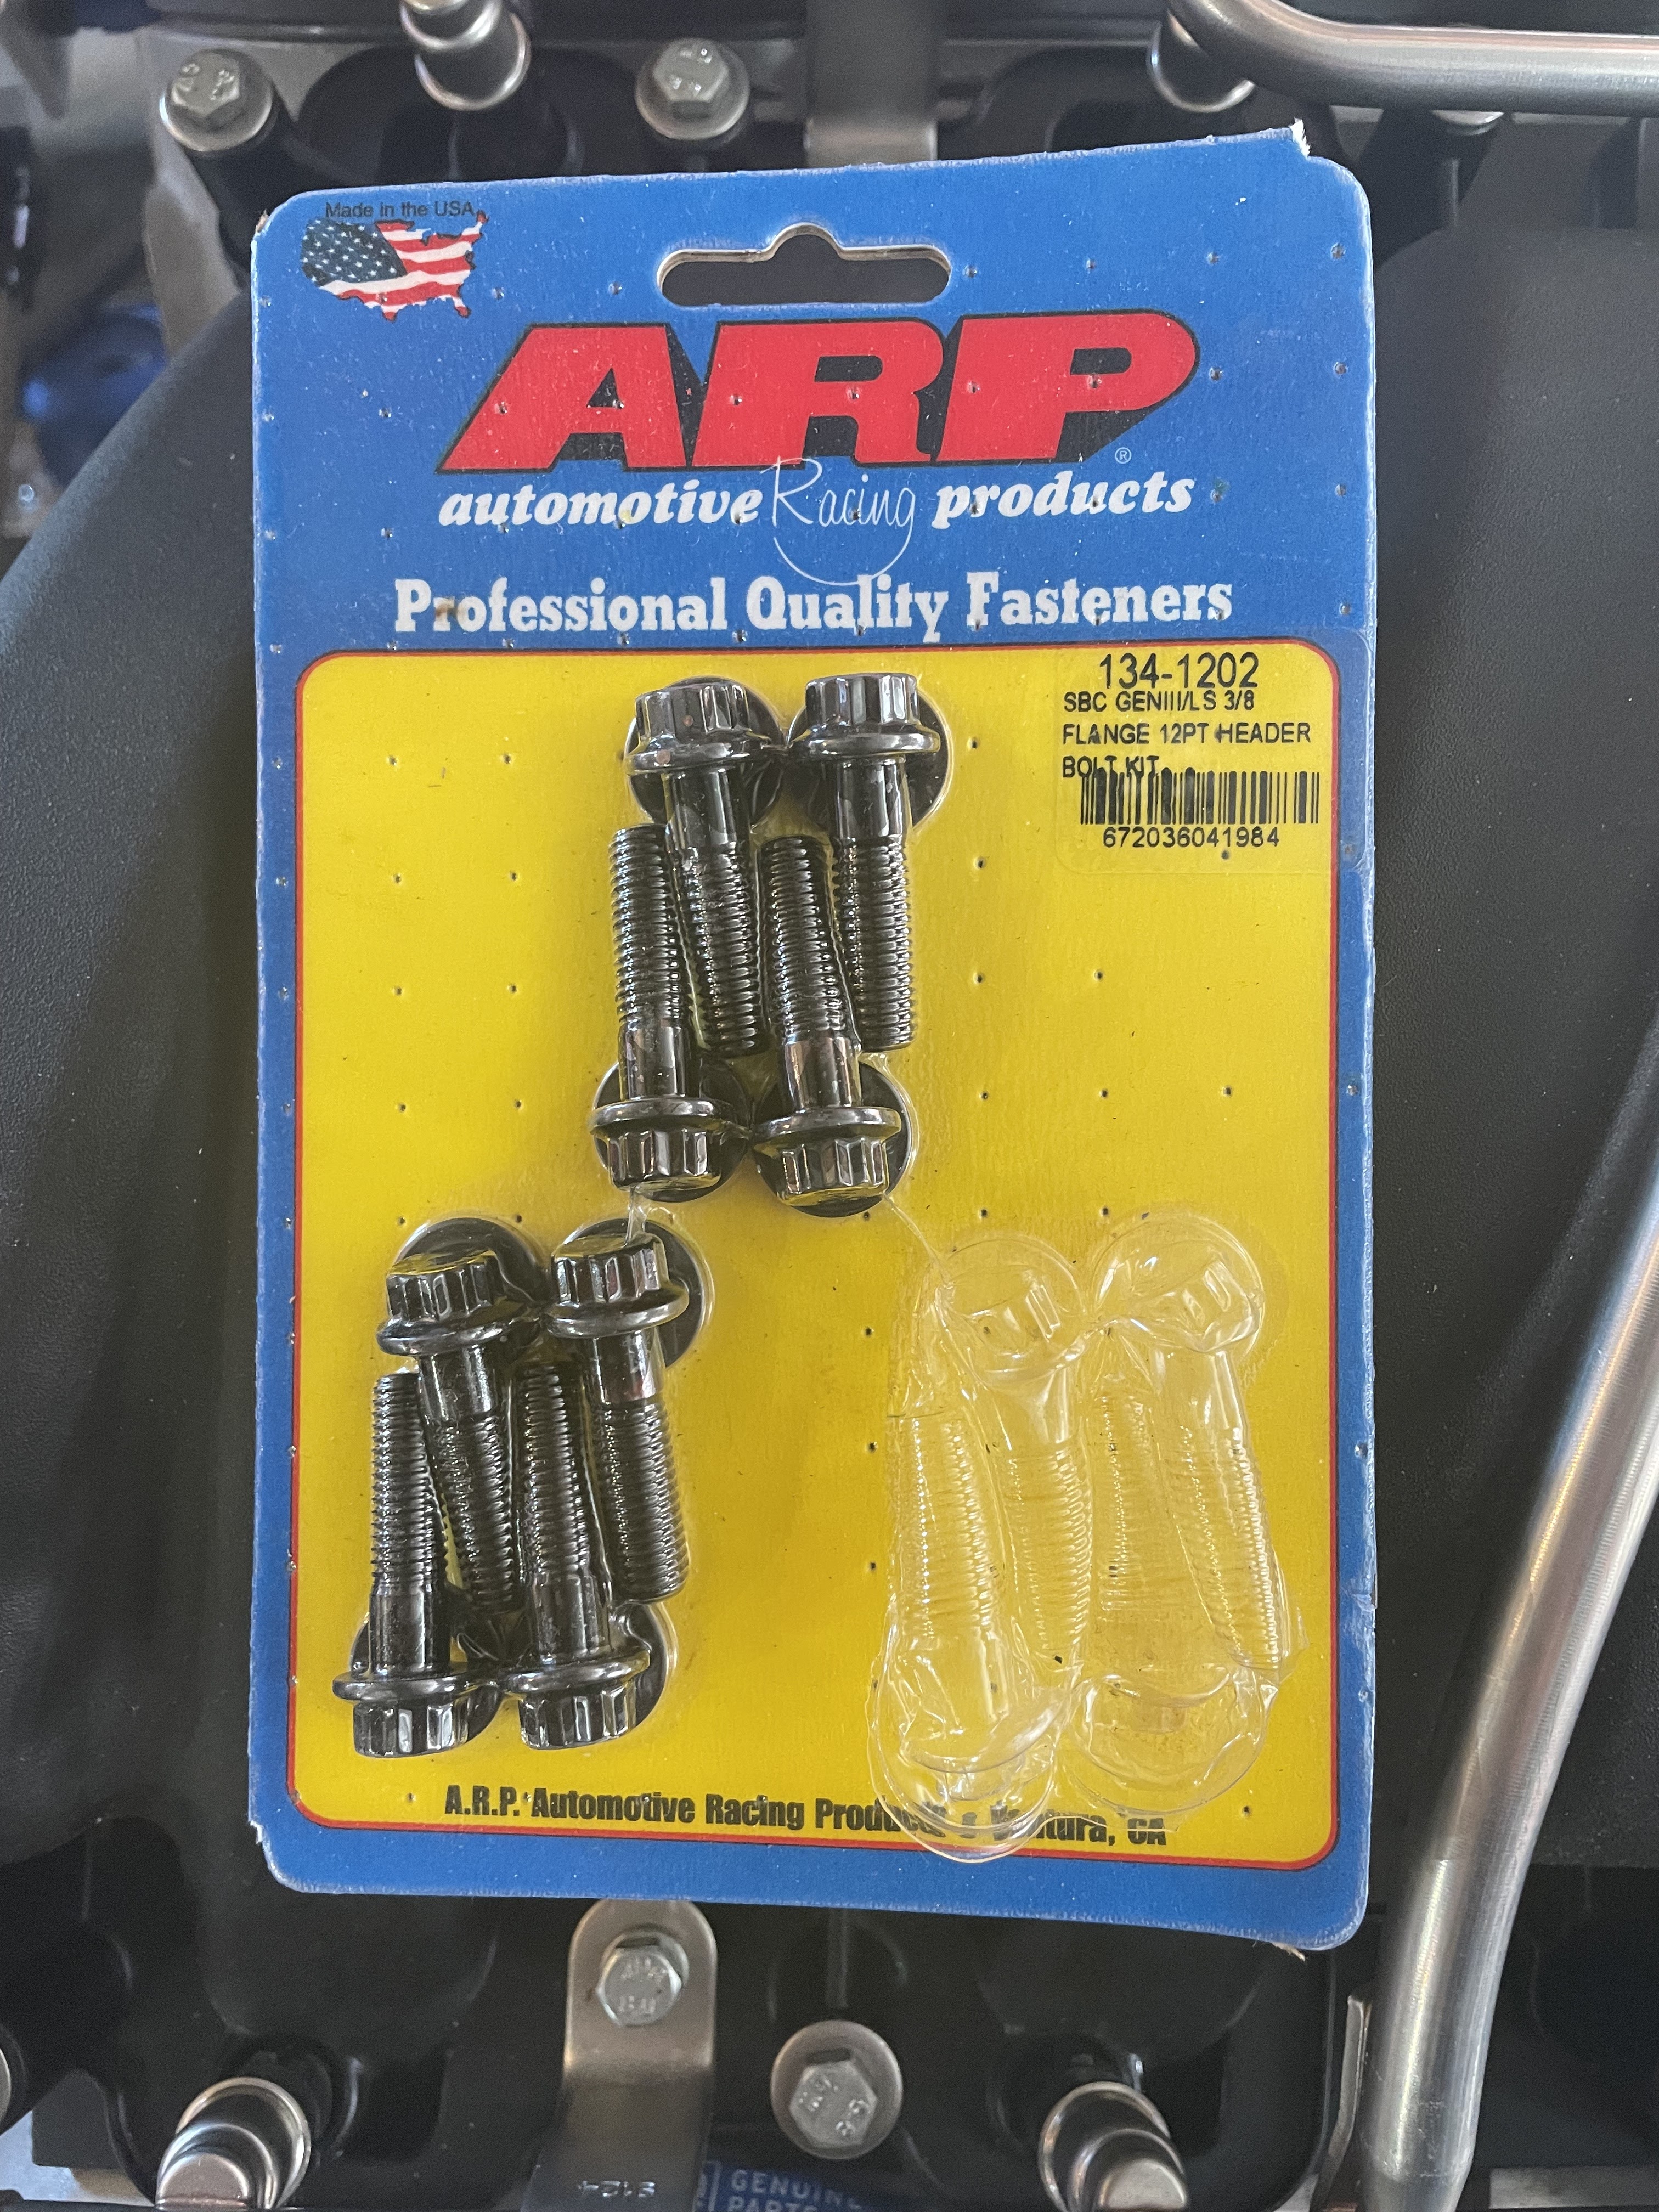
I then installed the headers onto the engine, this time with the gaskets. I secured them using some ARP 12-point header bolts. These are torqued up in two stages, working from the centre bolts outwards; the first pass was to 11lb-ft / 14.9Nm and the final pass to 18lb-ft / 24.4Nm.
 |
| ARP 12-point Header Bolts |
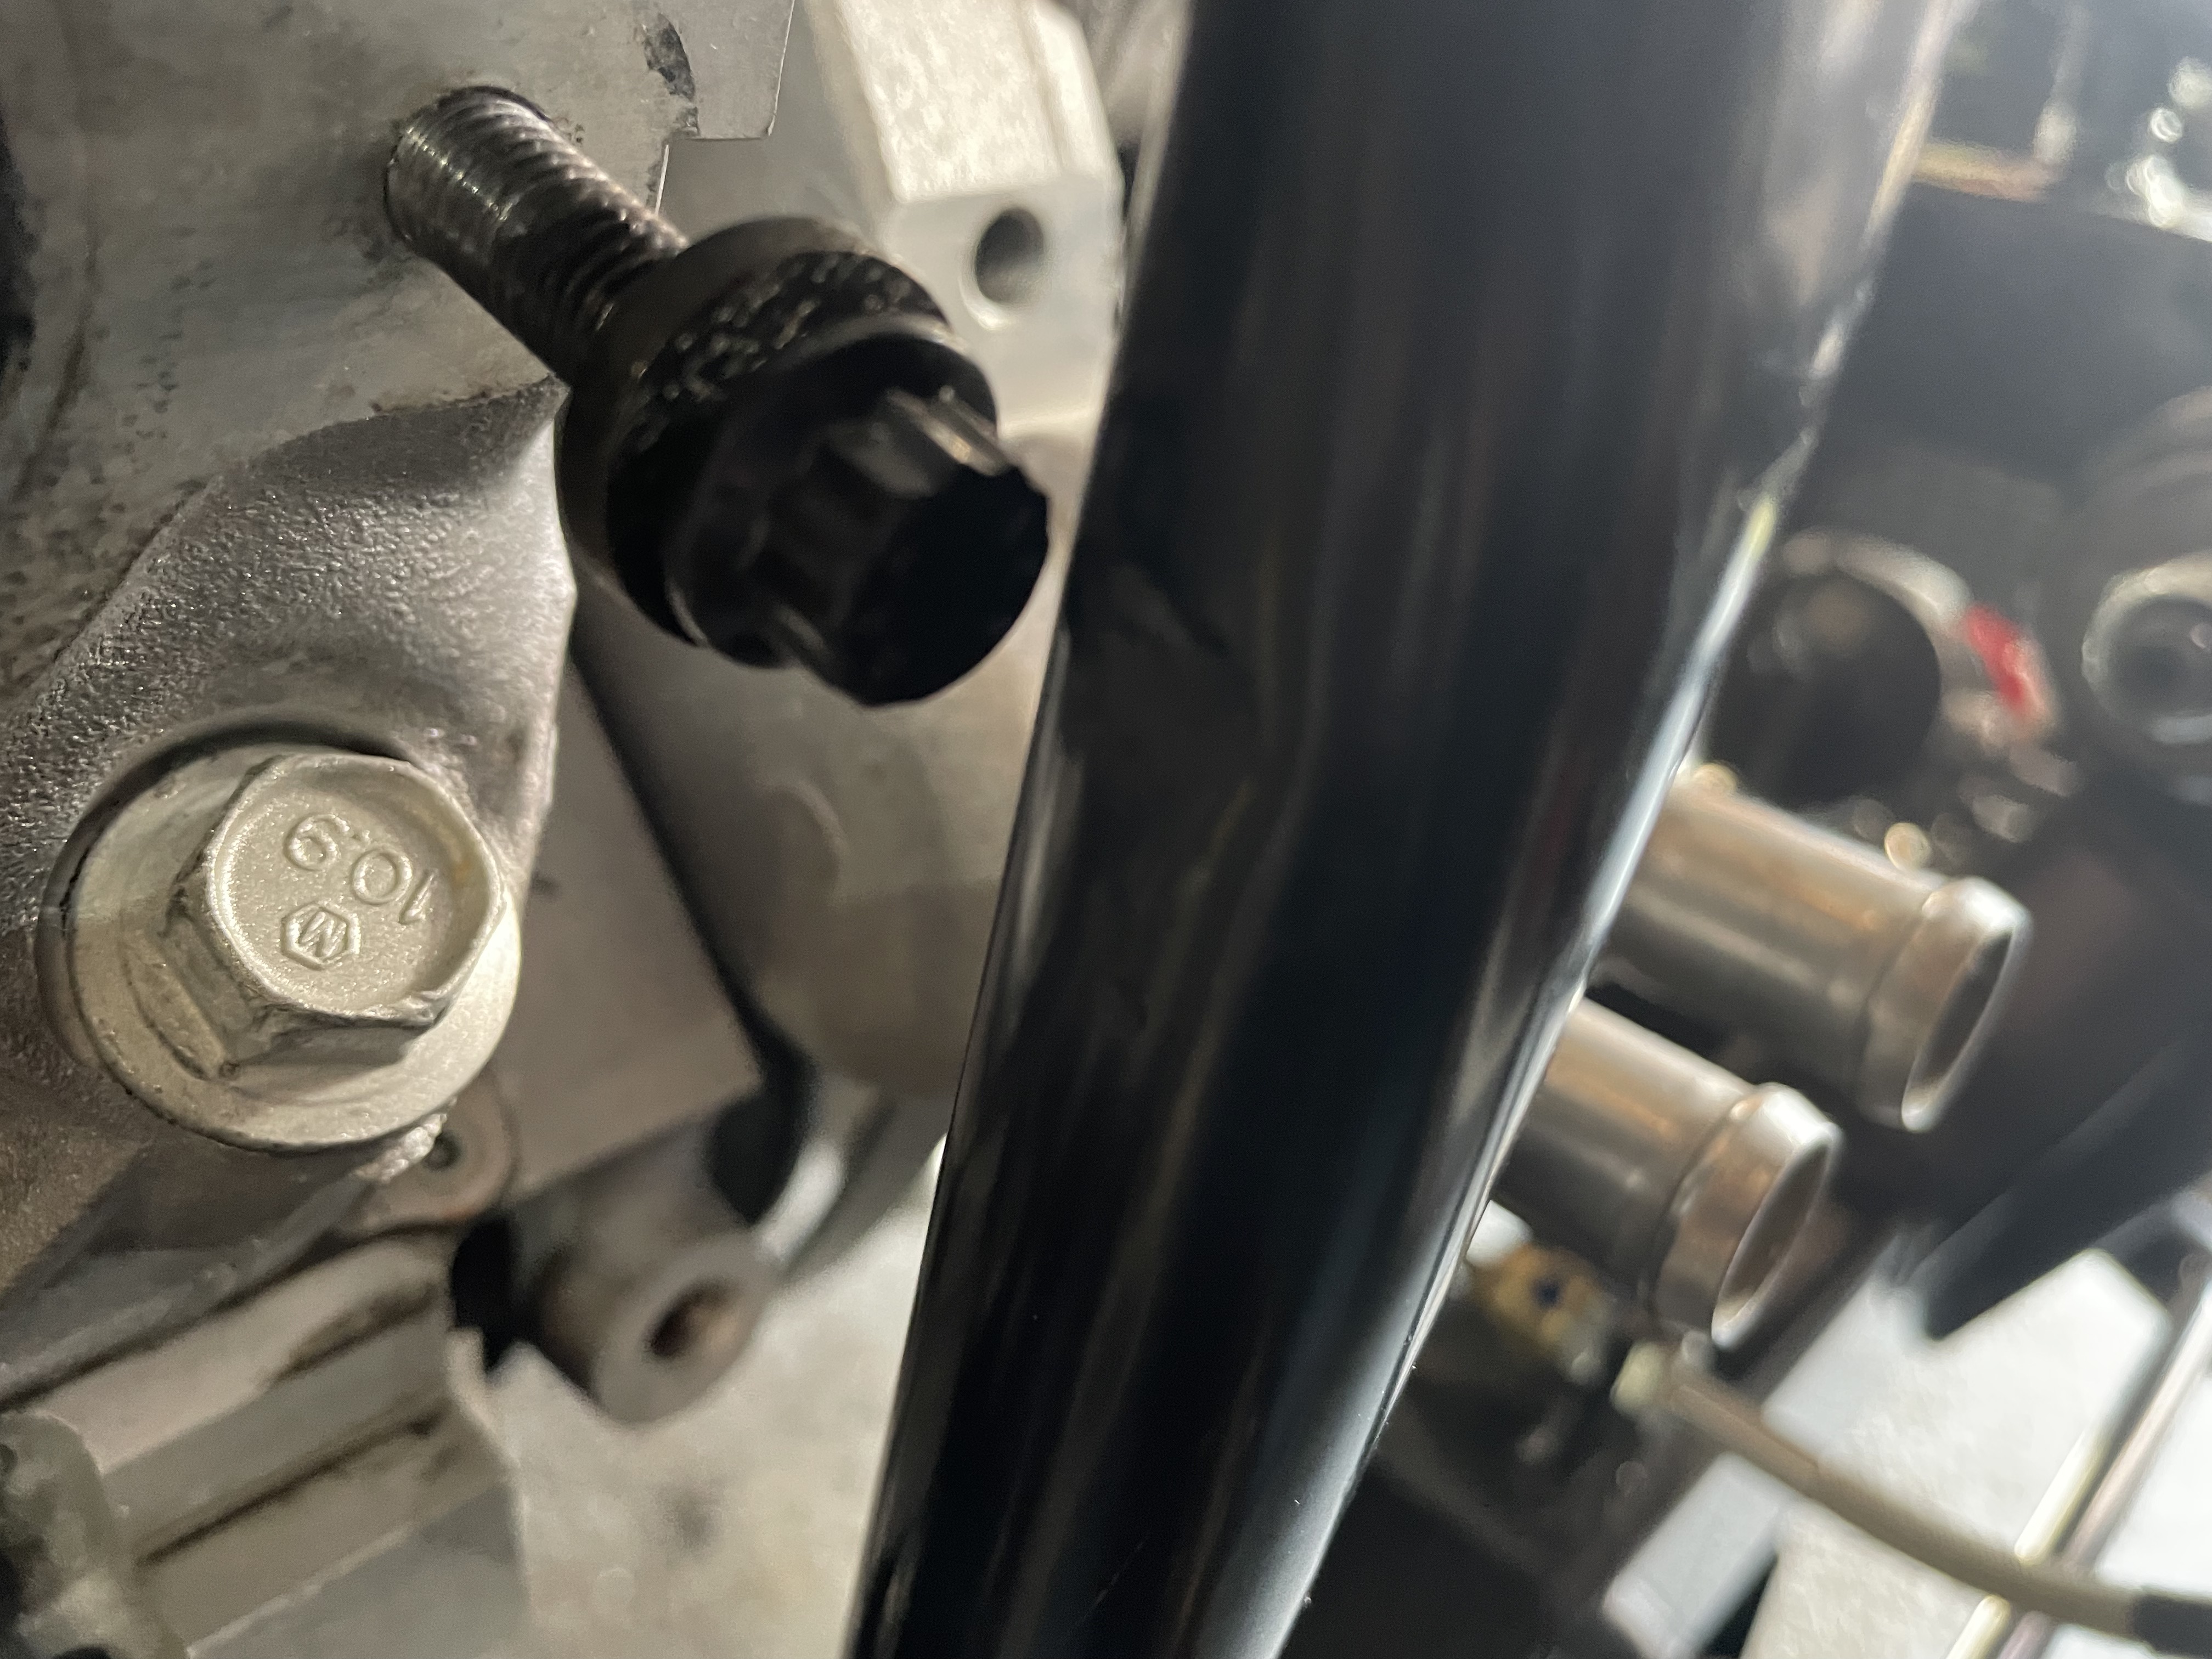
As I anticipated, I did have issues getting the front header bolts into place. The location of the vertical bracing tube prevented me from getting the bolts in straight enough to be able to get the thread to engage. I needed to make a "small" dimple in the side of the tube with a ball pein hammer to give a bit of wiggle room. But having got the bolt started in the cylinder head, it was quite stiff to turn and the proximity of the bracing made it impossible to get a socket or a ring spanner onto the head of the bolt (this wouldn't have been an issue with a normal hex head bolt as I could have used an ordinary open spanner, but those don't work on 12-point heads...).
 |
| Tactical dent in the bracing gave enough room to get bolt started in hole |
I then gave all the holes a chase through with an M8X1.25 tap to clean up the threads; I was pretty surprised how much crap came out of the holes but after doing that all the bolts could be nipped up tight by hand before being finally torqued down.
 |
| Cleaning up the holes removed a surprising amount of debris... |
 |
| Manifold installed and all bolts torqued to specification |


No comments:
Post a Comment